You catch the smell through the steam vent and suddenly you are starving. That sweet but spicy scent just kinda sneaks into the kitchen and grabs your attention like nothing else. It's dang hard to resist standing there waiting for the pressure cooker to do its thing.
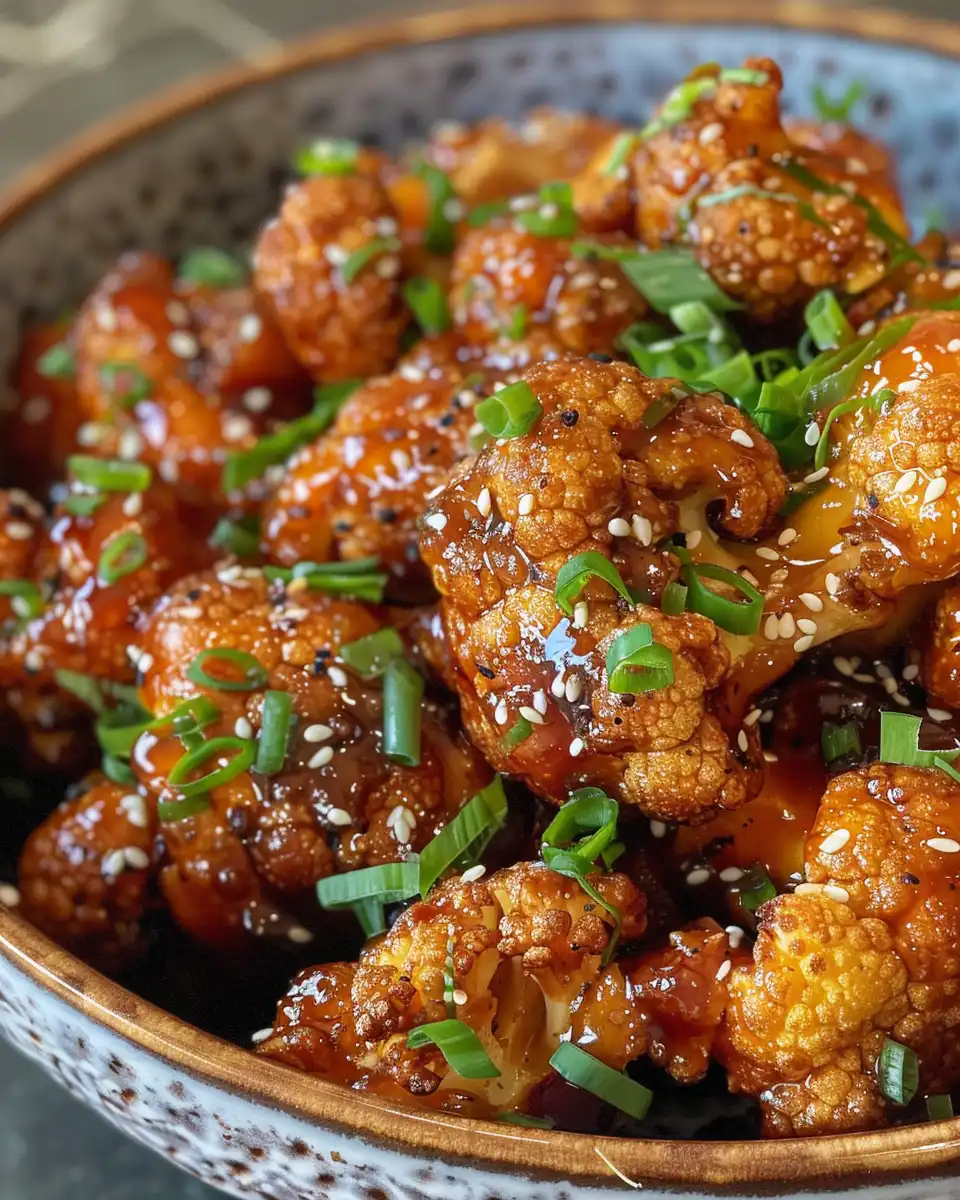
Inside, that cauliflower sits soaking up all the flavors you tossed it with before sealing the lid tight with the sealing ring in place. You notice the steam cues start to build up as the pressure build takes shape, promising a nice tender finish in no time. You already start imagining that first bite.
There's something about roasting cauliflower that feels fancy but when you swap out the oven for your pressure cooker, it's like finding a shortcut that actually works. The broth depth and natural release steps help lock in the taste and texture so it's perfect, not mushy or dry. You gotta try this soon.
The Real Reasons You Will Love This Method
- This method cooks cauliflower much faster than roasting in the oven alone.
- It locks in moisture so the florets stay tender but get that slight crispness when finished.
- You can control the spice level easily by adjusting the Sriracha amount, so it works for everyone.
- The pressure cooker uses steam pressure which brings out deeper flavor from the marinade.
- Using a natural release step avoids overcooking and lets flavors settle in.
- No need to fuss with watching closely since the sealing ring keeps everything tight and safe.
Trust me, once you get the hang of those steam cues, you'll be eager to try other vegetable recipes in your pressure cooker too, like our delightful Classic Deviled Eggs for a perfect appetizer.
Your Simple Ingredient Checklist
- 1 head of cauliflower broken into bite-sized florets. This size helps it cook evenly and soak up the flavors real good.
- 2 tablespoons of olive oil for that golden roasting feel and a nice coating.
- 2 tablespoons maple syrup or honey, whatever you got handy, to add the sweet note that balances the heat.
- 2 tablespoons of Sriracha sauce which gives it that spicy kick you gonna love. Feel free to use less if you're not up for heat.
- Half a tablespoon of low sodium soy sauce to bring some umami and depth without making it salty.
- Half a teaspoon black pepper to add that background spice and keep things interesting.
- Optional extras if you wanna mix it up: garlic powder, smoked paprika, or a squeeze of fresh lime.
- Water or veggie broth for the pressure cooker base. You need enough broth depth to create steam but not drown the veggies.

Walking Through Every Single Move
Step one is getting your pressure cooker ready with about a cup of broth or water in the bottom. Make sure your sealing ring is in perfect shape so no steam escapes during cooking.
Next, you cut your cauliflower into bite-sized florets. This is key so all pieces cook nice and even without some being mushy and others still crunchy.
Then toss the cauliflower in a big bowl with olive oil, maple syrup, Sriracha sauce, soy sauce, and black pepper. Make sure every floret gets coated well to soak up those awesome flavors.
Place a steaming rack in your pressure cooker and spread the cauliflower on it. You want the veggies above the broth where the steam hits but not sitting in water or sauce.
Lock the lid with the sealing ring in place and bring your cooker to pressure. Wait for the pressure build to finish, then cook under high pressure for just 4 minutes. Don't skip the natural release step afterward to keep the texture right.
Once the natural release finishes, you can carefully open the lid. If you want that roasted touch, you can put the cooked cauliflower under your broiler for a few minutes or even toss them in a hot pan to crisp up a bit. It's dang tasty that way!
Quick Tricks That Save Your Time
- Buy pre-cut cauliflower florets if you wanna skip chopping. It works real good and saves you some time.
- Mix your marinade ingredients in advance and keep it in the fridge. When you're ready to cook, just toss and go.
- Use the veggie broth instead of water for broth depth that amps up the flavor without needing extra seasoning.
- The natural release is important but instead of waiting leisurely, do a quick 5-minute prep of chopping other ingredients during that time.
- If you want more crispiness after pressure cooking, broil the cauliflower for 2-3 minutes. Keep an eye on it so it don't burn.
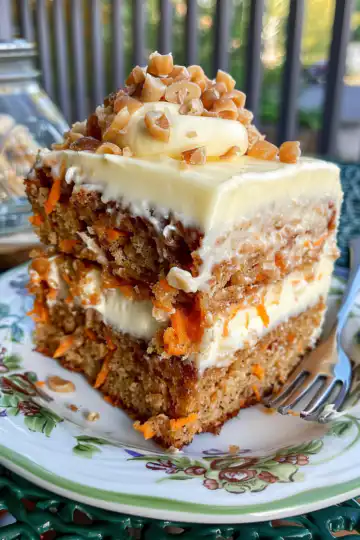
Want to try other delicious vegetarian pressure cooker recipes? Check out our Raisin Carrot Cake for a sweet twist or the comforting Guinness Beef Stew for something heartier.
The Flavor Experience Waiting for You
When you dig into this sweet and spicy roasted cauliflower, the first thing you notice is the perfect balance between the mild sweetness and that tongue-tingling heat. It's like your taste buds took a little trip.
The soy sauce adds this great background umami that makes the whole dish feel deep and satisfying. Not too salty, just right. The black pepper sneaks in with a gentle punch, rounding out every bite.
Because the cauliflower is cooked in the pressure cooker first, it's tender without being mushy. Then the slight crisp from broiling or tossing in a pan after gives you that texture contrast you didn't know you missed.
You end up with a plate that's kinda addictive with every bite inviting another. It's comfort food but with this exciting twist that feels special.

Smart Storage That Actually Works
If you got leftovers, store them in an airtight container in the fridge. They usually last about 3 to 4 days so you can enjoy them a couple times over.
Reheat in your microwave or toss in a hot pan to bring back some crispiness. Avoid just warming in a steaming bowl since that can make the texture go soggy.
For longer storage, you can freeze the cooked cauliflower in a freezer-safe bag or container. Just make sure it cools down completely before freezing to keep it fresh.
When you're ready to eat from frozen, thaw overnight in the fridge and reheat in a pan with a little oil to keep that texture close to fresh.
The FAQ Section You Actually Need
- Can I make this without Sriracha? Totally! You can swap it for chili flakes or leave it out if you want it sweet only. It still tastes great.
- What if I don't have a sealing ring? You kinda need one to build pressure safely. Check your pressure cooker manual or buy a replacement ring before trying.
- Can I use honey instead of maple syrup? Yep, honey works just fine and gives that same sweet balance.
- Is natural release really necessary? I swear it helps keep the cauliflower tender without turning mushy. Give it a shot.
- How do I know when pressure build is done? You'll notice the steam cues slow down and the cooker sounds change. It's a sign the cooker reached full pressure and started timing.
- Can I add extra spices? Heck yeah! Feel free to toss in garlic powder, smoked paprika or any spice you like to make it yours.

Sweet and Spicy Roasted Cauliflower in Your Pressure Cooker
Equipment
- 1 Pressure cooker
- 1 Steaming rack
Ingredients
Ingredients
- 1 head Cauliflower broken into bite-sized florets
- 2 tablespoons Olive oil
- 2 tablespoons Maple syrup or honey
- 2 tablespoons Sriracha sauce
- 0.5 tablespoon Low sodium soy sauce
- 0.5 teaspoon Black pepper
Instructions
Instructions
- Prepare your pressure cooker with about a cup of broth or water at the bottom.
- Cut the cauliflower into bite-sized florets.
- Toss cauliflower with olive oil, maple syrup, Sriracha sauce, soy sauce, and black pepper in a big bowl.
- Place a steaming rack into your pressure cooker, spread the cauliflower on it, above the broth.
- Lock the lid and cook under high pressure for 4 minutes, then let it naturally release.
- For a roasted touch, broil the cooked cauliflower for a few minutes or toss in a hot pan.