I step up to the trailhead with a rumble in my belly that you can almost hear over the creek. You remember that moment when you first set eyes on the river stones that will cradle our cast iron sear grate. You recall the scent of damp pine and the promise of Pumpkin Cinnamon Sugar Donuts later on wild fire pals style. That first spark of trailhead hunger is what feeds your soul before you even lay hands on the skillet.
You recollect each creek pebble glinting under early sun and each twig pop as you gather firewood for camp coals. I fumble a bit sorting pieces by size but you steady me with a nod. You reflect on how that simple action can shape your cook session. I can almost taste the sweet crisp strawberry jam coating soon oozing butter over warm dough at daybreak.
You feel that rough bark under your fingertips while I stack dry sticks just right so they breathe. You recall your protein trail pack from this morning stuffed under my pack straps and feel ready to trade that lean energy soon for a sugar boost. You realize even a donut recipe can feel like bushcraft science when you set it over a river rock grill grate.
Fire build bushcraft science
You start with kindling you broke down real fine. You remember that small bits catch flame fast and then you add slightly bigger sticks so the fire grows steady. You reflect on how oxygen feeds the flames and that setup is as crucial as your cast iron sear pan staying hot enough for later.
You gather pieces of hardwood next because they burn steadier and give those glowing embers you need for camp coals. You stir the flames slow so the heat spreads evenly under your grate. You recall the science here is simple but dang effective once you get the hang of air flow and steady fuel.
Pack list rundown six to eight items
Be sure to bring enough sourdough bread for the trek.
- Small saw or hatchet to split tough sticks
- Water filter bottle for creek water
- Portable protein trail pack for calories on the go
- Cast iron sear pan or skillet
- Grill grate capable of resting on river stones
- Fuel bag with fat wood or natural tinder
- Lightweight shovel or trowel for fire management
- Spatula and tongs built for open flame use
Grill setup steps five
Step one settle river stones in a bed that feels level and sturdy You want them tight enough that they wont shift when your skillet goes on top You recall I used to forget that and nearly tipped a hot pan when I was still new to this stuff
Step two build a small ring of camp coals in the center You pile charred wood bits and let them burn down until glowing orange That way you wont have bursts of flame under your cast iron sear pan
Step three position the grate just above the embers so it rests evenly across stones You reflect on how a solid platform makes all the difference for cooking Pumpkin Cinnamon Sugar Donuts or anything else you toss on there
Step four test your heat by carefully wafting your hand just above the metal surface You look out for a stable steady glow Don't skip this or you ll end up with burnt spots and raw dough in the middle
Step five adjust coal placement and add small chunks of wood as needed for a balanced grill bed You remember every ember you feed helps keep that flat pan warm enough for a perfect cast iron sear experience later
Sizzle echo scene
You hear that first sizzle when your greased pan touches the grate Heat radiates up in quick little pops and the fire crackles back at you You recall how that sound makes your heart skip a beat knowing something good is on the way
You lift the skillet slightly and the flames lick the bottom just enough to give a deep cast iron sear Without overdoing it you let the metal charge up for a couple minutes until it glows faintly orange under the soot That s when I know you re ready to drop sweet dough right in
Mid cook wood feed checkpoints
You glance around for dull gray chunks turning white You recall that spotty color means the wood is spent and needs fresh fuel You grab a few sticks from your pile and toss them gently on the embers so you wont blow ash everywhere
You lean in close enough to feel the heat wave You remember to rotate the embers so hotspots spread evenly beneath your pan Don t just drop wood in the center or youll end up with one blazing patch that scorches everything
You reflect on how wild fire pals taught me to feed sparingly when I first started messing with bushcraft You don t want a bonfire here just a steady bed of hot coals You slip in two sticks at a time and wait a beat to see how they ignite before adding more
Camp plate ideas
You gotta keep it simple when you re knee deep in nature Start with a leaf plate or a flat rock you washed earlier You remember rocks dry quicker if you lay them a few inches from the fire so you won t burn your hands when you serve
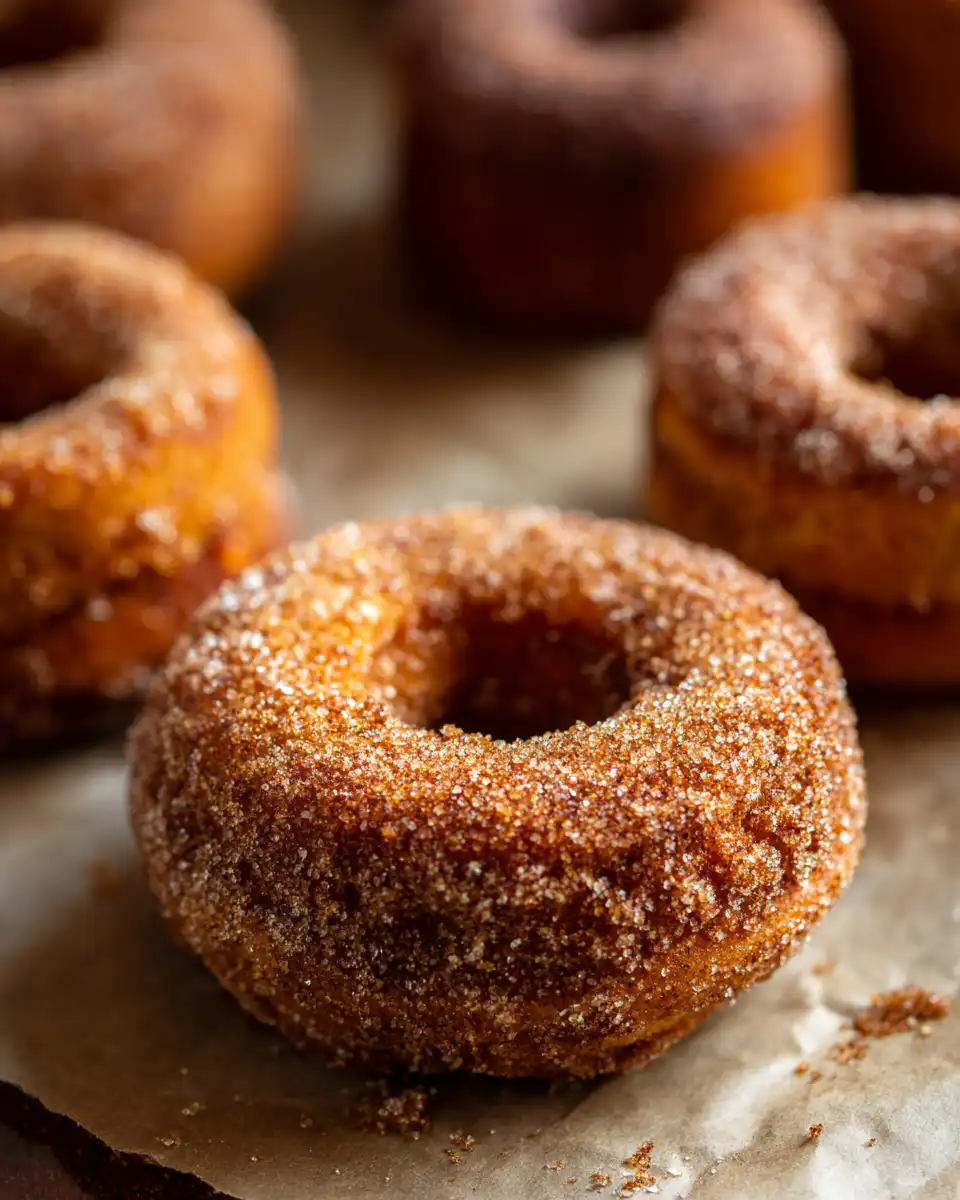
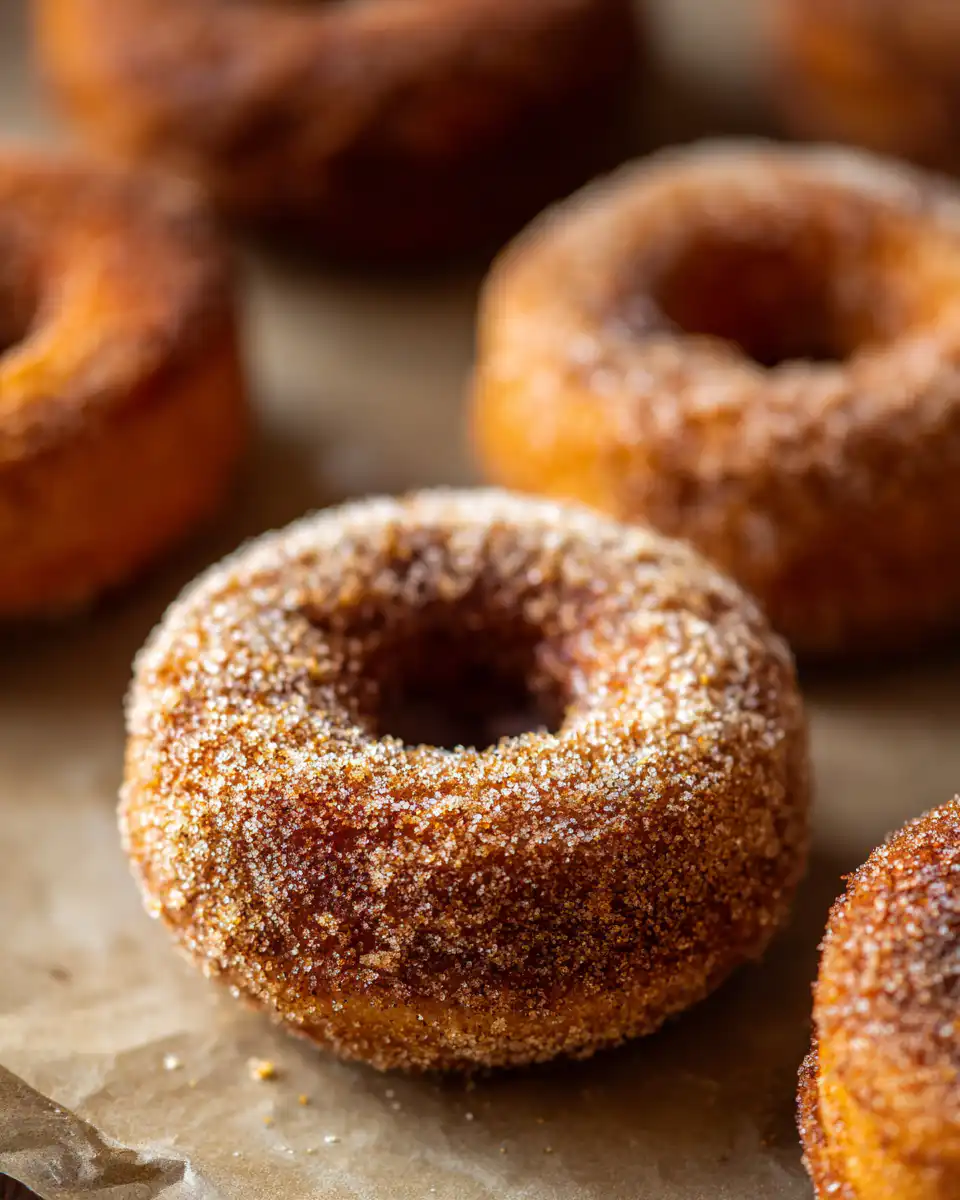
You sprinkle cinnamon sugar from a small bag right over your Pumpkin Cinnamon Sugar Donuts as soon as they land on the plate You reflect on how the spice mix melts into nooks on the crust and gives every bite a warm hint of fall
You garnish with pine needles or spruce tips near the edge of your plating area to add that fresh forest vibe Sure it s not edible but honey-glazed carrots look almost too good to eat
Leftover trail snack guide
You pack up any extra donuts by wrapping them in parchment or banana leaves from camp You remember they hold shape better and wont stick to each other if you do this right After that I tuck them in my protein trail pack next to dried fruit and nuts
You can swap in a cup of crack chicken noodle soup instead of donuts when you need something savory on the trail
You reflect on storing any leftover bits in a zip bag or small container I learned the hard way when crumbs turned my pack into a sticky mess The parchment trick cuts that pain right out
Final campfire chat plus FAQs
You sit back by the dying embers and let the heat fade You recall our chat before hitting the trail tomorrow morning You remember to pack out every scrap of trash and maybe stoke this fire one more time just for the thrill of it
Q Which wood is best for coals that last long
You want hardwood like oak maple or hickory It burns slower and gives you those glowing coals you need for a steady cast iron sear without big flames
Q How do I keep my donuts from sticking
Rub your skillet with a thin film of oil or butter and dust it lightly in flour or sugar That little barrier helps your Pumpkin Cinnamon Sugar Donuts slide right out instead of tearing apart
Q Can I use charcoal if I can not find wood
You sure can But you ll miss out on some of that smoky forest flavor In a pinch charcoal works fine just let it burn down until it s glowing and add a few small wood bits for that wild fire pals vibe
Q What else can I cook on that grate
Anything from fish and veggies to pancakes or bacon You just watch your cast iron sear temp and move the coals around to create hotter and cooler zones Don t be shy to experiment
Q How do I clean my pan after camp
While it s still warm scrub it with a few hot stones or wood shavings then wipe it out with oil before storing A little care now saves you grief next trip
You reflect on every lesson from fire science to plate ideas You recall the taste of those Pumpkin Cinnamon Sugar Donuts melting in your mouth You pack up your gear and let the trail call your name until next time
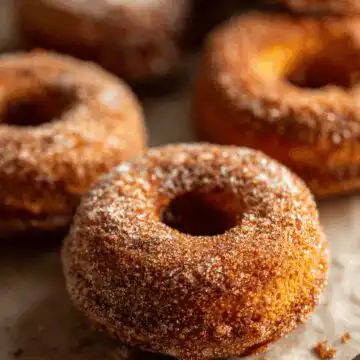
Pumpkin Cinnamon Sugar Donuts
Equipment
- 1 donut pan
- 2 mixing bowls
- 1 whisk
- 1 rubber spatula
- 1 piping bag or zip-top plastic bag
- 1 cooling rack
- 1 small bowl
Ingredients
- 1 cup all-purpose flour
- ½ cup pumpkin puree canned or fresh
- ½ cup granulated sugar
- ¼ cup brown sugar
- 2 large eggs
- ¼ cup milk
- 2 teaspoon baking powder
- 1 teaspoon ground cinnamon
- ½ teaspoon ground nutmeg
- ½ teaspoon salt
- ¼ cup melted butter
- ¼ cup granulated sugar for coating
- 1 teaspoon ground cinnamon for coating
Instructions
- Preheat your oven to 350°F (175°C) and grease your donut pan with cooking spray or butter.
- In a mixing bowl, whisk together the all-purpose flour, baking powder, ground cinnamon, ground nutmeg, and salt until well combined.
- In another bowl, combine the pumpkin puree, granulated sugar, brown sugar, eggs, milk, and melted butter. Mix until smooth.
- Gradually add the dry ingredients to the pumpkin mixture, gently folding until just combined. Be careful not to overmix. The batter should be thick.
- Transfer the batter to a piping bag or a zip-top plastic bag with one corner snipped off. Pipe the batter into the prepared donut pan, filling each cavity about ⅔ full.
- Bake for 12 to 15 minutes, or until the donuts are golden and a toothpick inserted into the center comes out clean.
- While the donuts are baking, mix together the remaining ¼ cup granulated sugar and 1 teaspoon ground cinnamon in a small bowl to create the cinnamon sugar coating.
- Allow the donuts to cool in the pan for a few minutes before transferring them to a cooling rack. Once slightly cooled, coat each donut in the cinnamon sugar mixture, ensuring they are completely covered.
- Serve warm or at room temperature. Enjoy your delicious pumpkin cinnamon sugar donuts!