That first hiss from the cooker tells you something good is happening.
You remember that sound right? The steam cues start to build and the sealing ring does it's thing, locking in all that broth depth you've created in the pot. You can almost guess that tender pull you're gonna get from these knots just from that initial pressure build.
Making dough in a pressure cooker might seem a little weird, but it works real good for these herbed garlic knots. You get a faster rise and a moist environment which never dries out the dough like your typical oven might. It's kinda like giving your yeast the perfect little sauna to puff up in.
Then you got the garlic and herbs mix melting right over the top once everything's done, soaking in all that warmth. You feel that fresh garlic scent swirl in the kitchen and it just gets your mouth watering before you even get to eat.
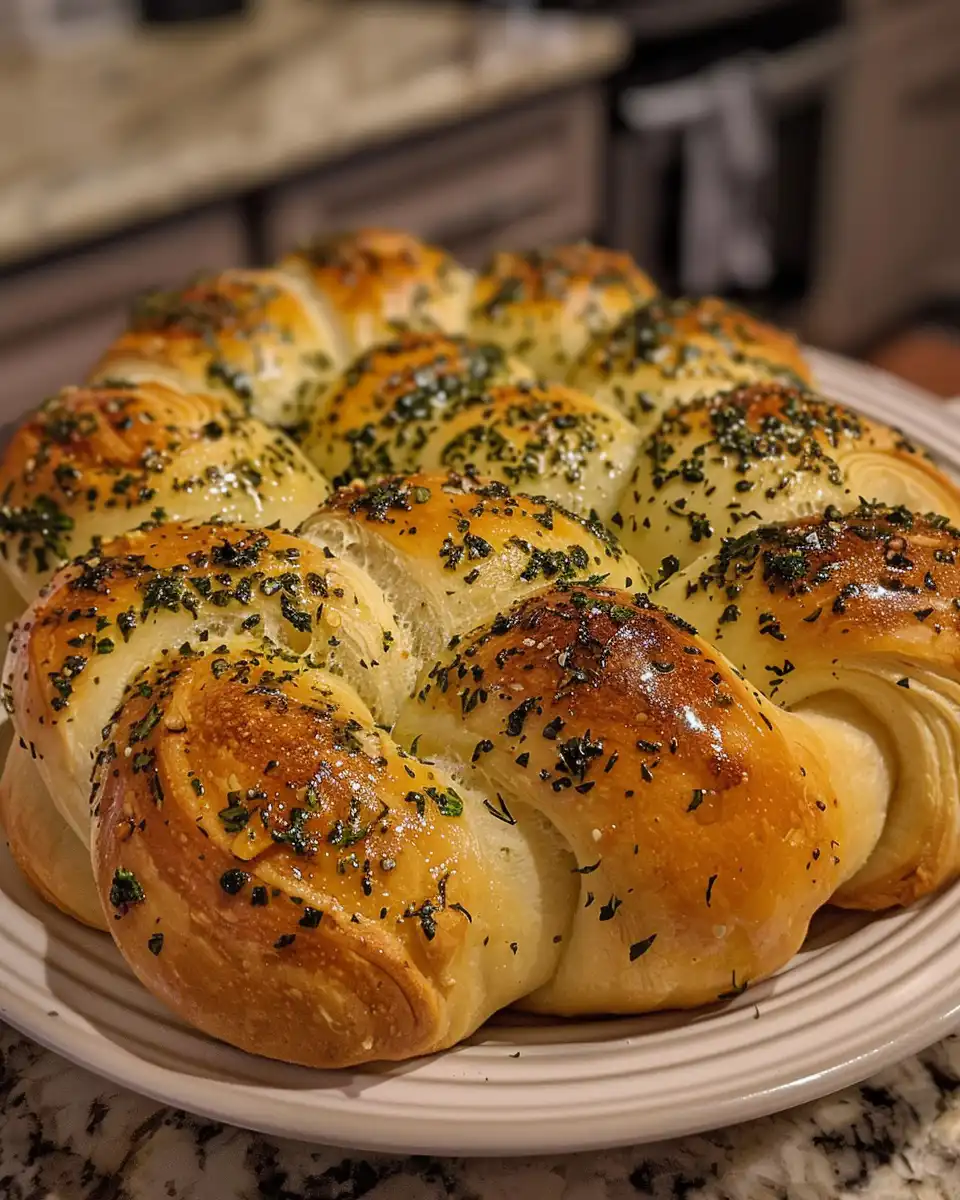
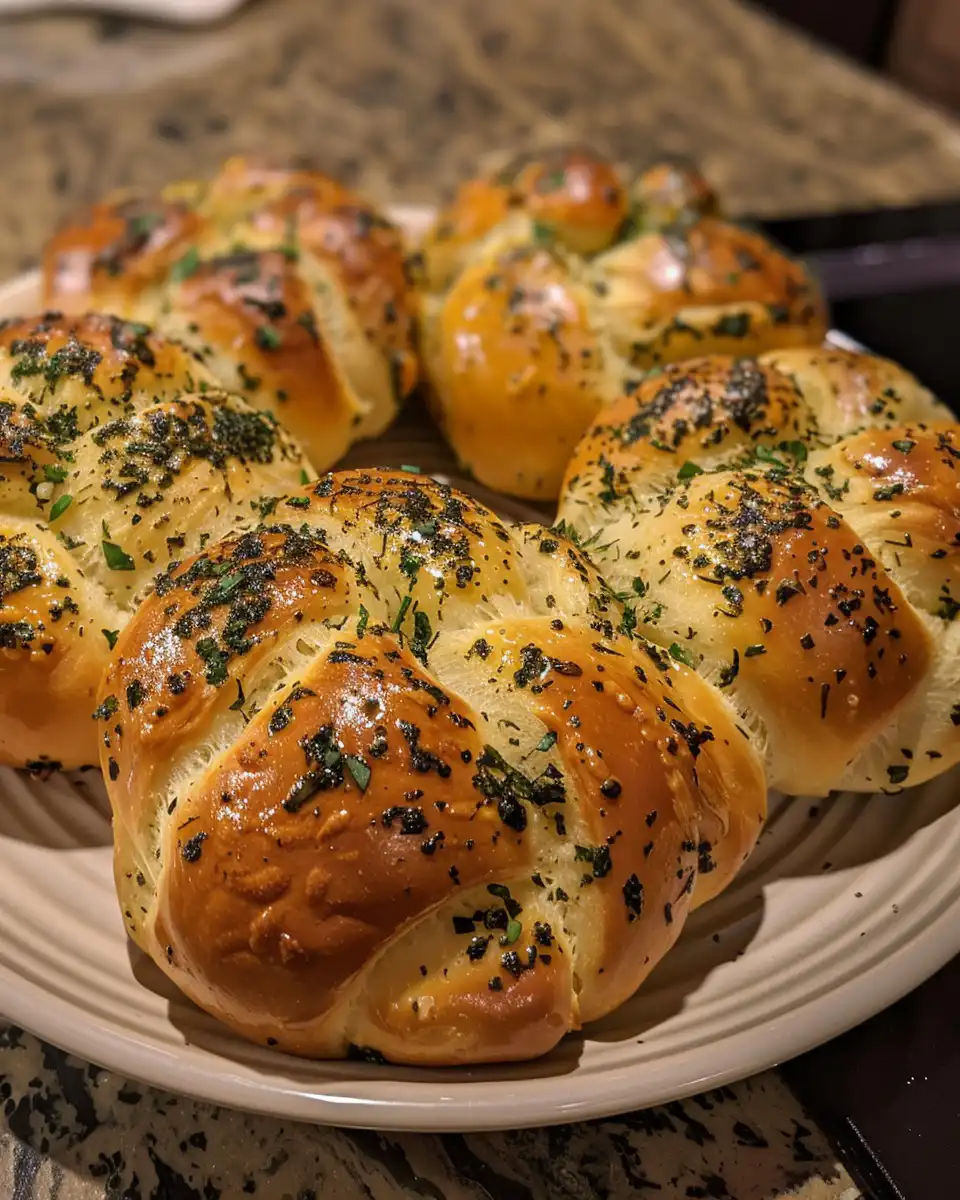
There's something about pulling those warm, soft knots apart straight from the pot that just can't be beat. The butter's melted in every nook and cranny, and you gotta love how the fresh herbs add a pop of brightness that keeps it from feeling too heavy.
The Real Reasons You Will Love This Method
- Fast pressure build means the dough rises quicker than usual
- The sealed environment keeps everything moist, no crust drying out
- Herbs and garlic soak right into the knots for a full flavor punch
- You avoid the usual wait times of traditional yeast baking
- Pressure cooker keeps the oven free for other dishes you're making
- Dough stays warm but doesn't get too hot to kill your yeast
- Cleans up easier than a sticky oven mess
What Goes Into the Pot Today
- 1 ¾ cups (420ml) warm water around 1156F (466C) - warm to activate yeast but not kill it
- ¼ cup (60ml) olive oil - plus extra for brushing after baking
- 1 teaspoon kosher salt - pulls flavor together nicely
- 1 tablespoon sugar - feeds the yeast for that nice rise
- 1 ½ tablespoons active dry yeast - the workhorse of your dough
- 5 ½ cups (685g) flour - plus extra for rolling and dusting
- ¼ cup (60ml) olive oil - for brushing the finished knots
- ¼ cup (½ stick / 57g) unsalted butter - melts over the knots for richness
- 6 medium cloves garlic, finely chopped - packs the herby savory smell
- ⅓ cup (20g) finely chopped fresh herbs of choice - like parsley, oregano, thyme, basil, mint, whatever you got
Walking Through Every Single Move
Start by mixing warm water, olive oil, kosher salt, sugar, and active dry yeast in a big bowl. You gotta let it sit for about 5 minutes until you see it froth up. That bubbling is your yeast waking up and ready to work.
Next, gradually add your flour while stirring. You wanna keep mixing until a dough starts to form that's sticky but not totally sloppy. Got your hands ready? It's time to knead.
Move over to a floured surface and give it a good 5-7 minute knead. You want the dough smooth and elastic. This is how you get those soft, chewy knots later on.
Pop the dough into a greased bowl, cover it with a damp cloth, and let it rise somewhere warm for about an hour. It should double in size-that's how you know the yeast is happy.
While you wait, preheat your oven to 4006F (2006C). Punch down your risen dough and divide it into small pieces. Roll each piece into a rope and tie it into a knot. Place 'em on a baking tray lined with parchment paper.
In a small saucepan, melt the butter, add chopped garlic and herbs, then brush this heavenly mix over your knots. Slide them into the oven for 15-20 minutes until a lovely golden brown. When they come out, give a final brush with olive oil and serve while they're warm and irresistible.
Time Savers That Actually Work
- Use warm water straight from the tap, heated just enough to feel comfortably warm on your wrist
- Pre-measure all dry ingredients the night before to get going quickly
- Grab pre-minced garlic if you're in a real hurry, it kinda works (fresh is always best though!)
- Roll dough ropes while waiting on the dough to rise so you're ready to bake right away
- Brush herb butter on knots while they bake to save a step after they come out
When You Finally Get to Eat
That first bite hits your tongue with soft doughy goodness wrapped in garlic and herbs. You sense the butter soaking in deep, making every knot feel rich but still light enough to pull apart easily.
The bread's tender pull is just right - not too chewy, not too dense. You remember the saute9ed garlic aroma that fills your nose and makes it impossible to stop eating more.
Eating these warm feels like a cozy hug on a busy day. You find yourself dunking pieces in olive oil or just eating 'em plain. Whatever way you do it, these knots bring a little fresh homemade comfort right to your kitchen.
Smart Storage That Actually Works
- Wrap cooled knots tightly in foil or plastic wrap and store at room temp for the day
- For longer storage, pop them in a sealed container in the fridge up to 3 days
- Freeze cooled knots in a freezer bag with air squeezed out, good for up to 2 months
- To reheat, warm gently in the oven or microwave until the butter melts again and dough softens
The FAQ Section You Actually Need
- Can I use active dry yeast straight from the fridge?
You gotta bring it to room temp before mixing, otherwise it won't activate well and you won't get that good pressure build (classic deviled eggs). - What if my dough doesn't rise?
Double check your water temp and yeast freshness. Yeast hates too hot or too cold. Also, the sealing ring in your cooker needs to be properly set so steam cues can build up (Jewish brisket). - Can I swap herbs for dried ones?
You can but fresh herbs give a brighter, fresher flavor. Dried will work, just don't use too much or they might overpower the dough (caramel coffee cinnamon rolls). - Is it okay to freeze the uncooked dough?
You sure can freeze it. Just thaw in fridge overnight and then let it come to room temp before you shape and knot (Jewish brisket). - How do I know when knots are done baking?
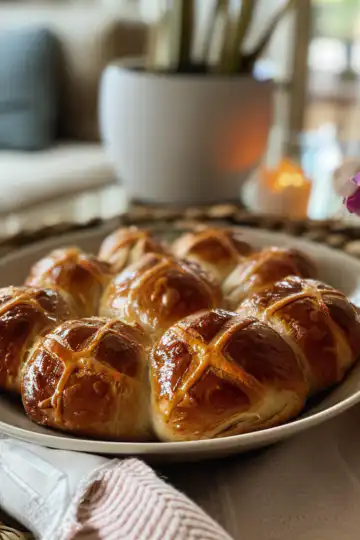
Look for that golden brown top and a slight firm feel when you gently press. They should have a good tender pull, not too doughy but not dry either (classic hot cross buns). - Can I bake these without a pressure cooker?
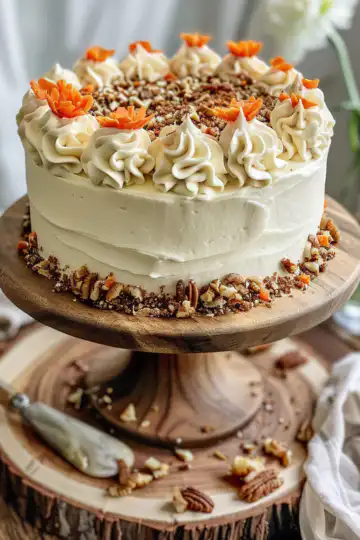
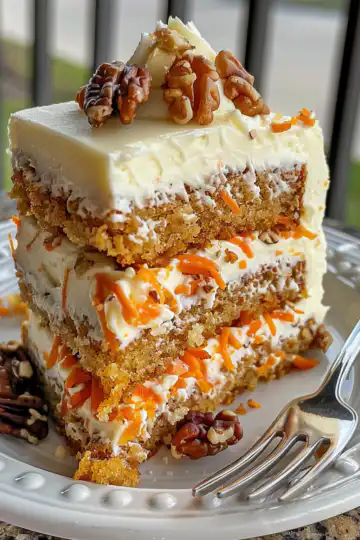
You can but you'll lose the moist environment the cooker creates. The oven method takes longer and might dry out the knots a bit more (carrot cake cupcakes).

Herbed Garlic Knots
Equipment
- 1 Pressure cooker
Ingredients
Main ingredients
- 1 ¾ cups Warm water around 115°F (46°C) — warm to activate yeast but not kill it
- ¼ cup Olive oil plus extra for brushing after baking
- 1 teaspoon Kosher salt pulls flavor together nicely
- 1 tablespoon Sugar feeds the yeast for that nice rise
- 1 ½ tablespoons Active dry yeast the workhorse of your dough
- 5 ½ cups Flour plus extra for rolling and dusting
- ¼ cup Olive oil for brushing the finished knots
- ¼ cup Unsalted butter melts over the knots for richness
- 6 medium cloves Garlic finely chopped — packs the herby savory smell
- ⅓ cup Fresh herbs finely chopped, like parsley, oregano, thyme, basil, mint
Instructions
Instructions
- Mix warm water, olive oil, kosher salt, sugar, and active dry yeast in a big bowl. Let it sit until frothy, about 5 minutes.
- Gradually add flour while stirring. Knead until dough is smooth and elastic.
- Place dough in a greased bowl, cover, and let rise in a warm place for about 1 hour, or until doubled in size.
- Preheat oven to 400°F (200°C). Punch down dough, divide, and roll into ropes. Tie into knots and place on a baking tray lined with parchment paper.
- Melt butter in a saucepan, add garlic and herbs, and brush over knots.
- Bake for 15-20 minutes until golden brown.
- Brush finished knots with olive oil and serve warm.