
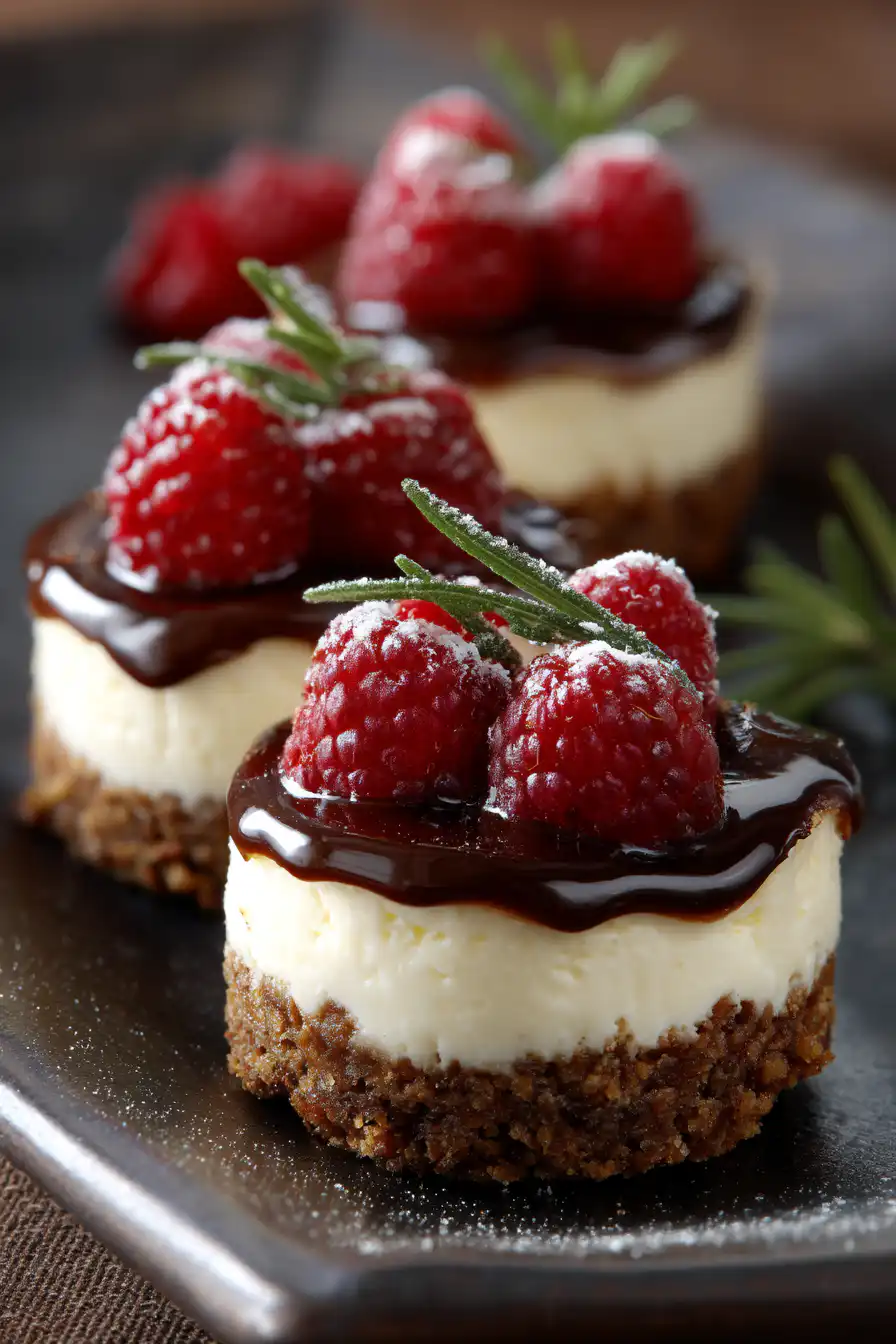
Mini cheesecakes have made a cool little spot in the whole dessert scene and are loved by both pro chefs and people who just like baking at home. They catch all the creamy, rich goodness of a regular cheesecake, but they come in a fun, tiny size that makes 'em a hit at any party. They not only taste awesome but you can mix them up any way you want. Whether you go with plain vanilla or try out wild combos like salted caramel with raspberries, mini cheesecakes let you be super creative.
Cheesecakes have been around for a really long time, going back to ancient Greece and Rome. Over the years, people from different cultures changed up the recipe using local ingredients and techniques. The mini version is just a modern twist on this classic treat. Its small size makes it easier to handle and perfect for those times when you want a sweet bite without overdoing it.
One of the best things about mini cheesecakes is that you can make them your own. They can be baked or even made without baking, and you can flavor them with fruits, chocolates, or even spices. You can top them with anything from fresh berries to drizzles of caramel or chocolate. This makes them a favorite for parties, baby showers, or even fancy events. As you read on, you'll learn not just how to make them but also about a whole bunch of ways to switch things up to impress your family and friends.
The Basics of Mini Cheesecakes
Mini cheesecakes are like the bite-sized version of a big cheesecake. They are usually around 2 to 3 inches in diameter. They pack the same yummy, creamy texture as their larger brothers but in a smaller package, making them super easy to serve at events without needing huge slices. Their size is not only fun but also good for those who dont want to eat too much sugar at once.
Why Choose Mini Cheesecakes?
There are loads of reasons to pick mini cheesecakes instead of a big one. First off, they help with portion control; you get your treat without the risk of eating too much. Second, the small size means you can try a variety of flavors and toppings, giving you lots of options to choose from for different tastes. Lastly, these little cakes are great for parties because everyone gets their own treat. This cuts down on needing extra plates or utensils, making the clean up way easier while still impressing your guests.
Common Ingredients
The start of any mini cheesecake usually has these basic ingredients: cream cheese, sugar, eggs, and some flavorings. Depending on what kind you want, you can use different crusts like a regular graham cracker crust, crushed Oreos, or even a nut crust if you need a gluten-free option. There are also lots of alternatives like low-fat cream cheese or dairy-free versions for people who cant have lactose. This mix and match of ingredients is what makes mini cheesecakes so appealing-they can really be enjoyed by almost everyone.
Popular Variations of Mini Cheesecakes
When it comes to mini cheesecakes, the choices are almost endless. You can pick from a bunch of flavors and styles that are sure to hit the spot. A classic mini cheesecake is made with a smooth, creamy filling that has just a touch of vanilla and is usually topped with a bit of whipped cream.
Fruit-topped Mini Cheesecakes
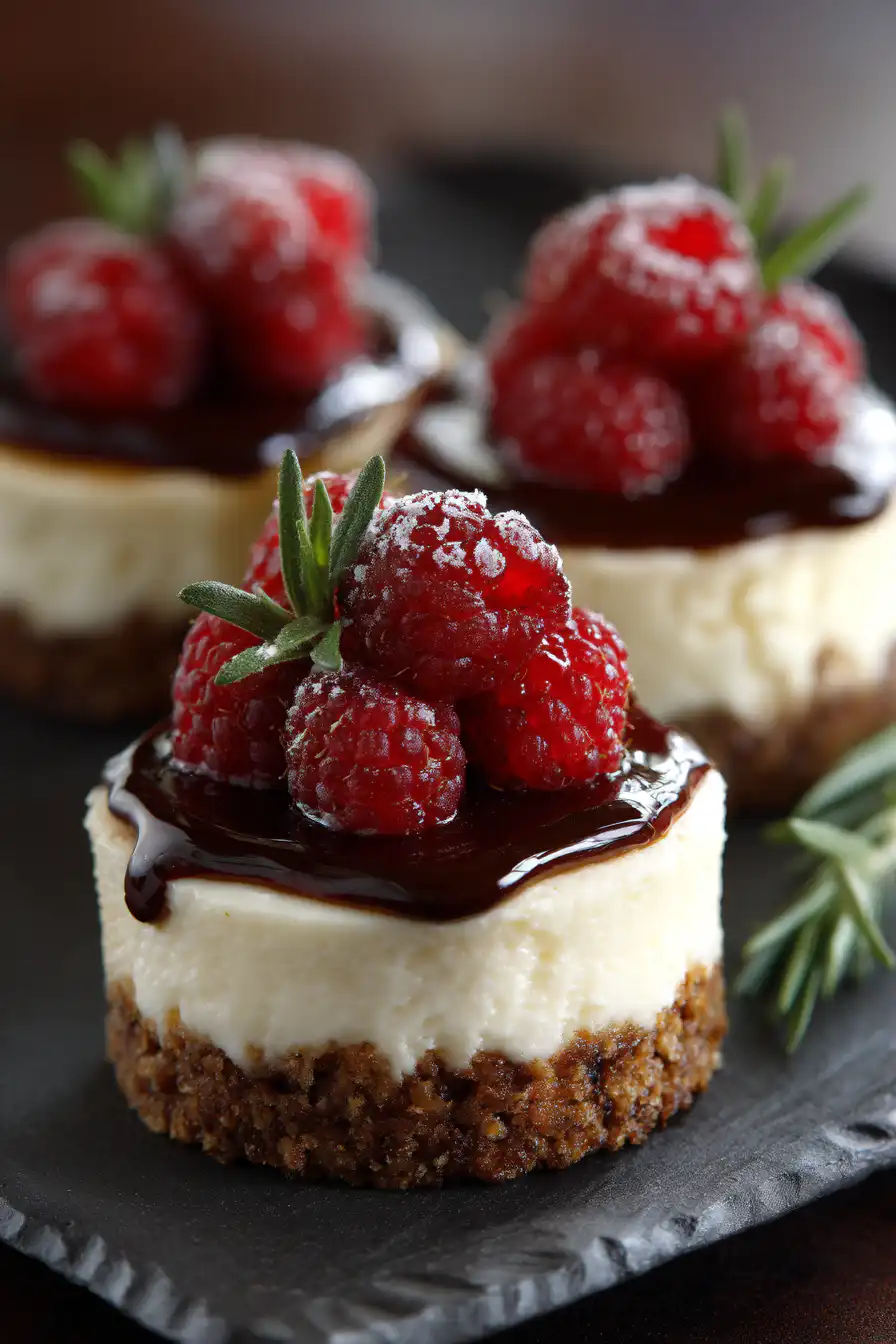
Fruit-topped mini cheesecakes are really refreshing, using the bright flavors of seasonal fruits. Favorites include strawberry, blueberry, or even a mix of different berries. The fruit adds a nice sweet-tart twist to the richness of the cheesecake and makes it a hit for summer parties or brunches.
Chocolate Mini Cheesecakes
If you love chocolate, mini cheesecakes can be made with a deep chocolatey flavor by adding cocoa powder or even melted chocolate. You can make them with dark or milk chocolate or even add a spoonful of Nutella for extra fun. Some recipes go a step further by topping them with chocolate ganache or chocolate shavings for a real decadent treat.
Seasonal Mini Cheesecakes
Seasonal mini cheesecakes are a fun way to mark holidays all year round. For example, pumpkin mini cheesecakes in the fall are spiced up with warm spices like cinnamon and nutmeg, while during winter, peppermint versions are super popular. These seasonal ones let bakers mix flavors that fit right in with holiday vibes, making them perfect for festive get-togethers.
No-bake vs. Baked Mini Cheesecakes
There are two main ways to make mini cheesecakes: baked and no-bake. Baked mini cheesecakes are cooked in the oven which gives them a firmer texture. On the other hand, no-bake ones are just chilled in the fridge which makes them lighter and creamier. Both styles have their own perks; the baked ones feel more traditional while the no-bake versions are quicker and easier for last minute plans.
How to Make Mini Cheesecakes
Making mini cheesecakes at home is pretty simple and its really rewarding when you see your friends and family enjoy 'em. Below is a clear recipe to help you make classic mini cheesecakes that are sure to impress.
Ingredients
- 16 oz cream cheese
- 1 cup granulated sugar
- 1 cup sour cream
- 3 large eggs
- 1 teaspoon vanilla extract
- 1 cup graham cracker crumbs (for crust)
- ¼ cup unsalted butter, melted
Directions
- Preheat your oven to 325°F (160°C).
- Prepare a muffin or cupcake tin with liners.
- Mix the graham cracker crumbs with melted butter in a bowl and press it into the liners to form a crust.
- In a separate bowl, beat the cream cheese until its smooth.
- Slowly mix in the sugar until everything is combined good.
- Add sour cream, eggs, and vanilla then mix until smooth.
- Pour the filling over the crusts and bake for about 20-25 minutes.
- Let them cool, then pop 'em into the fridge for at least 2 hours.
Serving Suggestions
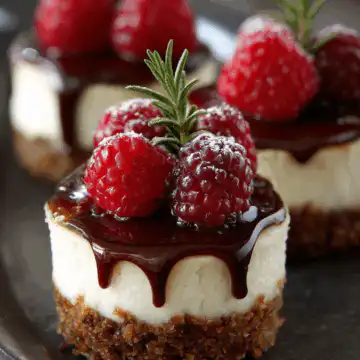
You can top your mini cheesecakes with things like fresh fruits, chocolate sauce, or whipped cream to give them more pizazz. Try a light dusting of cocoa powder or even finely grated chocolate on top for that extra special look.
Tips for Perfection
Tips for Baking Mini Cheesecakes
To get the best results while baking mini cheesecakes, keep these tips in mind:
- Room Temperature Ingredients: Make sure that all your ingredients, especially the cream cheese and eggs, are at room temperature. This helps to get a smoother batter with no lumps.
- Perfect Consistency: Don't overmix the batter - just mix until all the ingredients are combined. Overmixing can add too much air and might cause cracks when baking.
- Avoiding Cracks: To help keep cracks at bay, bake the cheesecakes in a water bath. Put the muffin tin inside a larger pan with hot water to create a steamy environment in the oven.
Storage and Serving Suggestions
Keep your mini cheesecakes in an airtight container in the fridge for the best taste. They are best eaten within 3-5 days. For a nice presentation, serve them on a pretty platter garnished with fresh mint leaves or edible flowers if you want to impress.
FAQs
What's the best way to serve mini cheesecakes?
Mini cheesecakes are best served cold, straight out of the fridge. You can add garnishes like fresh fruits, drizzles of sauce, or a dollop of whipped cream right before serving to make them look extra appealing.
Can mini cheesecakes be frozen?
Yes, they can! You can freeze mini cheesecakes for up to two months. Just wrap each one in plastic wrap and then in aluminium foil before puttin them in a freezer-safe container. When you wanna eat them, let them thaw in the fridge for a few hours.
How do I customize my mini cheesecakes?
It's simple to change up your mini cheesecakes. You can add extra flavorings like lemon zest or almond extract to the batter. For toppings, try different fruits, a drizzle of chocolate ganache, or even flavored whipped creams to make each one unique.
Are there gluten-free options for mini cheesecakes?
Definitely! To make gluten-free mini cheesecakes, you can swap out the regular graham cracker crust for one made from gluten-free cookies, nuts, or gluten-free graham crackers.
How long do mini cheesecakes last in the fridge?
Generally, mini cheesecakes last in the fridge for about 3-5 days. Just make sure they are kept in an airtight container so they stay fresh and dont pick up other smells.
Conclusion
Mini cheesecakes are super versatile and fun, which makes them a top pick for anyone with a sweet tooth. Their mixable flavors and cute look let you show off a bit of creativity while satisfying your craving for something sweet. Whether you enjoy them at a party or just as a nice treat at home, mini cheesecakes are sure to impress and bring a little joy to any occasion.
Mini Cheesecakes
Equipment
- 1 muffin tin (12-cup)
- 2 mixing bowls
- 1 electric mixer or whisk
- 1 measuring cups and spoons
- 1 rubber spatula
- 1 parchment paper (optional for easy removal)
Ingredients
- 1 cup graham cracker crumbs
- ¼ cup granulated sugar
- ⅓ cup unsalted butter, melted
- 16 oz cream cheese, softened
- ½ cup granulated sugar
- 1 teaspoon vanilla extract
- 2 large eggs
- ½ cup sour cream
- 1 tablespoon all-purpose flour
Instructions
- Preheat your oven to 325°F (160°C). Line a muffin tin with paper liners or grease it lightly.
- In a mixing bowl, combine the graham cracker crumbs, ¼ cup sugar, and melted butter. Mix until well combined and the crumbs resemble wet sand.
- Spoon about 1 tablespoon of the crumb mixture into each muffin cup, pressing it down firmly to create the crust. Bake for 5 minutes, then remove from the oven and let cool.
- In another mixing bowl, beat the softened cream cheese with an electric mixer until smooth. Gradually add in ½ cup sugar and mix until combined.
- Add the vanilla extract and mix well. Incorporate the eggs one at a time, ensuring each is fully combined before adding the next.
- Add in the sour cream and flour, mixing until just combined and smooth. Avoid overmixing.
- Pour the cheesecake filling evenly over the crusts in the muffin tin, filling each cup about ¾ full.
- Bake in the preheated oven for 20 minutes or until the edges are set and the centers slightly jiggle.
- Turn off the oven, crack the door, and let the cheesecakes cool in the oven for about 30 minutes. This helps prevent cracks.
- After cooling, transfer the cheesecakes to the refrigerator and chill for at least 2 hours before serving.