
Dreamy Pinky Delight is a yummy strawberry cheesecake that mixes the thick, creamy texture of a regular cheesecake with the sweet and fresh taste of strawberries. It doesn't just look cool with its pink color, but it also has a mix of flavors that many people really like. Adding strawberries makes this cheesecake even better by giving it a fruity twist that goes great with the rich creaminess.
Strawberries are super popular in desserts cuz of their natural sweetness and pretty red color. They have been used in lots of recipes all over the world, often with creamy treats to make a tasty mix. In this recipe, strawberries turn a classic cheesecake into a summer treat that's perfect for parties or just when you feel like having a sweet snack.
In this article, you'll go through how to make Dreamy Pinky Delight step by step. You will find out a bit about where strawberry cheesecake came from, what ingredients you need, and some handy tips for picking the best strawberries. We also share secrets on how to get the crust and creamy filling just right, along with the tools you need and a step-by-step guide. With these tips and some common mistakes pointed out, this recipe is meant to help both new bakers and experienced chefs get creative in the kitchen.
What is Dreamy Pinky Delight?
Dreamy Pinky Delight is a cool take on the normal cheesecake, known for its pretty pink color and the amazing taste of strawberries. Some people say that strawberry cheesecake has been around since ancient Greece where athletes ate a simple cheesecake during the Olympic Games to get energy. Over time, the recipe changed and added many flavors, one of which is fruit. Strawberries quickly became a favourite because they're sweet and work well with other tastes.
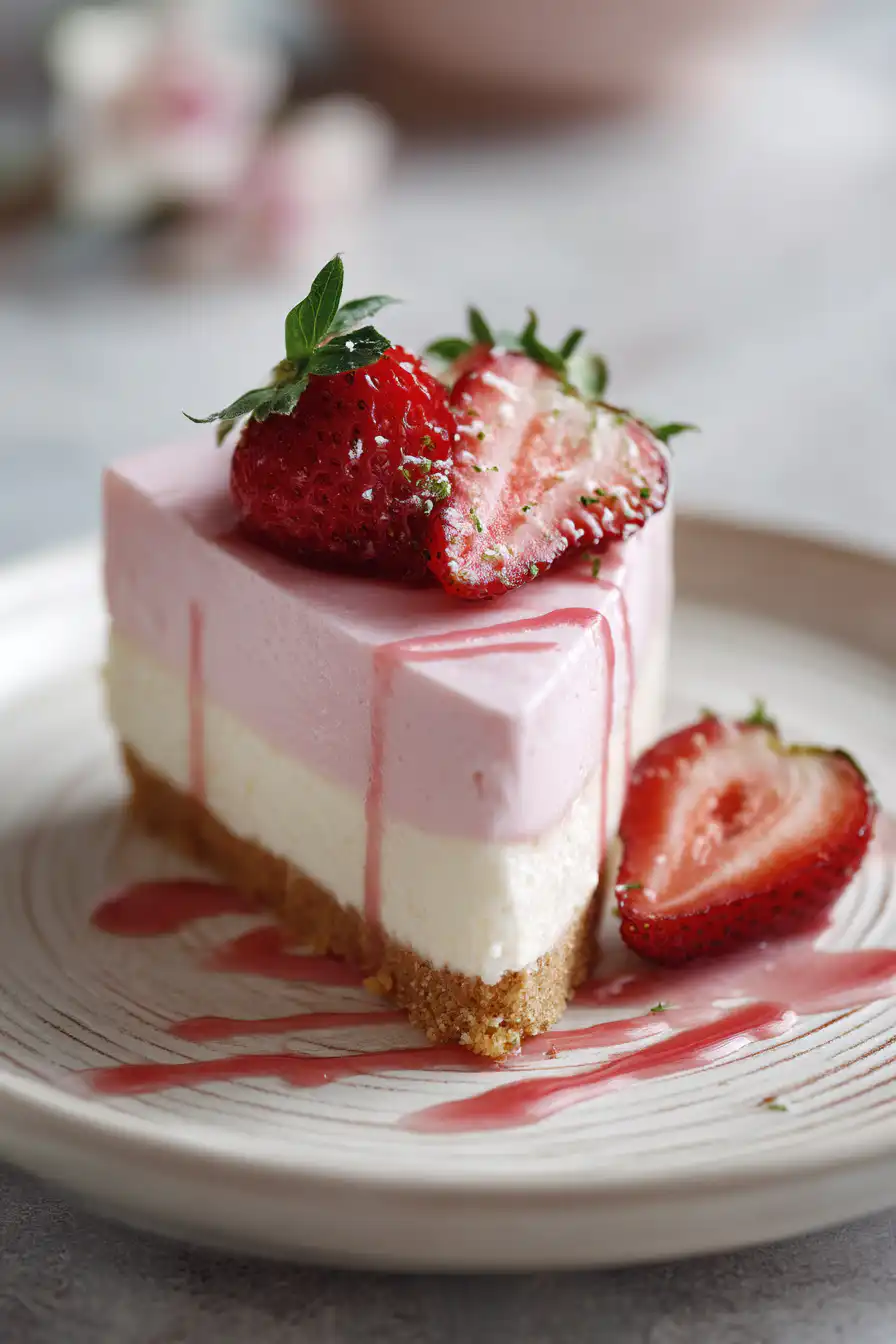
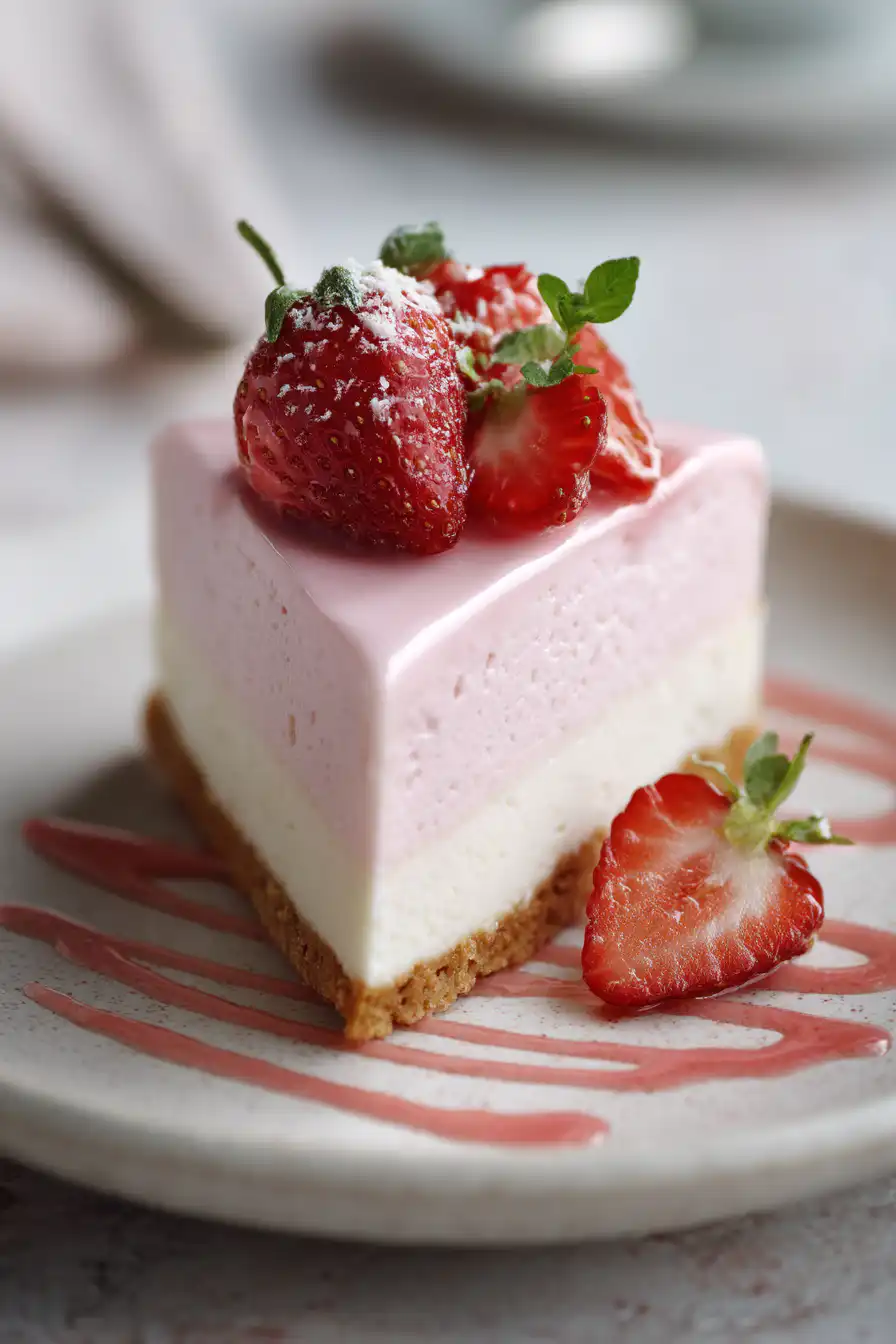
Strawberries don't just boost the taste of the cheesecake-they make it look really inviting too. When you cut into this cheesecake, you can see swirls of pink and hints of fresh strawberries in the mix. Whether for a summer party or a quiet night at home, Dreamy Pinky Delight is a perfect dessert treat.
Why Pinky Delight?
The name "Dreamy Pinky Delight" gives off a fun and light feel, matching up with the dessert's look and flavor. The word "pinky" shows off the dessert's cute pink color, which comes from the blended strawberries in the mix, and it kinda gives it a fancy vibe. This sweet touch together with the smooth creaminess makes it great for every kind of get-together, from family dinners to fancy parties.
The way Dreamy Pinky Delight looks also adds to its charm. When it's cut, you see pretty pink swirls mixed with bits of strawberry in the creamy filling. Topping it off with extra strawberries or a bit of whipped cream makes it look as good as it tastes. The combo of a sharp look with yummy flavors makes Dreamy Pinky Delight more than just a dessert-it creates an experience that makes you wanna have another slice of this creamy, fruity treat.
2. Ingredients
Making the Dreamy Pinky Delight means you gotta use good quality ingredients so the flavor and texture come out just right. Here is a list of the main ingredients, the stuff for the crust, and some ideas for extra toppings that can make this cheesecake extra special.
2.1 Main Ingredients
- Cream Cheese: This is the star of the show. It gives the cheesecake its rich and smooth texture. It's best to use full-fat cream cheese for the best taste.
- Strawberries: Fresh strawberries work best 'cause they give a powerful flavor. You can use frozen ones too, but make sure to let them thaw and drain off any extra water.
- Sugar: Regular white sugar is normal, but if you want a different twist, you can try brown sugar. Just change the amount if you like it sweeter or less sweet.
2.2 Crust Ingredients
- Types of Crust: A graham cracker crust is the usual pick, but if you like chocolate, an Oreo crust is a cool choice. Use your own taste as a guide.
- Butter: It's usually best to use unsalted butter so you can control how salty the crust gets. If you only have salted butter, its okay too.
- Optional: For those doing gluten-free, you can try almond flour or crushed gluten-free cookies. Nuts can also be added in for extra flavor.
2.3 Topping Ingredients
- Whipped Cream: Using whipped cream gives a light and fluffy taste and makes a nice topping before serving.
- Chocolate Shavings: If you love chocolate, sprinkle some shavings on top for a little extra kick.
- Fruit: Try adding fresh strawberry slices, raspberries, or any seasonal fruit for a burst of color and extra flavor.
3. Equipment Needed
Before you start making your cheesecake, make sure you have all the right tools. This will help you make the dessert faster and easier.
- Baking Pan: A springform pan is best 'cause it makes it easier to get the cheesecake out. They usually come in sizes from 8 to 10 inches.
- Mixing Bowls: Have a few bowls of different sizes for mixing the crust and filling separately.
- Electric Mixer: An electric mixer makes beating the cream cheese really fast, but if you don't have one, a whisk will work, though it might take longer.
- Cooking Utensils: You will need measuring cups, spoons, a spatula, and a knife to put everything together and then serve it.
4. Step-by-Step Instructions
4.1 Preparing the Crust
Getting the crust ready is important since it holds the cheesecake together. Follow these easy steps:
- Preheat Oven: Start by heating your oven to 350°F (175°C) so it warms up while you get the crust ready.
- Mix Crust Ingredients: In a bowl, mix your chosen crust ingredients (graham cracker crumbs or Oreo crumbs mixed with melted butter) until everything is well combined.
- Press into Pan: Firmly press this mixture into the bottom of your springform pan until it's even. Then bake it for about 10 minutes until you see a slight golden color. Let it cool before you put in the filling.
4.2 Preparing the Cheesecake Filling
This is the most important part because the filling is where all the yummy flavors come from. Follow these steps to get it just right:
- Cream Cheese Mixing Tips: In a large bowl, beat the cream cheese until it's smooth and free of lumps. An electric mixer works best for this, but be careful not to overmix.
- Adding Eggs and Sugar: Slowly mix in sugar until it's combined, then add the eggs one at a time. Mix each egg in just until you don't see any more streaks. Overmixing may cause problems with the texture.
- Folding in Strawberry Puree: Gently fold the strawberry puree into the cream cheese mix until you see a nice, even pink color all through the batter.
4.3 Assembling and Baking
Once both the crust and filling are ready, it is time to put everything together:
- Pouring Filling into Crust: Carefully pour the cheesecake filling over the cooled crust. Smooth out the top with a spatula so it looks neat.
- Baking Tips: Place the pan into your preheated oven and bake for about 50-60 minutes. The edges should be set while the middle might still have a small jiggle. Watch it closely so it doesn't overcook.
- Cooling Down: When done, turn off the oven and leave the cheesecake inside with the door slightly open for about one hour to let it cool slowly. Then, move it to the refrigerator for at least 4 hours, or even overnight if you can.
4.4 Adding the Toppings
After the cheesecake is fully chilled and ready, its time to make it extra special with some toppings:
- Suggestions for Serving: You can top your cheesecake with a dollop of whipped cream, fresh strawberry slices, or even a drizzle of chocolate sauce. Mix and match these ideas to make your dessert uniquely yours!

Dreamy Pinky Delight (Strawberry Cheesecake)
Equipment
- 1 9-inch springform pan
- 2 mixing bowls
- 1 electric mixer or whisk
- 1 spatula
- 1 set measuring cups and spoons
- 1 bakeware for water bath (optional)
- 1 plastic wrap
Ingredients
- 2 cups graham cracker crumbs
- ½ cup unsalted butter Melted.
- 2 tablespoons granulated sugar
- 4 8-ounce packages cream cheese Softened.
- 1 cup granulated sugar
- 1 teaspoon vanilla extract
- 4 large eggs
- 1 cup sour cream
- 1 cup fresh strawberries Puréd.
- ¼ cup fresh strawberries Sliced (for garnish).
Instructions
- Preheat your oven to 325°F (160°C).
- In a mixing bowl, combine the graham cracker crumbs, melted butter, and 2 tablespoons of sugar. Mix until well combined. Press the mixture firmly into the bottom of the springform pan to form a crust. Bake for 10 minutes, then let it cool.
- In another mixing bowl, beat the softened cream cheese with an electric mixer until smooth and fluffy. Gradually add 1 cup of sugar and vanilla extract, mixing well.
- Add the eggs one at a time, mixing well after each addition. Scrape down the sides of the bowl as necessary.
- Mix in the sour cream and the pureed strawberries until smooth.
- Pour the cheesecake mixture over the cooled crust in the springform pan. Tap the pan gently on the counter to release any air bubbles.
- Bake the cheesecake in the preheated oven for 55-60 minutes, or until the edges are set, and the center is slightly jiggly.
- Turn off the oven and crack the door slightly, allowing the cheesecake to cool slowly in the oven for about an hour. This helps prevent cracking.
- Once cooled, cover the cheesecake with plastic wrap and refrigerate for at least 4 hours, preferably overnight.
- Before serving, garnish with sliced fresh strawberries on top for an added touch of flavor and decoration.