That first hiss from the cooker tells you something good is happening.
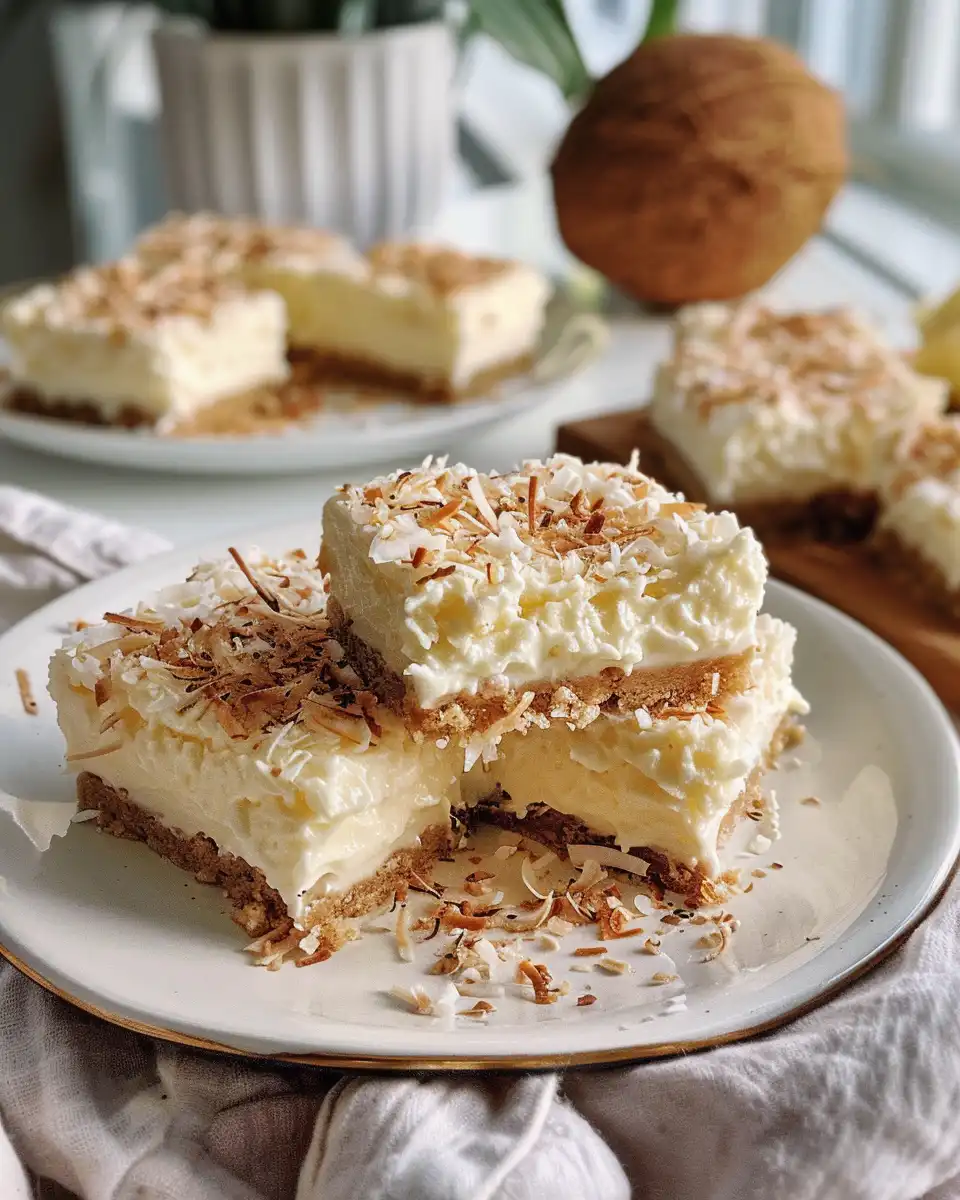
You sense that steam whistle singing right out the edge, like your kitchen's announcing the party about to happen. That little valve hiss means the broth depth is just right and heat's doing its thing. It's kinda like the soundtrack to getting your coconut cream bars perfect.
Once you spot the steam pouring, you feel that countdown in your gut, knowing a natural release or quick release is coming but first that pressure gotta build. It kinda sets the tone, and heck, it ramps up your patience too because good things take time.
As the float valve stays high and you're tracking every second, you know your crust and creamy top are melding the flavors just right under the hood. This pressure cooking method is a total game changer for desserts that usually take a bit of hands-on love.
The Real Reasons You Will Love This Method
- You save tons of hands-on time since your cooker does all the heavy lifting once you seal it up. Plus, you'll appreciate how this method complements other quick cooker recipes for hassle-free cooking sessions.
- The natural release step lets the bars set gently so textures stay silky smooth, no cracks or drying out. This technique is also great if you enjoy moist treats like the pressure cooker carrot cake cupcakes.
- That sealed environment locks in all the coconut and nut flavors without drying or overcooking anything.
- You get a consistent thick filling every single time thanks to steady pressure and heat.
- Cleanup is way easier since you only use a few tools, mostly your food processor and the cooker pot.
What Goes Into the Pot Today
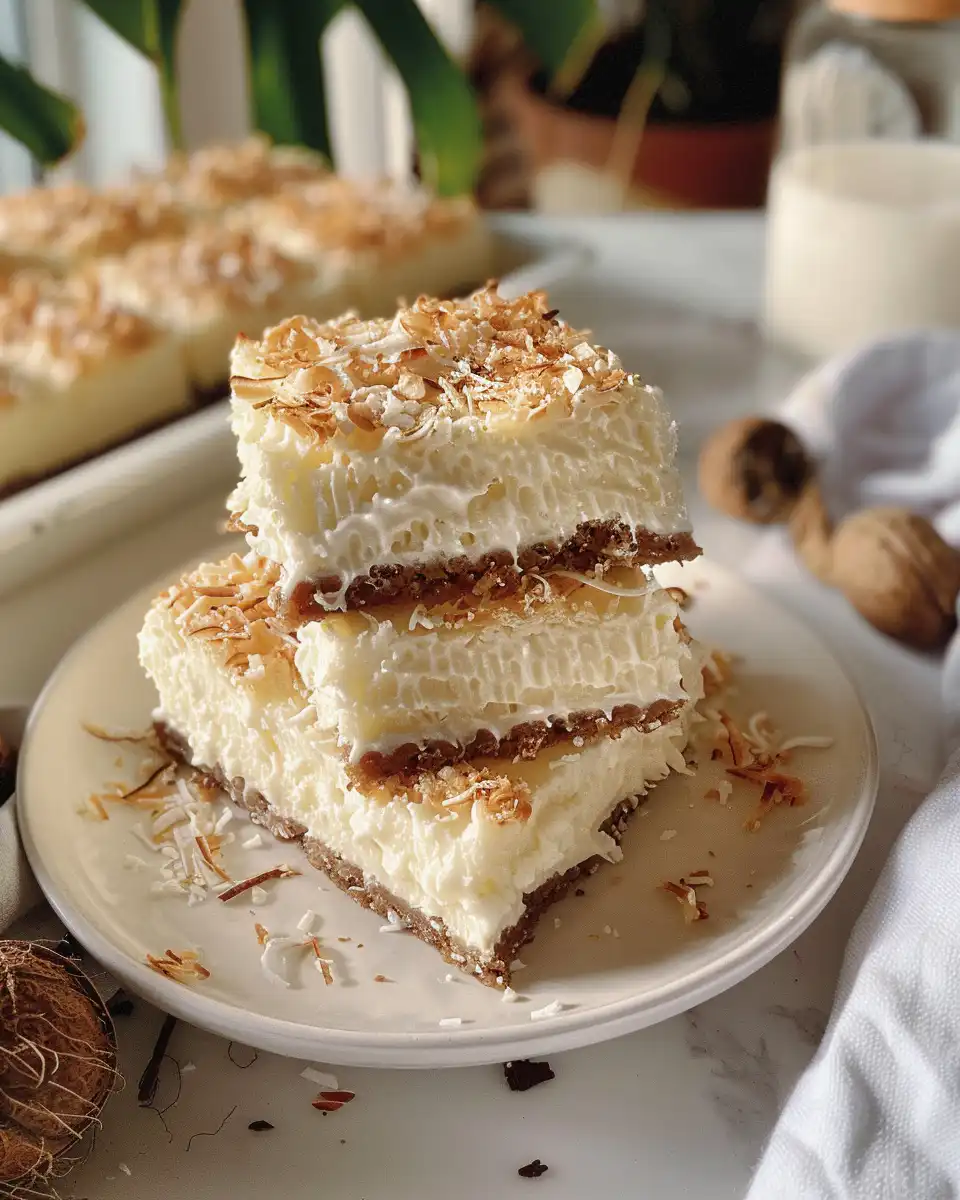
- 1½ cups toasted almond slivers. Toasting these brings out a nuttier flavor that's just yum.
- 1 cup toasted unsweetened coconut flakes. These add toasty bits on top and in the crust.
- 6 tablespoons maple syrup, split up for crust and filling sweetness.
- 5 tablespoons melted coconut oil, divided to keep everything rich and smooth.
- ½ teaspoon ground cinnamon to add a warming touch to the crust.
- ½ teaspoon Diamond Crystal kosher salt, split to balance sweetness and enhance flavors.
- 1 cup raw cashews soaked. This soak makes them blend silky for that creamy filling.
- 13.5 ounce canned coconut cream or full-fat coconut milk for rich texture and coconut flavor.
- 1 teaspoon vanilla extract giving the whole thing a lovely sweet depth.
The Exact Process From Start to Finish
- In your food processor, toss in toasted almond slivers, ½ cup of toasted coconut flakes, 3 tablespoons maple syrup, 2½ tablespoons melted coconut oil, ground cinnamon, and ¼ teaspoon kosher salt. Pulse until it's crumbly but sticks together when pressed.
- Line an 8x8 inch baking dish with parchment paper. Press this almond mixture firmly into the bottom forming a solid crust layer.
- Next, clean out the processor bowl. Add the soaked cashews, canned coconut cream, remaining 3 tablespoons maple syrup, 2½ tablespoons melted coconut oil, ¼ teaspoon kosher salt, and vanilla extract.
- Pulse this until it's super creamy and smooth, scraping down sides as needed to make sure no lumps hang out.
- Pour the creamy coconut mixture evenly over your crust in the baking dish, spreading it nice and smooth.
- Sprinkle the remaining ½ cup toasted coconut flakes across the top of the cream layer for texture and extra coconut bite.
- Now comes the hands-off part. Set your baking dish inside the pressure cooker on a rack or trivet. Add enough water to hit the right broth depth just below the rack but not touching the bars.
- Seal your cooker lid, lock it in place, and heat until you hear the valve hiss loud and clear. Cook at high pressure for the time needed then perform a natural release to keep the cream layer delicate.
Valve Hacks You Need to Know
- If you wanna speed things up, do a quick release just halfway then let the bars settle with natural release to avoid cracking.
- Keep a wet towel handy to wipe the float valve if it starts getting sticky or stuck.
- Adjust your broth water level so it's below your rack but not too low or it'll burn dry before cooking's done.
- Listen for the valve hiss as your cue to reduce heat - that's when pressure's reached and cooking starts.
- After cooking, let the float valve drop fully before opening lid to keep your bars intact and looking sharp.
What It Tastes Like Fresh From the Pot
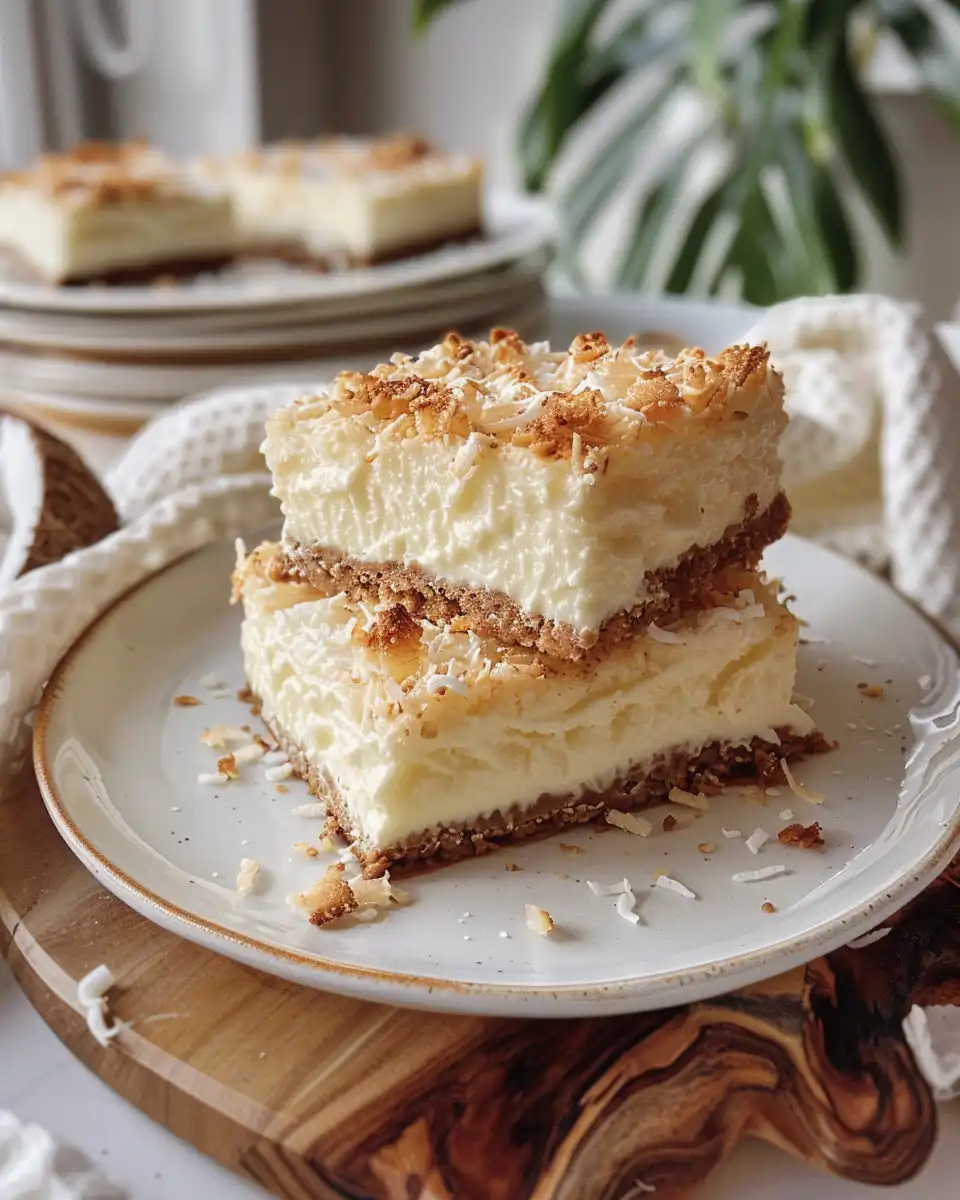
When you slice into your bars right after the cooker's done, you sense a creamy texture that's smooth but still sturdy. It kinda melts on the tongue with sweet coconut and warm almond flavors.
The crust has a nice toasted crunch with bits of coconut flakes sprinkled on top for a little contrast. It's soft yet crisp underbaked, which works real good here.
The maple syrup gives a mellow sweetness that never overpowers the subtle coconut cream and vanilla notes. Everything blends together kinda like a tropical dream you didn't know you needed.
Overall, the bars feel light but filling, like you're eating something decadent without heaviness. They're perfect for a guilt-free treat that still tastes indulgent.
Making It Last All Week Long
- Wrap your bars well in plastic wrap and keep in the fridge for up to 5 days. The chill helps them firm up even more.
- If you wanna take them on the go, store them in an airtight container so the fridge air doesn't dry them out.
- You can freeze individual bars wrapped tight in foil and placed in freezer bags for up to a month. Thaw them overnight in the fridge the day before eating.
- To revive slightly firm bars after freezing, let them come to room temp for about 30 minutes or heat briefly in a warm place before serving.
Everything Else You Wondered About
- Can I swap almonds for another nut? Yeah, walnuts or pecans work but almonds give the right crunch and flavor balance.
- What if I don't have canned coconut cream? Use thick coconut milk but chill it first and scoop off the cream part on top for best texture.
- Do I have to soak cashews? Soaking helps them blend smooth, so it's pretty important for that creamy filling.
- Can I make these without a pressure cooker? You sure can but it'll take longer and texture won't be quite as silky.
- What's the best way to press the crust firmly? Use the bottom of a glass or measuring cup to really pack it tight and even.
- How long do these bars stay fresh? Up to 5 days in the fridge wrapped well, or frozen for up to a month.
Coconut Cream Bars (Vegan, Low Carb, Gluten Free)
Equipment
- 1 Food processor
- 1 Pressure cooker
Ingredients
Main ingredients
- 1½ cups toasted almond slivers Toasting these brings out a nuttier flavor that’s just yum.
- 1 cup toasted unsweetened coconut flakes These add toasty bits on top and in the crust.
- 6 tablespoons maple syrup split up for crust and filling sweetness.
- 5 tablespoons melted coconut oil divided to keep everything rich and smooth.
- ½ teaspoon ground cinnamon to add a warming touch to the crust.
- ½ teaspoon Diamond Crystal kosher salt split to balance sweetness and enhance flavors.
- 1 cup raw cashews soaked. This soak makes them blend silky for that creamy filling.
- 13.5 ounce canned coconut cream or full-fat coconut milk for rich texture and coconut flavor.
- 1 teaspoon vanilla extract giving the whole thing a lovely sweet depth.
Instructions
Instructions
- In your food processor, toss in toasted almond slivers, ½ cup of toasted coconut flakes, 3 tablespoons maple syrup, 2½ tablespoons melted coconut oil, ground cinnamon, and ¼ teaspoon kosher salt. Pulse until it’s crumbly but sticks together when pressed.
- Line an 8x8 inch baking dish with parchment paper. Press this almond mixture firmly into the bottom forming a solid crust layer.
- Next, clean out the processor bowl. Add the soaked cashews, canned coconut cream, remaining 3 tablespoons maple syrup, 2½ tablespoons melted coconut oil, ¼ teaspoon kosher salt, and vanilla extract. Pulse this until it’s super creamy and smooth, scraping down sides as needed to make sure no lumps hang out.
- Pour the creamy coconut mixture evenly over your crust in the baking dish, spreading it nice and smooth.
- Sprinkle the remaining ½ cup toasted coconut flakes across the top of the cream layer for texture and extra coconut bite.
- Now comes the hands-off part. Set your baking dish inside the pressure cooker on a rack or trivet. Add enough water to hit the right broth depth just below the rack but not touching the bars.
- Seal your cooker lid, lock it in place, and heat until you hear the valve hiss loud and clear. Cook at high pressure for the time needed then perform a natural release to keep the cream layer delicate.