The pot lid rattles and you know dinner is almost ready. You start smellin the warm buttery scent wafting through the kitchen. It's that cozy feeling you get right before y'all sit down to eat something incredible.
Cooking dinner rolls in the pressure cooker feels kinda like a secret supper club vibe right in your own kitchen. You got the steam cues tellin you when things are goin good. That float valve popping up reminds you the pressure build is happening just right.
As the lid rattles some more, you sense that perfect broth depth, even if you only used water. It's like the rolls soak up a little somethin special from that steam, makin 'em soft and tender like no other rolls you've ever had.
Why Your Cooker Beats Every Other Pot
- Pressure build cooks your dough faster, saving you time when dinner's callin.
- Steam inside keeps rolls super moist, no dry bites here.
- Float valve tells you exactly when to start timing the cook, so no guesswork.
- Quick release lets you stop cookin right on time, preventing overcooking.
- The sealed lid keeps all the warm air in, which helps the dough rise nice and fluffy.
- You get that broth depth flavor boost from the steamy environment.
- No need to babysit the oven for ages; pressure cooking is kinda hands-off.
Everything You Need Lined Up
- 4 to 5 cups all purpose flour
- 2 tablespoons rapid rise instant yeast
- ⅓ cup granulated sugar
- 1 teaspoon salt
- 1½ cups warm milk (around 110 degrees)
- 5 tablespoons butter, softened
- 1 egg, room temperature
- 2 tablespoons melted butter for brushing
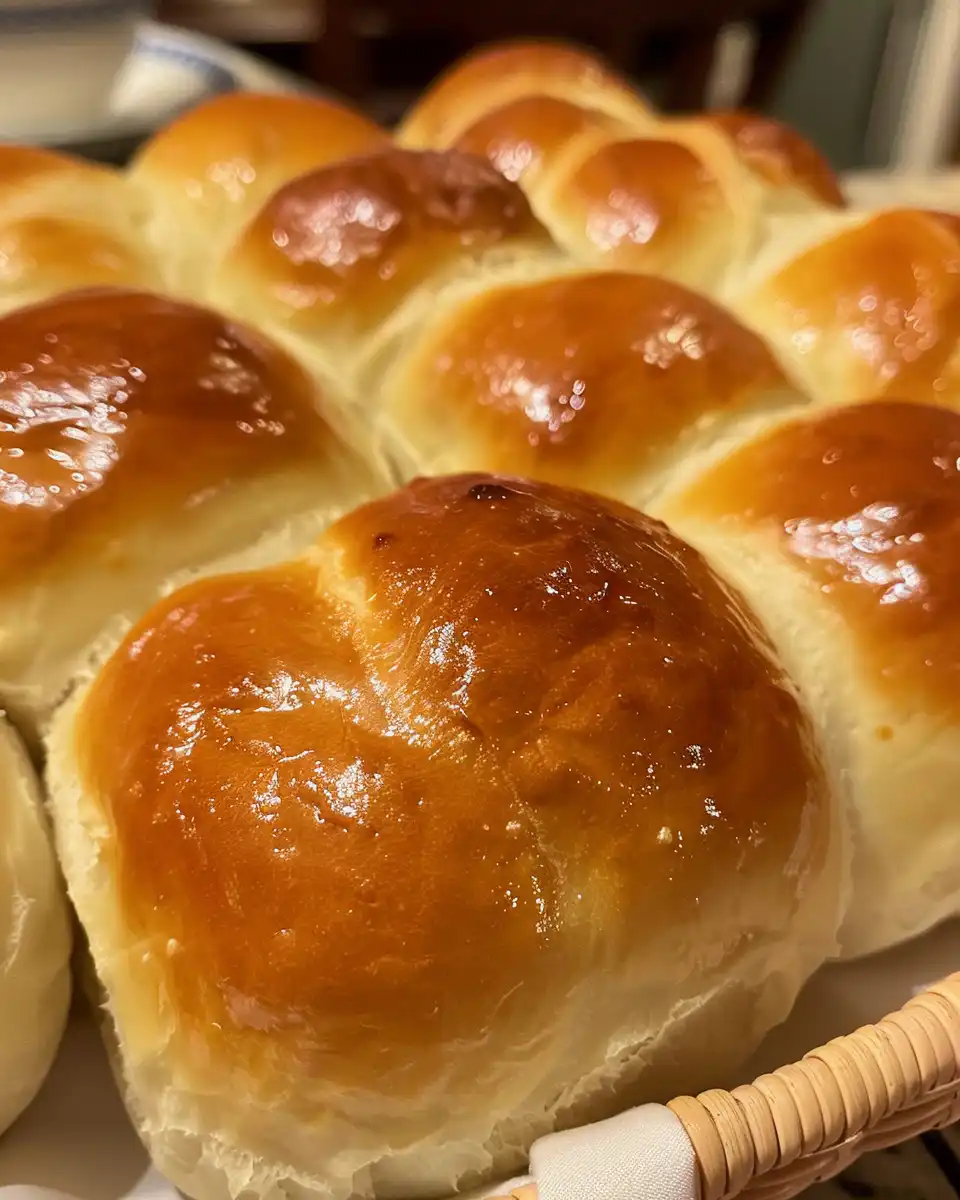
You gotta get all those ingredients ready before you start. The warm milk needs to be just right to wake up your yeast but not kill it. Softened butter is gonna add that tender crumb you're looking for. And don't forget the egg at room temp; cold eggs can slow down your dough rise.
Walking Through Every Single Move
Start by mixing 4 cups of flour, yeast, sugar, and salt together in a big bowl. You wanna get everything well combined before addin the wet stuff.
Next, pour in the warm milk, softened butter, and the egg. Stir it all until you get a sticky dough. If the dough's too wet, sprinkle a little more flour till it feels just right.
Turn that dough out onto a floured surface, then knead for 5 to 7 minutes. You're lookin for smooth and elastic - not sticky at all.
Drop the dough into a greased bowl, cover it with a cloth, and let it chill in a warm spot about an hour. You'll know it's ready when it's doubled.
Once risen, punch down the dough (don't skip this step, y'all) and split it into 12 pieces. Shape each one into a nice round roll you wanna be proud of.
Set the rolls in a greased pan, cover again, and let 'em rise 30 more minutes. This second rise is key to getting that pillowy softness.
Before you bake, brush 'em all with melted butter. Then pop 'em in a 375-degree oven for 15 to 20 minutes till they're golden brown and smellin fantastic.
Easy Tweaks That Make Life Simple
- Use a stand mixer with dough hook to make kneading less of a workout.
- Swap the warm milk for buttermilk to add a slight tang in flavor.
- Brush the rolls with garlic butter right after baking for a tasty twist.
- Add a tablespoon of honey to the dough for a touch of sweetness without overpowerin.
- Freeze any extra shaped rolls before the second rise, then bake fresh later.
These shortcuts keep you from feelin overwhelmed but still nailing that awesome taste. You gotta love when easy meets tasty.

The Flavor Experience Waiting for You
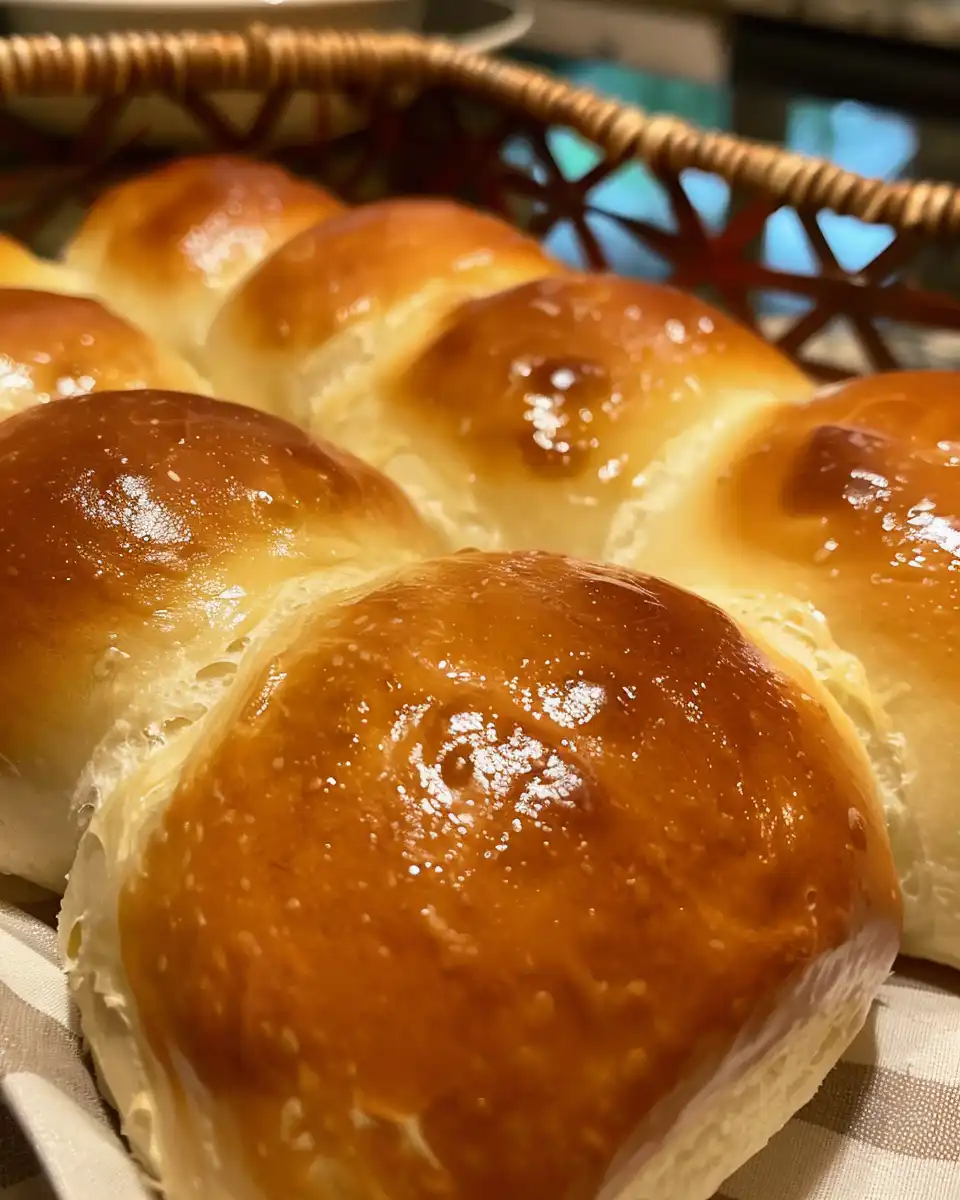
When you bite into these rolls, you first feel that soft, buttery outside that's just begging for your favorite jam or even just plain butter. The crust ain't tough but nicely golden.
Inside, the texture is fluffy and light, light enough to almost melt in your mouth. The steam cues from the cooker make each bite feel super moist.
The yeast adds a subtle richness that lingers on your tongue, comfort food vibes all the way. You might find yourself sneakin a second one when nobody's lookin.
Overall, it's like a warm hug wrapped up in a roll. Perfect for dinners where you wanna feel a little cozy and special without fussin too much.
Your Leftover Strategy Guide
To keep your rolls fresh, wrap 'em well in plastic wrap or foil and stash 'em in an airtight container at room temperature. They'll stay good for a couple days like that.
If you wanna hang onto 'em longer, freeze the rolls in freezer bags. Just thaw 'em out overnight and reheat in the oven or microwave.
Leftovers also make killer toast for breakfast with some butter and jam. You just gotta slice 'em and pop 'em under the broiler real quick.
Finally, you can toast them lightly and turn 'em into sandwich buns if you got some extra meat or veggies ready.
Everything Else You Wondered About
- Can I use whole wheat flour? You can but it'll change the texture a bit, makin rolls denser. I'd suggest mixin half whole wheat with all purpose for best results.
- What if my dough is sticky? Just dust with more flour as you knead, but don't add too much or you'll dry it out.
- Why no pressure cooker baking? This recipe finishes in the oven. Your cooker helps the dough rise nice and fast with great steam pressure build but the final golden color comes from the oven.
- Can I double the recipe? Yep, just keep your ingredient ratios the same and make sure your bowl's big enough to handle the dough.
- Is quick release necessary? For this recipe, no quick release is involved since the final bake's in the oven. The pressure cooker is mostly for rising help.
- How warm should the milk be? You want it about 110 degrees to properly activate the yeast without killin it. Too hot and the yeast dies, too cold and it won't rise.
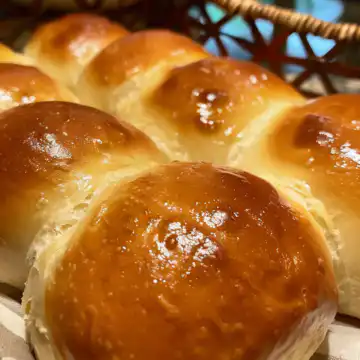
The BEST Dinner Rolls
Equipment
- 1 stand mixer with dough hook
Ingredients
Main ingredients
- 4-5 cups all purpose flour
- 2 tablespoons rapid rise instant yeast
- ⅓ cup granulated sugar
- 1 teaspoon salt
- 1½ cups warm milk around 110 degrees
- 5 tablespoons butter softened
- 1 egg room temperature
- 2 tablespoons melted butter for brushing
Instructions
Instructions
- Combine 3 cups of flour, yeast, sugar, salt, warm milk, butter, and egg in the bowl of a stand mixer.
- Attach the dough hook and turn the mixer on to the lowest speed and mix until flour is incorporated, scraping down the sides of the bowl as necessary.
- Increase speed to medium and beat for 2 minutes.
- Add ½ cup flour and blend with the dough hook until incorporated. And another ½ cup flour and repeat, mixing at medium speed for another 2 minutes until a ball of dough is formed.
- Add additional flour as necessary. The dough should be slightly sticky and soft and pulling away from the edge of the bowl.
- Transfer the dough to a lightly greased bowl and cover with a towel or plastic wrap. Let rise for 30 minutes at room temperature.
- Remove the towel or plastic wrap and deflate the dough by punching down lightly. Pinch off pieces of the dough and form 24 rolls. You can weigh them to keep the rolls close to the same size. Mine were about 2 ounces each but this will vary depending on how much flour you added.
- Transfer the rolls to a lightly greased quarter baking sheet or 9 x 13 baking dish. Cover with a towel or plastic wrap and let rise for an additional 30 minutes at room temperature.
- Preheat oven to 375 degrees. Bake the rolls for 12 to 15 minutes or until golden brown and cooked through. If the rolls are getting too brown, just tent the rolls with foil.
- Remove rolls and brush hot rolls with the melted butter. Serve immediately or store cooled rolls in a plastic bag for up to 3 days.