This Chocolate Layer Cake with Swiss Meringue Buttercream comes together with a few key moves. I pulled this cake out of the fridge last Thursday afternoon, and my oldest - the one who once declared brownies "too chocolatey" - actually stopped mid-sentence to stare at it. That never happens. The light caught the swoops of buttercream just right, and for a second I thought about hiding it and eating the whole thing myself. But I sliced it, set a piece in front of him, and waited for the usual pushback. He ate it. Then he asked for another slice. This somehow felt bigger than any birthday cake I'd ever made. That's the thing about this Dreamy Chocolate Cake: Swiss Buttercream Perfection - it's not fancy in a pretentious way. It's fancy in a way that makes everyone at the table feel like they're getting something special.
Chocolate Layer Cake With Swiss Meringue Buttercream: Why This Recipe Works
What makes Chocolate Layer Cake with Swiss Meringue Buttercream work is the small details. I've made a lot of chocolate cakes over the years. Some were dry. Some crumbled into dust the second you looked at them. Some had frosting that tasted like sweetened shortening and made my youngest give me the look - you know the one. This one is different. Here's why:
- The cake crumb is almost impossibly tender. The buttermilk and hot water combo creates a batter so thin you'll worry you messed up. You haven't. That thin batter bakes into layers that stay moist for days - something I tested accidentally because we had leftovers that lasted until Tuesday.
- The Swiss buttercream isn't a sugar bomb. Most buttercreams make my teeth ache. This one, made with real egg whites and good dark chocolate, tastes like actual chocolate. It's silky without being greasy. My youngest, who picks frosting off cakes and leaves naked layers behind, ate this one clean off the top.
- The hot coffee trick changes everything. I know, putting coffee in a kids' cake sounds weird. But it doesn't taste like coffee - it deepens the chocolate flavor in a way water can't touch. My husband, who hates coffee, didn't notice. He just said "this is really good" three times in one meal.
- The crumb coat step is non-negotiable. I used to skip it because I was impatient. Every single time, I ended up with crumbs floating in my final frosting layer. The extra 20 minutes in the fridge fixes that completely. I've learned to just accept the chill time as part of the deal.
- This cake keeps its cool. Room temperature for three days, and it still tastes fresh. Refrigerated for longer, and the buttercream firms up into something almost like chocolate mousse on top of tender cake. Either way, nobody complains.
What Goes Into This
For the best Chocolate Layer Cake with Swiss Meringue Buttercream, focus on the basics first. You don't need anything wild for this one. The ingredient list looks long, but I bet you've got most of it already. Let me walk you through the bits that matter most.
That's where Chocolate Layer Cake with Swiss Meringue Buttercream really comes together. The cocoa powder - get Dutch-processed if you can. Regular cocoa works in a pinch, but Dutch-processed gives you that darker, rounder chocolate flavor that makes people close their eyes on the first bite. I found mine at the regular grocery store, hidden on the bottom shelf next to the baking soda. For the buttercream, use good dark chocolate. I'm not saying you need the $12 bar from the fancy shop. But don't use chocolate chips - they have stabilizers that mess with the texture. I use a couple of 70% dark chocolate bars from the checkout aisle. The eggs matter too. Room temperature for everything, which means you need to plan about an hour ahead. Pull your eggs and buttermilk out, set them on the counter, and go fold laundry or whatever. Cold eggs seize the buttercream.
One thing I always mess up: forgetting to soften the butter. Two cups of butter takes forever to come to room temperature if you're impatient like me. I've microwaved it by accident and had to start over. Now I cube it first thing, spread it on a plate, and let it sit while I measure everything else.
How I Make It
Make the cake layers
Preheat your oven to 350°F. Grease two 8-inch pans, dust them with cocoa powder (not flour - cocoa doesn't leave white streaks), and line the bottoms with parchment. Trust me on the parchment. I've had cakes stick so badly I had to eat them out of the pan with a spoon. Not my proudest moment.
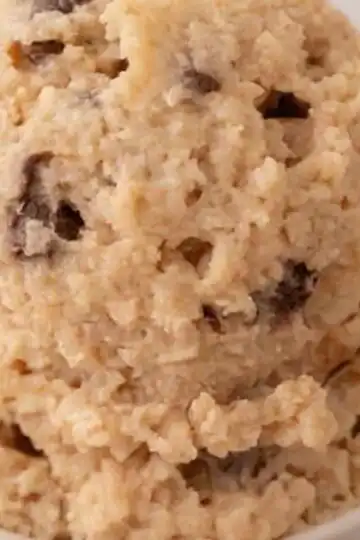
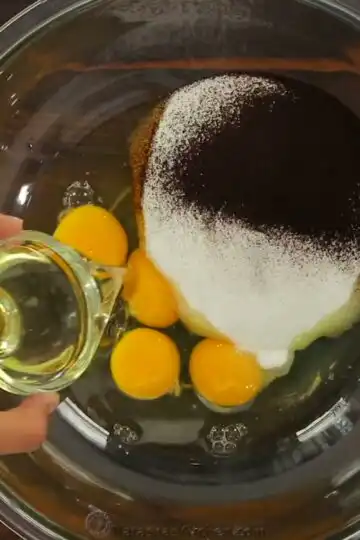
In your stand mixer bowl, stir together the flour, sugar, sifted cocoa, baking soda, baking powder, and salt. In a separate bowl, whisk the vegetable oil, buttermilk, eggs, and vanilla until smooth. Then slowly stream in the hot water or coffee while whisking - don't dump it all at once or you'll get scrambled egg bits. Pour the wet into the dry and mix on medium for 2-3 minutes. The batter will look alarmingly thin. That's correct. Divide it between your pans - I use a kitchen scale to get it even, but eyeballing works if you're brave - and bake for 40-45 minutes. The center should spring back when touched, and a toothpick should come out with just a few moist crumbs.
Make the Swiss buttercream
Combine the egg whites and sugar in your stand mixer bowl. Set it over a pot of simmering water - not boiling, just a gentle bubble - and whisk constantly until the mixture feels hot to the touch and the sugar dissolves completely. Rub a bit between your fingers; if it's grainy, keep going. This takes about 3 minutes. Move the bowl to the mixer, fit it with the whisk attachment, and whip the meringue on medium-high until stiff peaks form and the bowl feels cool to the touch, about 5-10 minutes. Switch to the paddle attachment, then add the softened butter a few cubes at a time. The mixture will look curdled and scary at some point. Keep mixing. It will come together. I promise.
Once it's smooth, stream in the cooled melted chocolate and mix until fully combined. Scrape the bowl well.
Assemble the cake
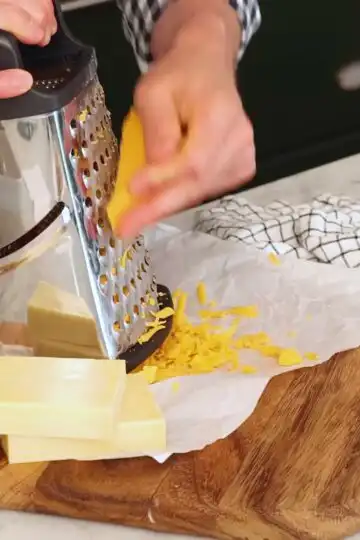
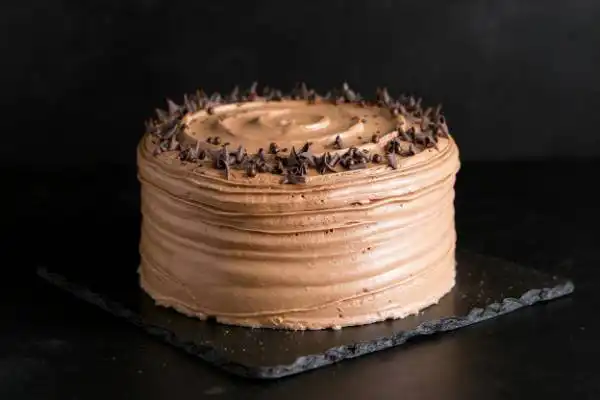
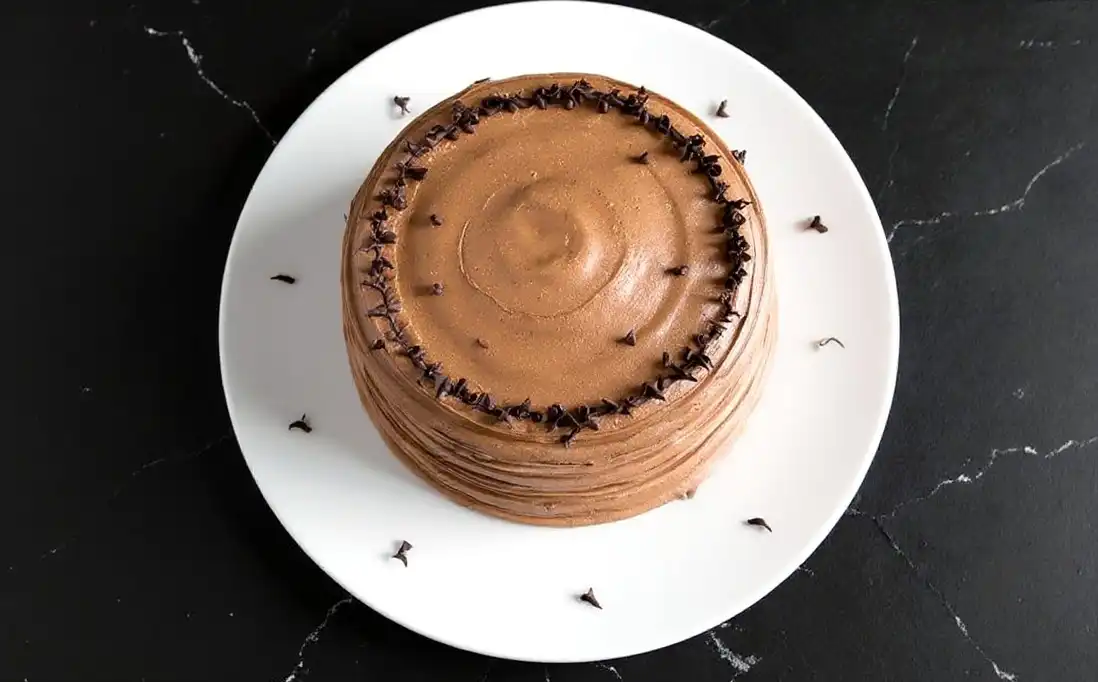
Place one cooled cake layer on your stand. Spread about a cup of buttercream evenly on top. Place the second layer on top. Apply a thin crumb coat - just enough to catch the crumbs - and refrigerate for 20 minutes. After that, go wild with the remaining frosting. I spread about 1 cup on the top, smooth the sides with an offset spatula, and then pipe decorative rows around the base with a 1M tip. Work your way up, rotating the cake as you go. Finish with chocolate curls or sprinkles.
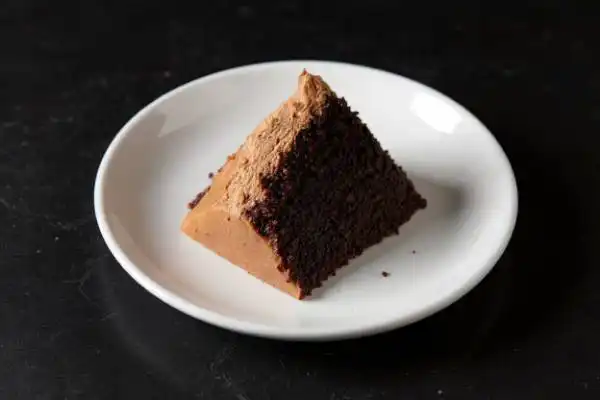
How I Like to Plate It
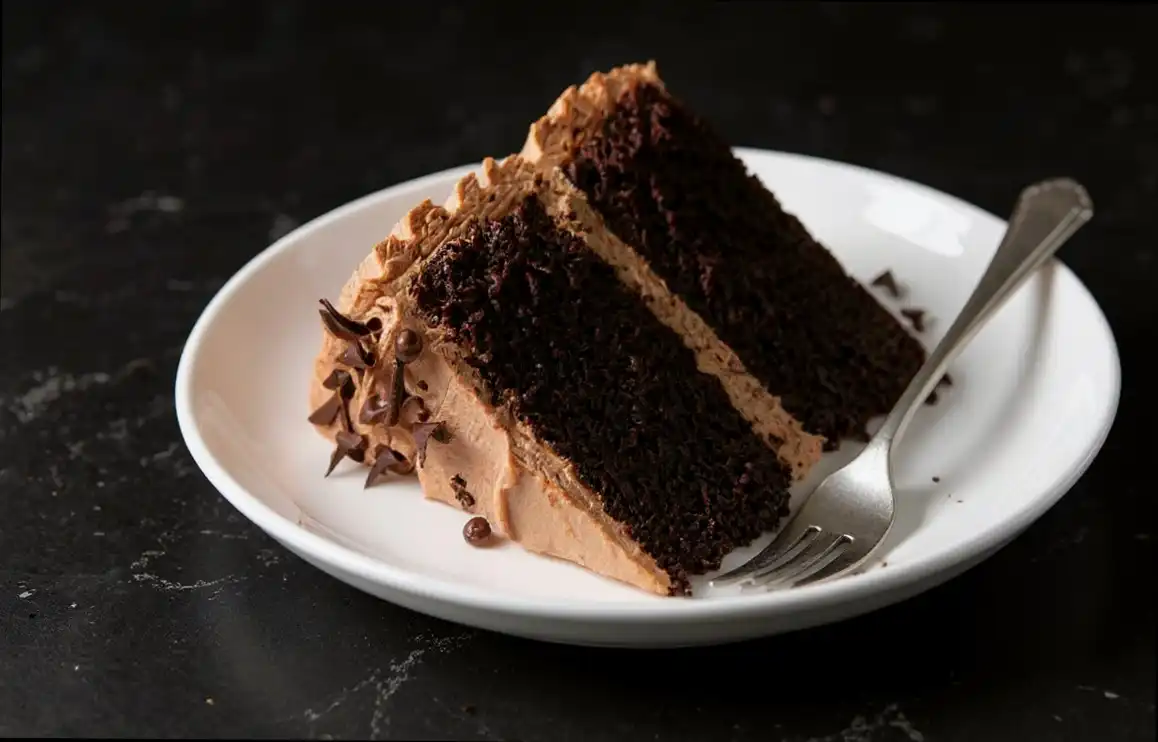
The first time I made this Dreamy Chocolate Cake: Swiss Buttercream Perfection for company, I tried too hard. Swirly piping on top, gold flakes, the works. Took me an hour. My kids barely looked at it. Now I keep it simpler. I slice the cake with a serrated knife dipped in hot water and wiped dry between cuts - that's the trick for clean edges. A single slice, a dusting of powdered sugar if I'm feeling fancy, maybe a few fresh raspberries on the side for color. That's it.
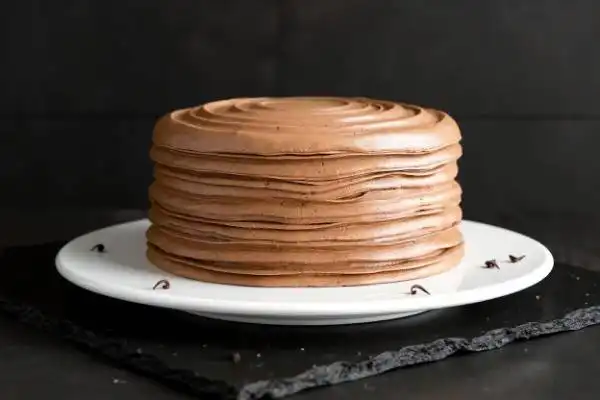
For birthdays, I go a little bigger. I pipe the rosettes around the base like the recipe says, but I don't stress about perfection. The buttercream covers a multitude of sins. And honestly? The way the light hits the swoops and swirls makes people think you worked way harder than you actually did. Let them think that.
The kids like it best when I don't bother with the piping at all. Just a thick layer of frosting slapped on top, with chocolate shavings scattered everywhere. Messy. Delicious. Zero complaints.
Swaps & Substitutions
I've messed with this recipe more times than I can count. Here's what I've figured out:
- No buttermilk? Use whole milk with a tablespoon of lemon juice or vinegar, let it sit for 5 minutes. It's not exactly the same, but it works in a pinch. I've done this at 9 PM on a school night and the cake still turned out fine.
- Want to skip the coffee? Use hot water instead. The cake will still be good, just slightly less complex in flavor. My kids actually prefer it with water - go figure.
- Vegetable oil can be swapped for melted coconut oil. You'll get a faint coconut flavor in the background that pairs nicely with the chocolate. I do this when I'm out of vegetable oil and too lazy to go to the store.
- The buttercream works with milk chocolate instead of dark, but it will be sweeter. I tried this once and my youngest said it was "too sweet" - which is saying something coming from a kid who eats sugar straight from the jar.
Personal Twists
- Peppermint chocolate cake. Add ½ teaspoon of peppermint extract to the buttercream and crush some candy canes on top. I made this for Christmas and my mother-in-law asked for the recipe. That never happens.
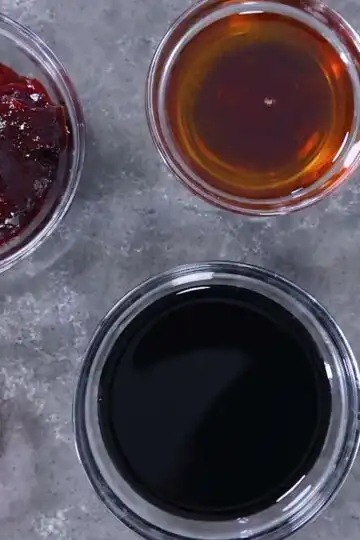
- Salted caramel version. Drizzle salted caramel sauce between the cake layers before frosting. The salt cuts the sweetness perfectly. My husband said it was "dangerous" and then ate three slices.
- Gluten-free adaptation. Swap the all-purpose flour for a 1:1 gluten-free baking flour blend. I tested this for a friend's birthday and honestly couldn't tell the difference. Just make sure the blend contains xanthan gum.
Hard-Won Lessons
- Room temperature ingredients aren't optional. I learned this the hard way when my buttercream separated into a greasy mess. Cold butter doesn't emulsify properly. Set everything out an hour ahead. Set a timer on your phone so you don't forget.
- Weigh your cake pans. Uneven layers make the cake lopsided, which makes stacking harder and looks sad. A kitchen scale costs maybe $15 and saves you from cake tragedies. I bought mine after a particularly disastrous triple-layer attempt that looked like a collapsed building.
- Don't rush the cooling step. I've frosted warm cakes and watched the buttercream slide right off like a mudslide. Wait until the layers are completely cool to the touch. If you're in a hurry, pop them in the freezer for 15 minutes after they've cooled in the pans for 10.
- A turntable helps. You can frost without one, but it's way harder. I got a cheap plastic turntable for $12 and my frosting game improved instantly. The kids like spinning it, which is both annoying and kind of cute.
Pitfalls to Sidestep
- Overmixing the batter. Mix until just combined, then stop. Overmixing develops gluten and gives you a tough, rubbery cake. I ruined two batches before I learned to set a timer for 2 minutes and walk away.
- Skipping the crumb coat. I know you're hungry. I know you want to just slap the frosting on. But the crumb coat saves you from a cake that looks like it got into a fight. Ten minutes of chilling makes the final coat look professional.
- Not sifting the cocoa. Cocoa powder clumps like crazy. Unsifted cocoa gives you bitter lumps of chocolate in your otherwise perfect cake. Sift it over a bowl and tap the sides - it takes 30 seconds and makes a real difference.
Make-Ahead and Storage
Refrigerator
Store the assembled cake in a covered container in the fridge for up to 5 days. The buttercream firms up nicely, and the cake stays moist. Take it out 20 minutes before serving to let it soften slightly.
Freezer
Freeze unfrosted cake layers wrapped tightly in plastic wrap and then foil for up to 3 months. Thaw at room temperature in the wrappers to prevent condensation from making the cake soggy. The buttercream freezes well too - just thaw it in the fridge overnight and re-whip it briefly before using.
Reheating
If you want that just-baked warmth, microwave individual slices for 10-15 seconds. Don't go longer or the buttercream will melt into a puddle. For the whole cake, let it sit at room temperature for 30 minutes before serving.
Personal Twists
- Orange chocolate. Add the zest of one orange to the dry ingredients and a tablespoon of orange liqueur to the buttercream. Bright and sophisticated.
- Mocha version. Use strong brewed coffee instead of hot water and add a teaspoon of instant espresso powder to the buttercream. For the coffee lovers.
- White chocolate swirl. Melt 4 oz of white chocolate and swirl it into the dark chocolate buttercream before frosting. Pretty and delicious.
💡 Pro tip: If your buttercream looks curdled during mixing, don't panic. Keep beating on medium speed. The emulsion will come back together. If it still looks wrong after 5 minutes, warm the bowl briefly over a pot of hot water and beat again. It works every time.
Your Questions Answered
Can I make this cake ahead of time?
Absolutely. Bake the layers up to two days ahead and store them wrapped at room temperature. Make the buttercream a day ahead and refrigerate it - just let it come to room temperature and re-whip for a minute before using. The assembled cake keeps for three days at room temperature or five in the fridge.
Why did my buttercream separate?
Usually because the butter was too cold or too warm. The sweet spot is room temperature butter - about 65-68°F. If it separates, try warming the bowl slightly over a pan of warm water and beating again. If that doesn't work, scoop out a third of the mixture, microwave it for 10 seconds until softened, and beat it back in.
Can I use a different size pan?
Yes. This recipe works in three 6-inch pans (bake 30-35 minutes), one 9x13 sheet pan (bake 35-40 minutes), or 24 cupcakes (bake 18-20 minutes). Adjust timing based on your pan size and check early.
My cake sank in the middle. What happened?
Most likely the oven door got opened too early, or the cake wasn't fully baked when you took it out. Wait until at least 35 minutes mark before checking, and use a toothpick - if it comes out clean or with just a few crumbs, it's done. Don't open the door every 5 minutes.
Homemade Chocolate Cake Recipe
Equipment
- Electric mixer
- paddle attachment
- Medium bowl
- double boiler
- cake stand or serving plate
- turntable
- piping bag with 1M tip
Ingredients
- ═══ FOR THE CAKE ═══
- 2 cups all-purpose flour
- 2 cups granulated sugar
- ¾ cup Dutch-processed cocoa powder (sifted)
- 2 teaspoon baking soda
- 1 teaspoon baking powder
- 1 teaspoon salt
- ½ cup vegetable oil
- 1 cup buttermilk (room temperature)
- 1 cup hot water (or hot coffee)
- 2 large eggs (room temperature)
- ═══ FOR THE SWISS MERINGUE BUTTERCREAM ═══
- 6 large egg whites
- 2 cups granulated sugar
- 2 cups unsalted butter (room temperature)
- 10 oz good quality dark chocolate (chopped, melted, cooled)
- ═══ FOR DECORATION ═══
- chocolate curls or sprinkles
Instructions
- Preheat your oven to 350°F. Grease two 8-inch cake pans and dust them with cocoa powder, then line the bottoms with parchment paper to prevent sticking.
- In the bowl of an electric mixer fitted with a paddle attachment, combine all the dry ingredients and mix briefly to combine. In a separate medium bowl, whisk together all the wet ingredients, gradually adding the hot water or coffee to avoid cooking the eggs.
- Pour the wet ingredients into the bowl with the dry ingredients and mix on medium speed for 2-3 minutes until well combined; the batter will be thin. Divide the batter evenly between the prepared pans, using a kitchen scale if necessary for accuracy.
- Bake the cakes for 40-45 minutes or until a cake tester inserted into the center comes out mostly clean. Let cakes cool in the pans for 10 minutes before inverting onto a cooling rack to cool completely.
- For the buttercream, combine egg whites and sugar in a stand mixer bowl and whisk until combined. Set the bowl over a double boiler, whisking continuously until the mixture is hot and no longer grainy, approximately 3 minutes.
- Return the bowl to the stand mixer and whip the meringue on medium-high speed until stiff peaks form and the bowl is no longer warm, about 5-10 minutes. Change to the paddle attachment, then slowly add the cubed butter and mix until the buttercream is smooth.
- Add the cooled melted chocolate to the buttercream and mix until fully incorporated. To assemble the cake, place one layer on a cake stand, spread about 1 cup of buttercream evenly on top, and place the second layer on top.
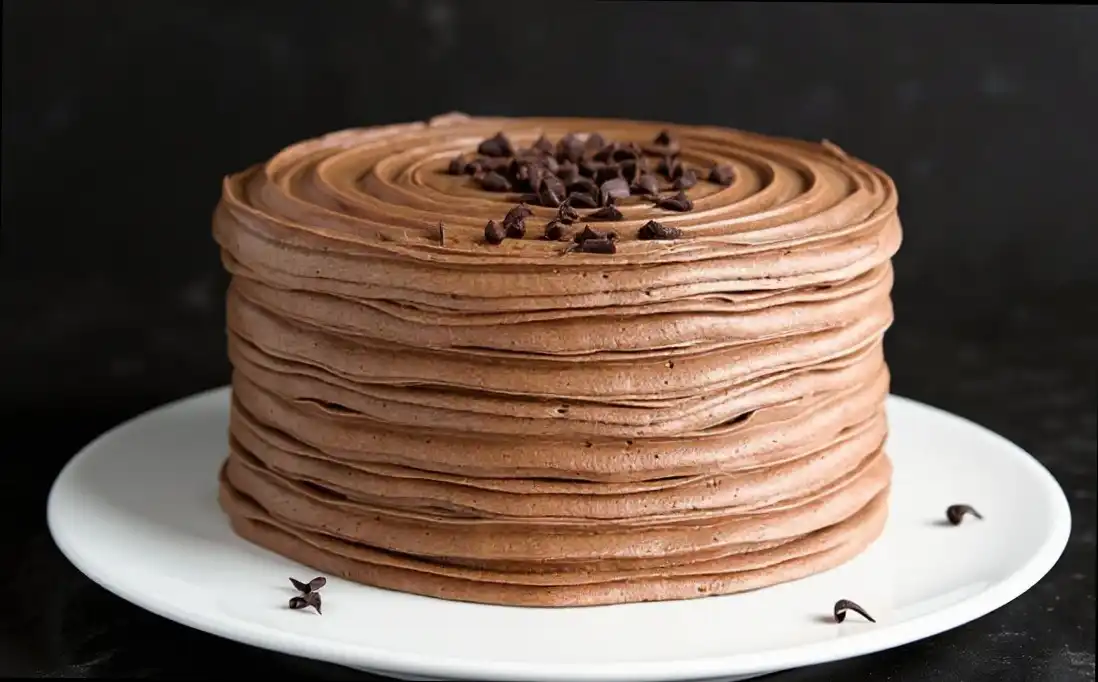
- Apply a thin crumb coat of buttercream around the entire cake and chill for 20 minutes to set. After chilling, spread 1 cup of frosting on top, smoothing the sides and flattening the top, and create a swirl pattern with a large offset spatula.
- Using a piping bag with a 1M tip, pipe decorative rows of frosting around the base of the cake, applying even pressure as you rotate the turntable. Work your way up the cake, ensuring the seams align at the back, and finish by decorating the top with chocolate curls, pearls, or sprinkles if desired.
Notes
- Tip 1: Ensure your eggs and buttermilk are at room temperature for a better mixing process.
- Tip 2: Store the assembled cake in a covered container at room temperature for up to 3 days, or refrigerate for longer freshness.
- Tip 3: Substitute vegetable oil with melted coconut oil for a slight coconut flavor in the cake.
- Tip 4: For a more intense chocolate flavor, consider using hot coffee instead of water.
- Tip 5: Pair this cake with a scoop of vanilla ice cream for an extra treat.
📝 Recipe Notes & Tips
- Tip 1: Ensure your eggs and buttermilk are at room temperature for a better mixing process.
- Tip 2: Store the assembled cake in a covered container at room temperature for up to 3 days, or refrigerate for longer freshness.
- Tip 3: Substitute vegetable oil with melted coconut oil for a slight coconut flavor in the cake.
- Tip 4: For a more intense chocolate flavor, consider using hot coffee instead of water.
- Tip 5: Pair this cake with a scoop of vanilla ice cream for an extra treat.