That first hiss from the cooker tells you something good is happening. You notice the sealing ring starts working its charm, trapping all that delicious steam inside. It kinda feels like the whole kitchen is getting ready for something tasty and comforting.
You recall how the float valve pops up, letting you know the pressure's built just right. It's like a secret signal saying your chicken is gonna be tender and juicy. You catch that soft hiss again as the steam cues hint the pressure cooker is doing its job real good.
You feel kinda proud watching this all happen. Knowing you're about to pull off something that tastes like you spent hours slaving away, but actually only took around 40 minutes. Yeah, that first hiss is a good friend in the kitchen.
The Truth About Fast Tender Results
- The sealing ring keeps all flavors locked in, no need to worry about losing moisture.
- The float valve helps you keep track of when your pressure is up and the cooker is sealed tight.
- Steam cues tell you when pressure's dropping and you're close to finishing up.
- Quick release lets you stop cooking instantly if you're worried about overcooking.
- Slow release helps finish the dish gently, making meat super tender without drying out.
- Pressure cooking breaks down chicken fibers much faster than baking or frying.
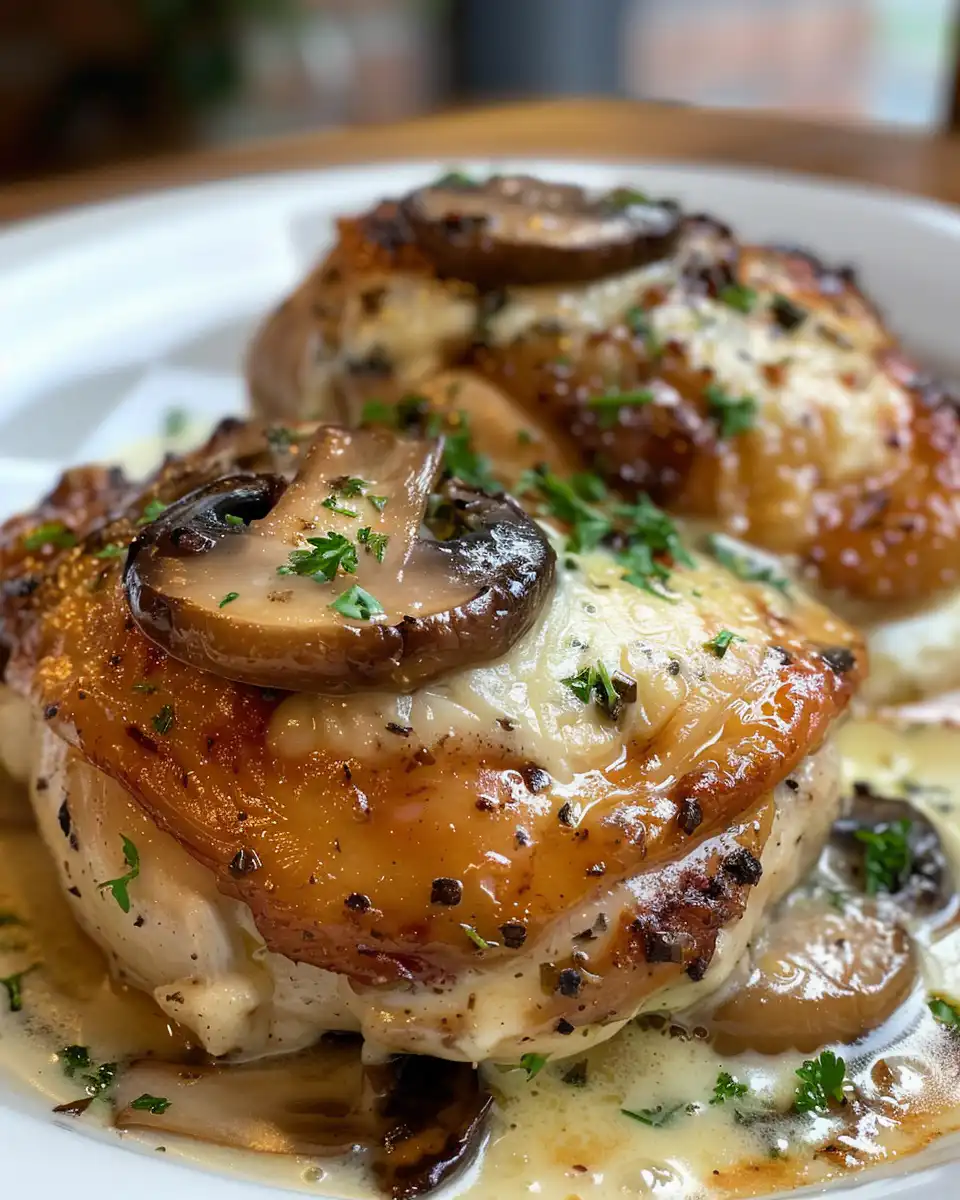
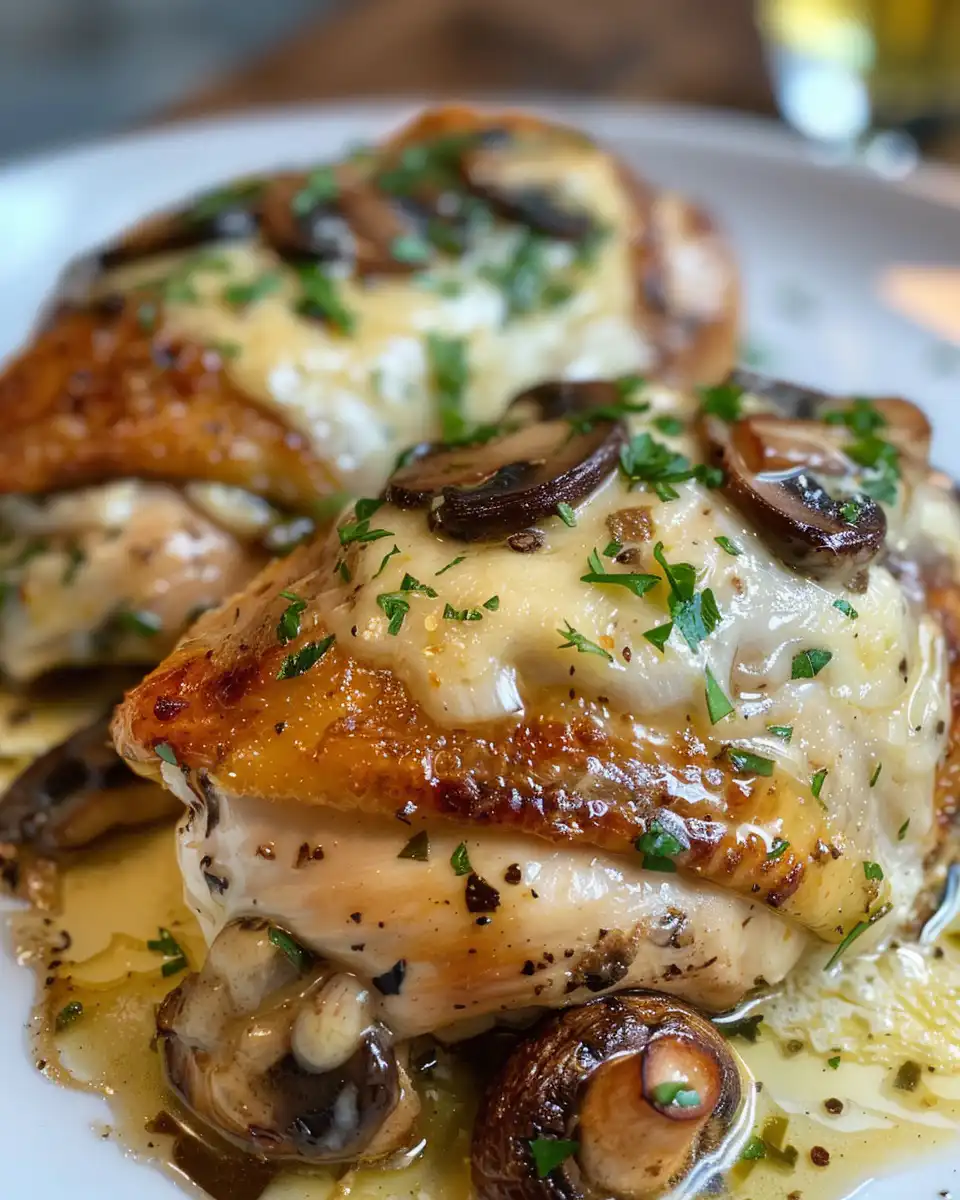
- You end up with juicy chicken stuffed with cheesy mushrooms that melt right in your mouth.
Your Simple Ingredient Checklist
- 4 tablespoons butter for that rich garlic butter flavor.
- 8 ounces brown mushrooms, sliced, to stuff and taste all earthy.
- 4 cloves garlic minced, gotta have that garlicky punch.
- 2 tablespoons fresh parsley chopped to freshen things up.
- A pinch of salt and pepper added to taste so it's just right.
- 4 skinless, boneless chicken breasts for your main star.
- 1 teaspoon onion powder plus 1 teaspoon dried parsley help season the chicken good.
- 8 slices mozzarella cheese that'll melt perfectly inside.
- ¼ cup freshly grated parmesan cheese, cause cheese makes everything better.
- 1 tablespoon olive oil for searing the chicken before pressure cooking.
Walking Through Every Single Move
First, you gotta preheat your oven to 375°F. You'll use it to finish off the chicken later after the pressure cooker gets the job done.
Grab a skillet and melt 2 tablespoons of butter over medium heat. Toss in those sliced mushrooms and cook 'em until they're soft, about 5-7 minutes. You'll catch that mushroom smell filling your kitchen.
Stir in your minced garlic, chopped parsley, onion powder, salt, and pepper. Cook all this for another 2 minutes while you get everything juicy and fragrant. Then take it off heat and let the mixture cool a bit so it's easier to stuff.
Next, carefully butterfly the chicken breasts. That means cut them almost in half but don't slice all the way through, making a pocket for your filling. Season both sides with salt and pepper, don't skip this part.
Stuff each chicken breast with your yummy mushroom mixture. If you feel it's gonna spill out, just secure 'em with toothpicks. Gonna keep that filling right where it belongs.
Now melt the remaining 2 tablespoons of butter in your skillet over medium-high heat. Sear the stuffed chicken breasts for 3-4 minutes each side until they get that pretty golden brown color.
Transfer those beauties to a baking dish and pop them in the preheated oven for about 20-25 minutes. This finishes cooking the chicken and melts the cheese inside just right. Let them rest a few minutes after baking before serving so the juices settle.
Time Savers That Actually Work
You can slice the mushrooms and mince garlic ahead of time when you got a free moment. Having everything ready before you start cooking speeds things up a ton.
Butterflying the chicken breasts might feel tricky at first, but once you get the hang of it, it's quick. Use a sharp knife and take your time the first couple times.
If you're tight on time, searing the chicken could be skipped. Just be aware you won't get that golden crust which adds nice texture and flavor.
Use the quick release on your pressure cooker when the time's up if you want dinner faster. Just be careful and follow your cooker's instructions for safety.
Your First Taste After the Wait
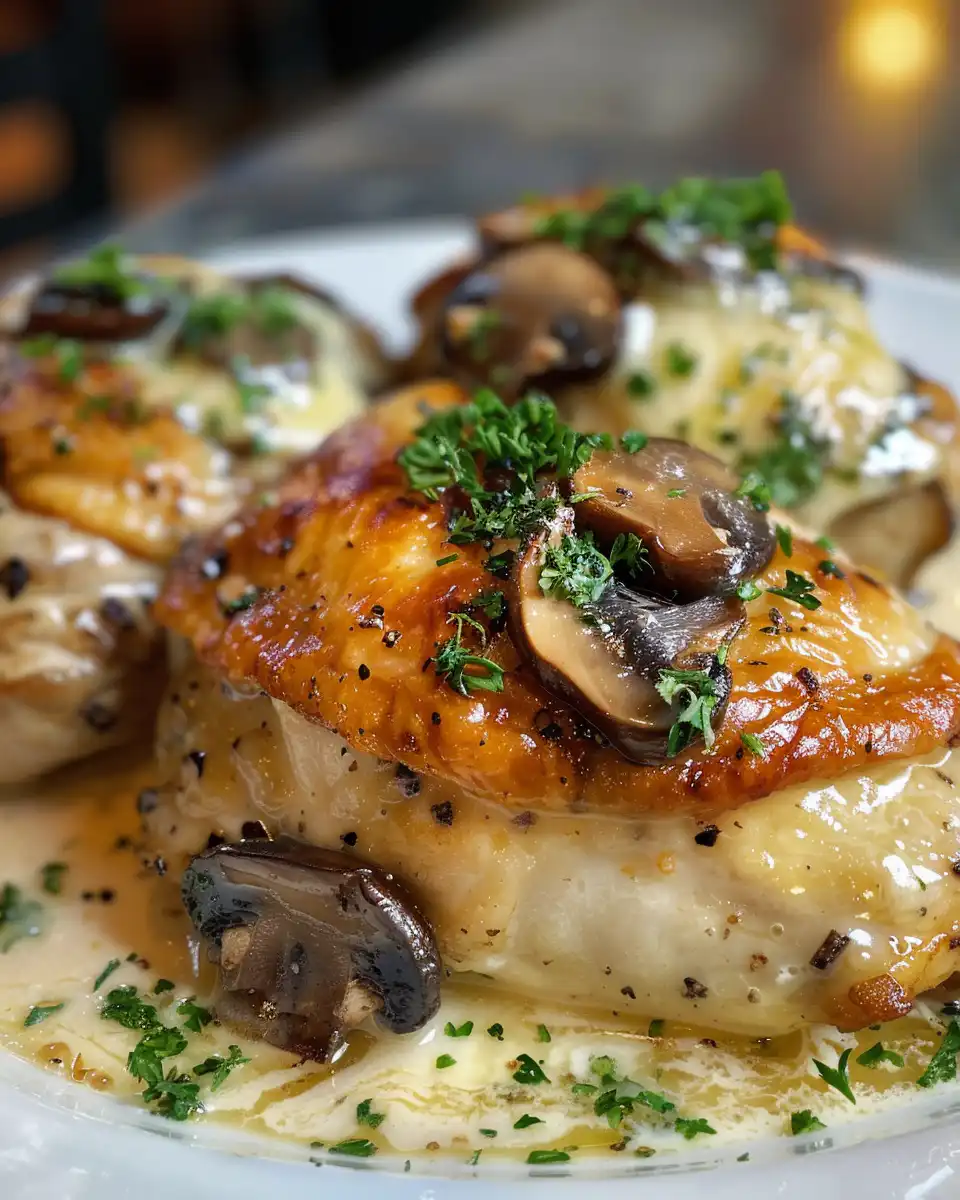
That first bite hits you with gooey mozzarella melting alongside earthy mushrooms. You get the richness of butter and garlic wrapping everything so nice and cozy.
The chicken's tender, juicy, and perfectly cooked through. You feel the cheesy mushrooms mixed with the softness of the chicken breast making every mouthful kinda heavenly.
Parsley adds a fresh little pop that balances the richness. It's the kinda dish you wanna make again soon because it's just that good and satisfying.
Smart Storage That Actually Works
Let your stuffed chicken cool completely before putting it in airtight containers. This avoids sogginess and keeps flavors fresh for later.
Store leftovers in the fridge and try to eat them within 3 days for best taste. You'll notice the cheese and mushrooms hold up well when chilled.
If you want to freeze some, wrap each chicken breast tightly with plastic wrap, then put them in freezer bags. Thaw in the fridge overnight to keep texture decent when reheated.
The FAQ Section You Actually Need
Q: Can I use white mushrooms instead of brown?
You totally can. Brown mushrooms have a deeper flavor but white ones work fine and cook the same way.
Q: Should I always use fresh parsley?
Fresh parsley adds the best brightness, but dried works in a pinch. Just add a bit less if using dried since it's more concentrated.
Q: How do I know when the pressure cooker is sealed right?
The sealing ring seals the lid tight. You'll see the float valve pop up and hear a hiss from steam cues once pressure builds.
Q: What's the difference between quick release and slow release?
Quick release lets the steam out fast, stopping cooking immediately. Slow release releases pressure gradually, better for tender meats.
Q: Can I skip baking and just pressure cook the stuffed chicken?
You can try, but baking helps melt the cheese and finish chicken cooking gently for best texture.
Q: What if my filling falls out while cooking?
Use toothpicks to secure chicken pockets tight. Also don't overstuff so it holds better during cooking and searing.
For more pressure cooker recipes with juicy chicken, check out the Garlic Parmesan Chicken or try some quick and easy options like the Chicken Philly Cheesesteak.
Cheesy Garlic Butter Mushroom Stuffed Chicken
Equipment
- 1 Skillet for cooking mushrooms and searing chicken
- 1 Baking dish to finish cooking chicken in the oven
Ingredients
Main ingredients
- 4 tablespoons butter for that rich garlic butter flavor
- 8 ounces brown mushrooms sliced, to stuff and taste all earthy
- 4 cloves garlic minced, gotta have that garlicky punch
- 2 tablespoons fresh parsley chopped to freshen things up
- pinch salt to taste
- pinch pepper to taste
- 4 chicken breasts skinless and boneless for your main star
- 1 teaspoon onion powder plus 1 teaspoon dried parsley help season the chicken
- 8 slices mozzarella cheese that’ll melt perfectly inside
- ¼ cup freshly grated parmesan cheese cause cheese makes everything better
- 1 tablespoon olive oil for searing the chicken before pressure cooking
Instructions
Instructions
- Preheat your oven to 375°F. You'll use it to finish off the chicken later after the pressure cooker gets the job done.
- Grab a skillet and melt 2 tablespoons of butter over medium heat. Toss in those sliced mushrooms and cook 'em until they're soft, about 5-7 minutes.
- Stir in your minced garlic, chopped parsley, onion powder, salt, and pepper. Cook all this for another 2 minutes while you get everything juicy and fragrant. Then take it off heat and let the mixture cool a bit so it’s easier to stuff.
- Next, carefully butterfly the chicken breasts. That means cut them almost in half but don’t slice all the way through, making a pocket for your filling. Season both sides with salt and pepper, don’t skip this part.
- Stuff each chicken breast with your yummy mushroom mixture. If you feel it’s gonna spill out, just secure ‘em with toothpicks.
- Now melt the remaining 2 tablespoons of butter in your skillet over medium-high heat. Sear the stuffed chicken breasts for 3-4 minutes each side until they get that pretty golden brown color.
- Transfer those beauties to a baking dish and pop them in the preheated oven for about 20-25 minutes. Let them rest a few minutes after baking before serving so the juices settle.