The pot lid rattles and you know dinner is almost ready.
That little hiss coming from the valve makes you catch your breath just a bit. You're cooking something special, something that fills the kitchen with the kind of smells that make you wanna linger. The broth depth in your pressure cooker works in ways that regular pots just can't match. It's not just about speed today; it's about flavor coming together in a way that surprises you.
See, when the pressure builds, and you hear that satisfying hiss of the valve, you recall why you chose this method over baking or slow cooking. The sealing ring holds in steam and warmth real good, making every ingredient get to work right away. It's like the pot's little secret for cooking eggs and cream cheese into a perfect Easter treat.
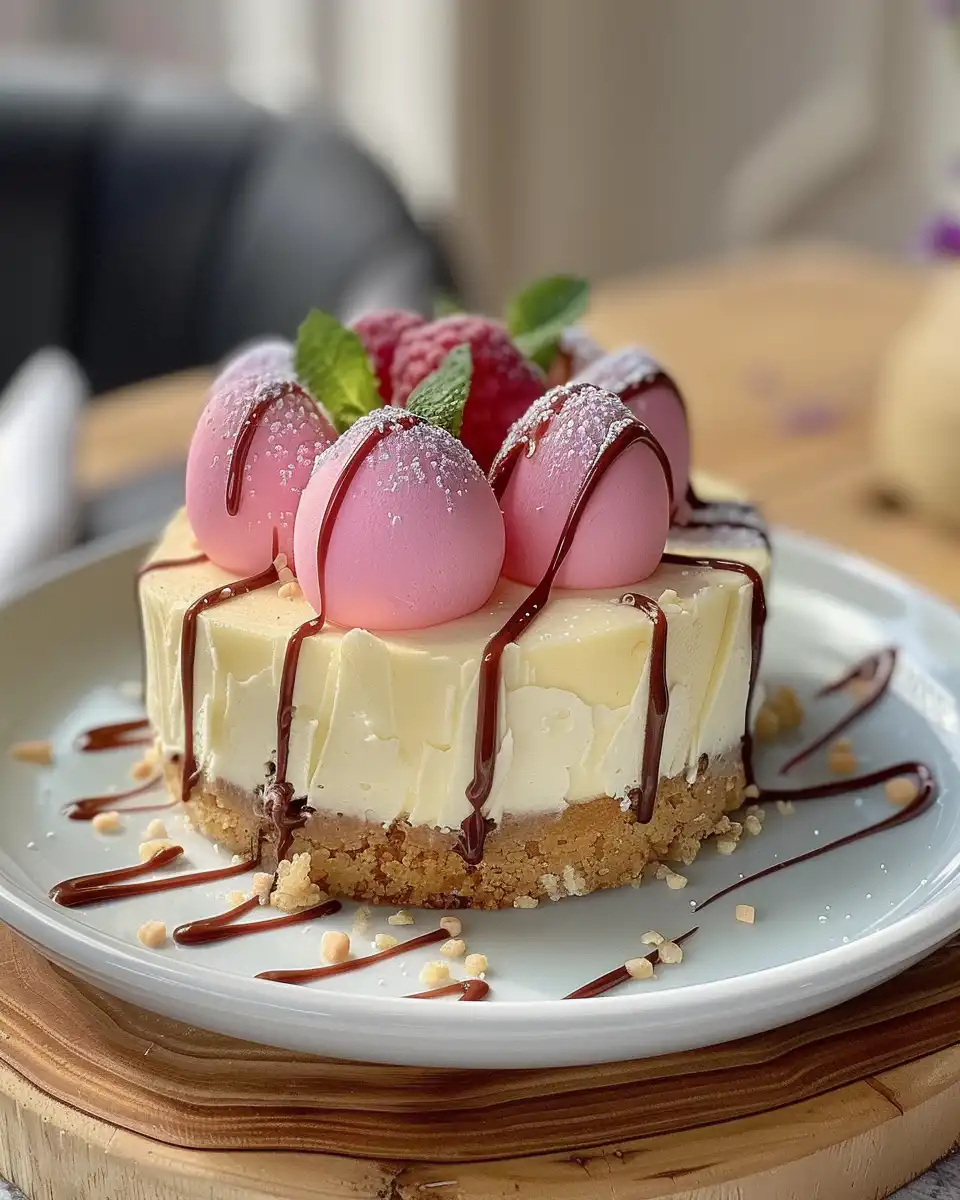
So this Easter Egg Cheesecake isn't just special because of the flavors, but because it took the pressure cooker path. You're gonna be amazed at how it sets with such a gentle jiggle-perfect for slicing up after that slow release. Ready for the whole rundown? Let's go.
Why Your Cooker Beats Every Other Pot
- You get super quick pressure build which speeds up cooking way fast. Check out our quick pressure cooker techniques for more tips.
- The sealing ring traps moisture so your cheesecake stays creamy and smooth. Learn about moisture locking kitchen tricks you can use.
- Pressure cooking locks in flavors in a broth depth you won't get in a traditional oven. For other recipes using this flavor locking method see slow flavored broth recipes.
- Valve hiss signals when to slow release so everything sets just right.
- No need to babysit the oven-you can focus on other things while it does its thing.
The Complete Shopping Rundown
- 1 ¼ cups graham cracker crumbs (about 8 graham cracker sheets)
- 3 tablespoons granulated sugar (for crust)
- 6 tablespoons unsalted butter, melted
- 1 ½ pounds full-fat cream cheese, room temperature
- 1 cup granulated sugar (for filling)
- 1 cup full-fat sour cream
- 1 teaspoon vanilla extract
- ⅛ teaspoon salt
- 3 large eggs
- 2 cups chopped Cadbury mini eggs (plus more for garnish)
- 1 cup cold heavy cream
- ⅓ cup powdered sugar
You definitely wanna gather up all these ingredients before you get started. The graham cracker crumbs and butter make a simple crust that holds everything. Cream cheese at room temp is key for that smooth batter, plus the sour cream adds a nice tang that balances sweet.
Then there's those chopped Cadbury mini eggs-the star here. They melt a bit but keep little pockets of chocolate surprise. Don't forget the cold heavy cream whipped with powdered sugar and vanilla extract; that topping is gonna be the cherry on top.
The Full Pressure Cooker Journey
- Step 1: First, mix your graham cracker crumbs, 3 tablespoons granulated sugar, and melted butter in a bowl. Press this crust mix into the bottom of a 9-inch springform pan real good. No need for oven yet since we'll do the whole cook in the pressure cooker.
- Step 2: Beat your cream cheese until creamy with 1 cup granulated sugar using a mixer. Then add sour cream, vanilla extract, and salt. Mix it all till it's kinda smooth and blended.
- Step 3: Crack eggs one by one into the mix, beating on low speed just enough to combine after each. You don't wanna overmix or your cheesecake will turn out dense.
- Step 4: Fold in the chopped Cadbury mini eggs nice and gentle so they don't all melt at once. Pour this cheesecake batter carefully over your prepared crust in the springform pan.
- Step 5: Pour 1 cup of water into the bottom of your pressure cooker. Place a trivet or steam rack inside and carefully set the springform pan on top. Seal the pot lid and set your cooker to high pressure for 30 minutes. You'll hear the valve hiss as pressure builds.
- Step 6: Once cooking time's up, do a slow release so the pressure lets off gradually. Your cheesecake will have a slight jiggle but the edges should be set. Remove the pan and let it cool to room temp, then chill in the fridge at least 4 hours for best texture before serving.
Quick Tricks That Save Your Time
- Use pre-chopped Cadbury mini eggs if you can find 'em to skip chopping time.
- Get the cream cheese out earlier so it softens faster and mixes easy.
- Mix crust ingredients in a zip-top bag and crush with a rolling pin for less mess.
- Careful with folding eggs-you can stir in with a spatula instead of mixer to avoid overmixing.
- Cover the pan with foil tightly before sealing the cooker to keep water from dripping on your cheesecake surface.
What It Tastes Like Fresh From the Pot
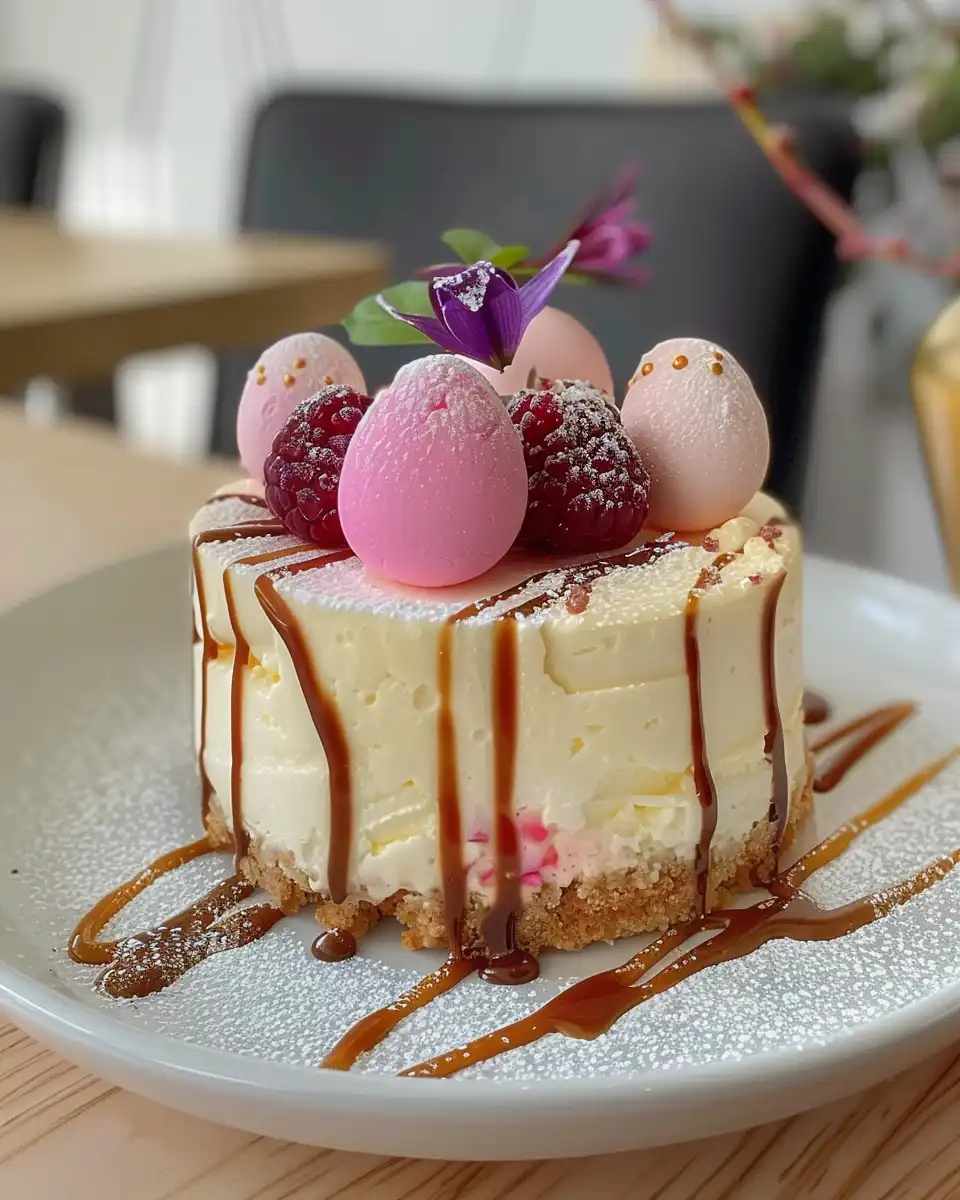
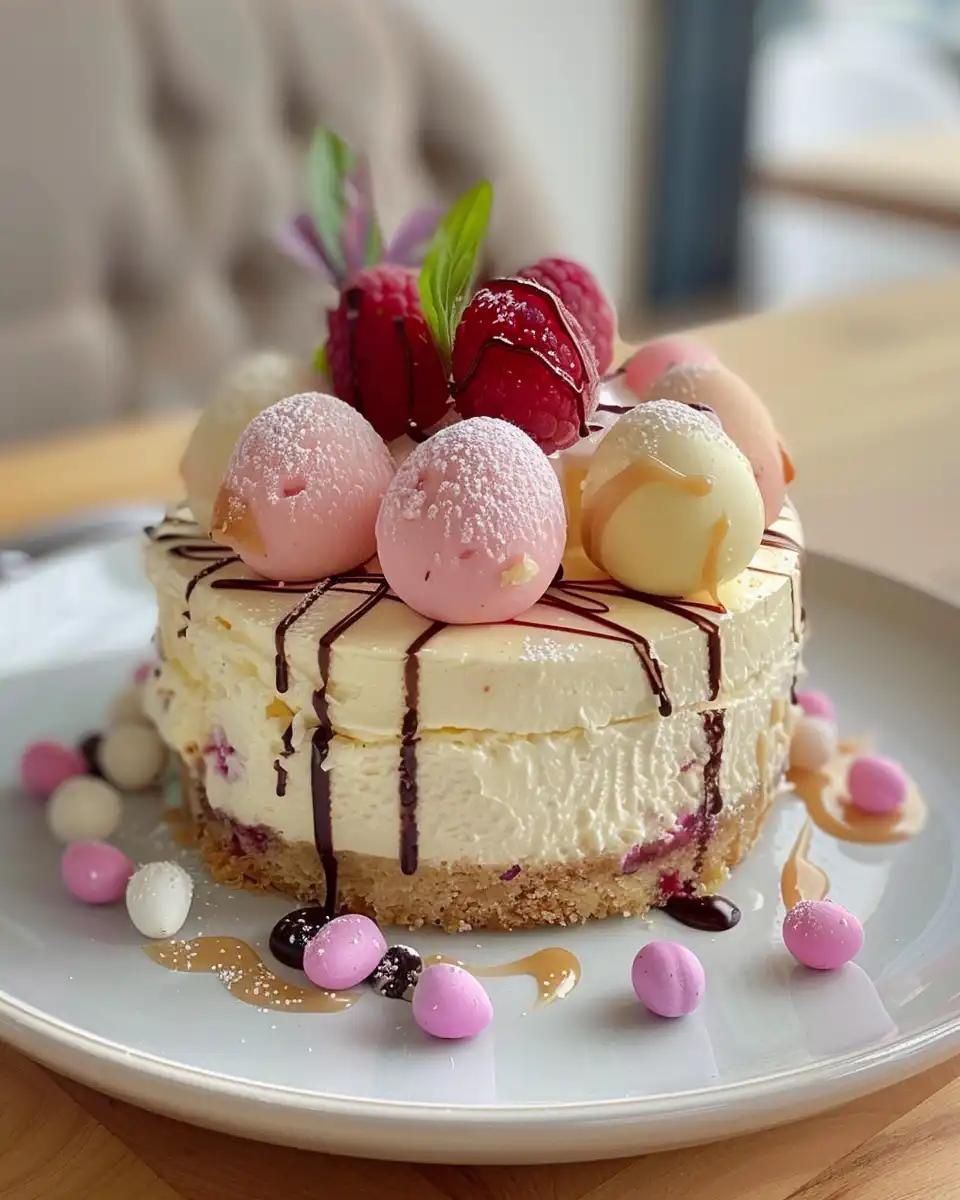
When you slice into your Easter Egg Cheesecake fresh from the fridge, you catch that creamy richness that feels kinda dreamy. The crust holds together with a buttery snap that balances out the soft center real good.
The chopped Cadbury mini eggs give sweet bursts of chocolate that melt just a little but still keep some texture. Every bite kinda surprises you because it's sweet, a little tangy, and very smooth.
You sense the heavy cream topping adds a fluffy, sweet finish that pairs perfect with the cheesecake base. It's like a little softness on top of all that dense yumminess.
The whole dessert feels festive without being too over the top. Perfect for sharing around a family table or just treating yourself after a long day.
How to Store This for Later
- Wrap the cheesecake tightly with plastic wrap to keep it from drying out.
- Keep it chilled in the fridge for up to 5 days. The flavor actually deepens the longer it rests.
- You can freeze slices in airtight containers for up to 3 months but don't freeze the whipped cream topping; add that fresh when you thaw.
- For best results, thaw frozen cheesecake in the fridge overnight before serving so it keeps that creamy texture.
Common Questions and Real Answers
- Q What if I don't have a springform pan? A You could try a regular cake pan but remember to line it well with parchment and be extra careful removing the cheesecake.
- Q Can I use low-fat cream cheese? A I say go full-fat for this recipe because it gives the best creamy texture and flavor. Low-fat can get kinda watery and less smooth.
- Q Do I gotta do a slow release? A Yeah, slow release helps the cheesecake cook gently and stops cracking. Quick release might make it tough or spongy.
- Q What if I don't have Cadbury mini eggs? A You can swap for any other kind of mini chocolate eggs or even chopped milk chocolate, but the festive color might be missing.
- Q Can I add other flavors? A Totally! Try lemon zest or peppermint extract but be careful not to overpower the eggs' chocolate sparkle.
- Q How do I keep the top from cracking? A Cover your cheesecake pan with foil inside the pressure cooker so water drops don't mess up the top texture during cooking.
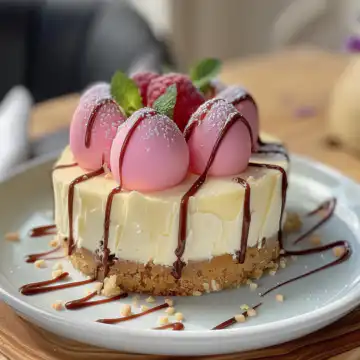
Easter Egg Cheesecake
Equipment
- 1 Pressure cooker
- 1 9-inch springform pan
- 1 Mixer
- 1 Trivet or steam rack
Ingredients
Main ingredients
- 1 ¼ cups graham cracker crumbs about 8 graham cracker sheets
- 3 tablespoons granulated sugar for crust
- 6 tablespoons unsalted butter melted
- 1 ½ pounds full-fat cream cheese room temperature
- 1 cup granulated sugar for filling
- 1 cup full-fat sour cream
- 1 teaspoon vanilla extract
- ⅛ teaspoon salt
- 3 large eggs
- 2 cups chopped Cadbury mini eggs plus more for garnish
- 1 cup cold heavy cream
- ⅓ cup powdered sugar
Instructions
Instructions
- Mix graham cracker crumbs, 3 tablespoons granulated sugar, and melted butter in a bowl. Press this crust mix into the bottom of a 9-inch springform pan real good.
- Beat cream cheese with 1 cup granulated sugar using a mixer. Add sour cream, vanilla extract, and salt. Mix until smooth.
- Crack eggs one by one into the mix, beating on low speed just enough to combine after each.
- Fold in chopped Cadbury mini eggs gently. Pour batter over prepared crust.
- Pour 1 cup of water into the bottom of the pressure cooker. Place trivet inside and set springform pan on top.
- Seal the pot lid and set your cooker to high pressure for 30 minutes.
- Once cooking time’s up, do a slow release. Remove pan and let cool to room temp, then chill in fridge for at least 4 hours.