The pressure builds and you start counting down minutes until you eat. You set the sealing ring just right and lock that lid on good. The steam cues start creeping up, and your mouth starts watering.
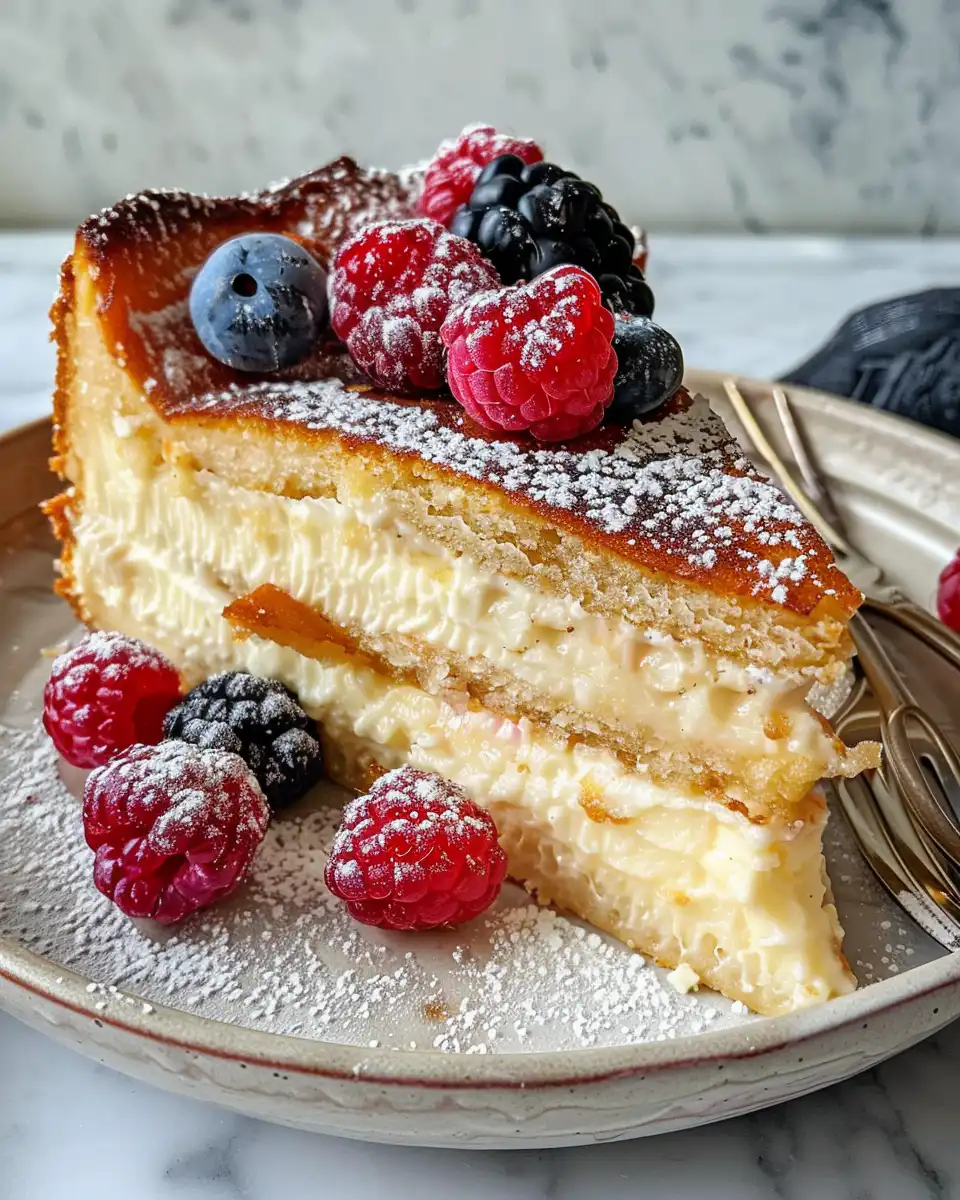
You remember all the times you waited for a cheesecake to bake in the oven, taking forever while your kitchen filled with that warm smell. But this time? It's different. You got the pressure cooker humming, and it's making things happen way faster.
The dang timer counts down and you watch the natural release tell you when it's safe to open up. That first peek is gonna hit different - creamy, smooth, and just perfect. You're ready to dig in with all those fresh berries waiting on top.
Why This Recipe Works Every Single Time
- Using Greek yogurt keeps the filling tangy and extra creamy without getting runny.
- The sealing ring locks in steam perfectly so your cheesecake cooks evenly all the way through.
- Pressuring it instead of baking saves you loads of time and doesn't dry it out.
- Natural release helps prevent cracks and keeps that smooth surface intact.
- The crust made with melted butter and graham crumbs sticks tight but stays crumbly in all the right spots.
- Adding lemon juice brightens up the flavors without overpowering the richness.
- Fresh berries on top add a juicy pop that balances the tangy sweetness real good.
All the Pieces for This Meal
- 1 ½ cups graham cracker crumbs (gluten-free if you need)
- 5 tablespoons unsalted butter, melted
- 1 tablespoon granulated sugar for crust
- 2 blocks cream cheese (16 ounces), room temp
- 1 ¾ cups plain Greek yogurt, room temp (2% fat works best)
- ⅔ cup granulated sugar to sweeten filling
- 3 large eggs to bind everything nice and smooth
- 1 teaspoon vanilla extract for that warm flavor hint
- 2 teaspoons lemon juice to cut through creaminess
- 1 ½ cups mixed berries (strawberries, blueberries, raspberries)
- Extra 2 tablespoons lemon juice for berries
- Optional ½ tablespoon chia seeds if you want it thicker
The Exact Process From Start to Finish
- Preheat your oven to 325 degrees Fahrenheit. That crust gotta be perfect before you cook the filling.
- Mix graham cracker crumbs, melted butter, and 1 tablespoon sugar in a bowl until all sticky and combined.
- Press this mixture firmly into the bottom of a 9-inch springform pan. Make sure it's even so the base holds up.
- Beat cream cheese in a big bowl till it's smooth and creamy with no lumps left.
- Gradually add ⅔ cup sugar while beating, making it nice and sweet.
- Pour in Greek yogurt, eggs, vanilla, and lemon juice. Mix till the batter looks homogenous with no streaks showing.
- Pour the filling over your prepared crust in that springform pan, smooth the top if you gotta.
- Bake in the oven for 30 minutes until edges feel set but center wiggles a little bit. Turn oven off and leave cheesecake inside for an extra hour to cool down slow and steady. Then chill in the fridge at least 4 hours or overnight before topping with berries and serving.
Time Savers That Actually Work
- Melt your butter in the microwave to save stove time. Just keep an eye on it so it doesn't burn.
- Let cream cheese and Greek yogurt sit out for 30 mins before starting. It beats trying to mix cold chunks that slow you down.
- Use pre-crumbled gluten-free crackers if you're in a rush and need the crust ready quick.
- Prep berries by washing and slicing 'em while your crust bakes. Multitasking time!
- Skip the oven for the filling bake and switch to pressure cooker mode if you wanna try a full pressure cooker cheesecake. Just add 1 cup broth for the base depth and use natural release for best texture.
What It Tastes Like Fresh From the Pot
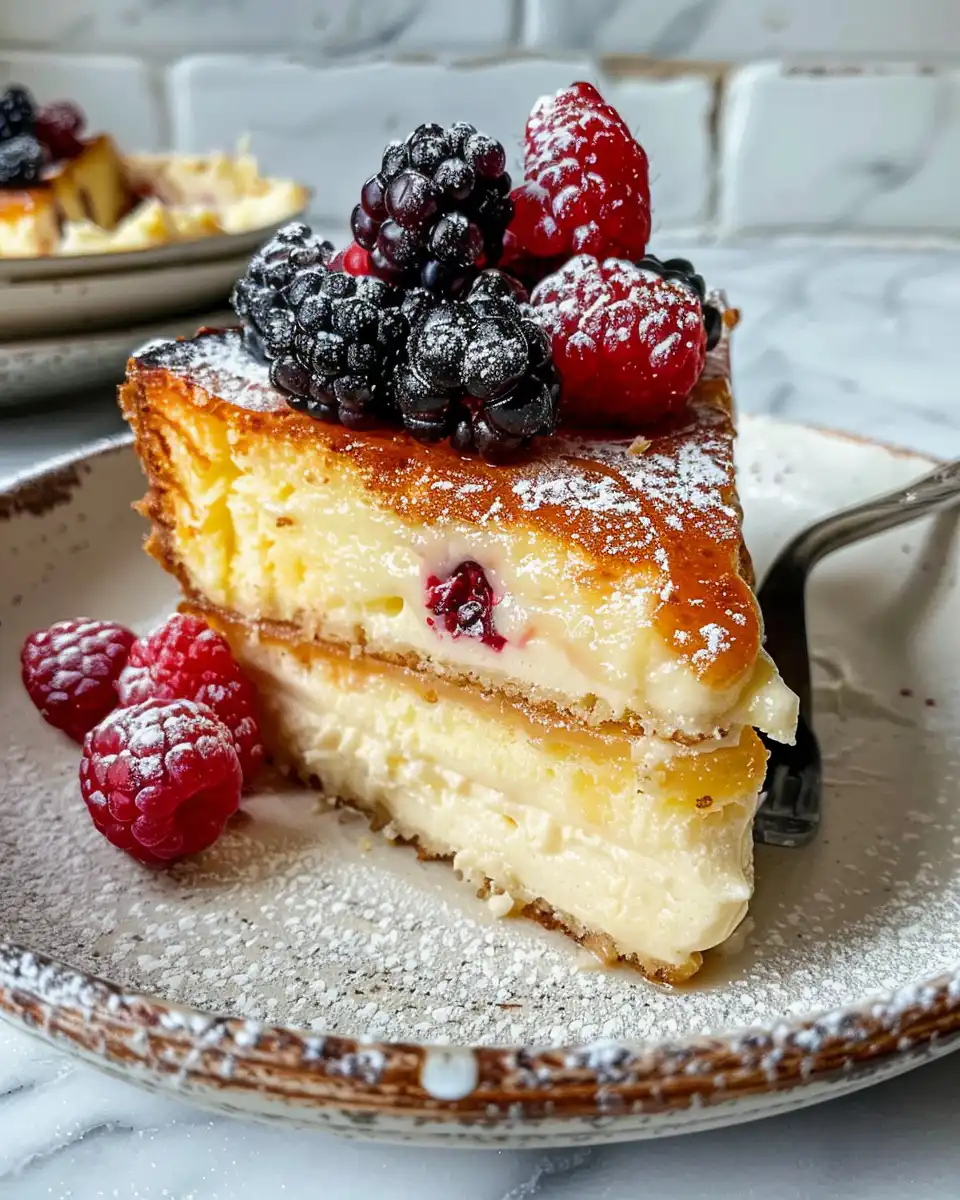
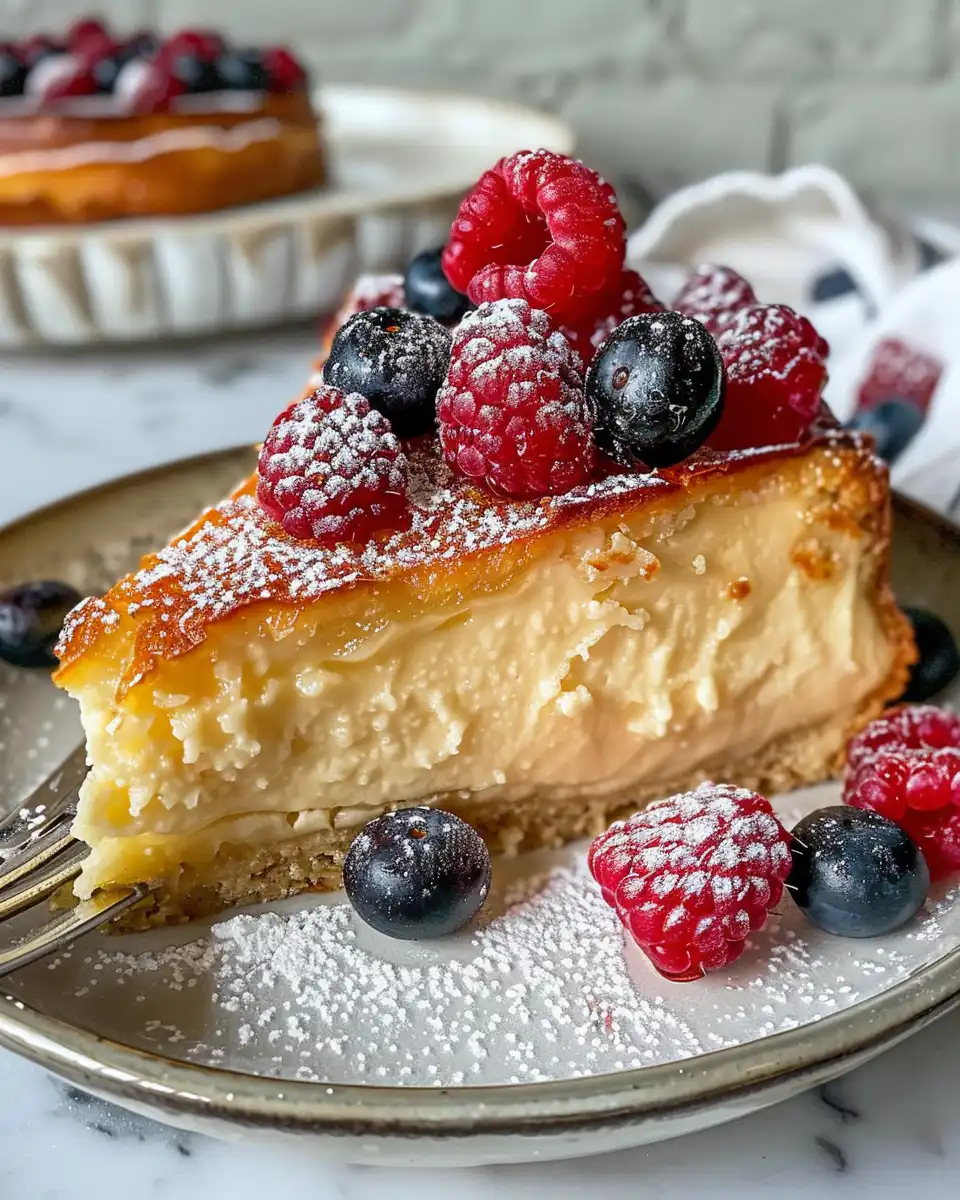
When you cut into this cheesecake fresh from the pot or oven, you notice that creamy bounce that's not too dense. The Greek yogurt gives it a tangy twist, kinda bright and fresh that wakes up your taste buds.
The graham cracker crust has just the right crunch, buttery with little bits that melt in your mouth alongside the smooth filling. It's not soggy or overcooked, and it holds together perfect.
The vanilla and lemon juice mix into the batter to give subtle fragrant hints that peek through without stealing the show. You kinda feel like you're biting into a dessert that's both classic and fresh at the same time.
And those fresh berries sitting on top? They punch up the sweetness and add a juicy tartness that balances the whole thing out so well. It's dang satisfying no matter when you eat it.
Your Leftover Strategy Guide
One way to store leftover cheesecake is to cover it tightly with plastic wrap. This keeps the moisture from drying out the surface and protects it from fridge odors.
If you got leftover slices, wrapping each one individually in parchment or wax paper first then placing in an airtight container works wonders. It stops them from sticking to each other and keeps the berry topping fresh.
You can also freeze cheesecake pieces if you want to keep 'em longer. Wrap those slices well in plastic wrap and then foil for double protection before popping in the freezer. When ready to eat, thaw overnight in the fridge for best texture.
Common Questions and Real Answers
- Can you make this without the crust? Sure, the filling can stand on its own but the crust adds a nice texture crunch you don't want to miss.
- Why does the cheesecake jiggle after baking? That's actually a good thing. It means your cheesecake isn't overcooked and will set as it cools.
- What if I don't have a springform pan? You can use a regular cake pan but it's way easier to remove cheesecake cleanly with a springform.
- Do I need the chia seeds? Nope, they just help thicken the berry topping a bit if you want it less runny.
- Can I quick release instead of natural release? Natural release is better for cheesecake so you avoid cracks, but quick release works in a pinch.
- Is using Greek yogurt healthier? It's got more protein and less fat than sour cream, plus makes the cheesecake tangier and creamier in a way that tastes great.
For more delicious desserts and baking inspiration, explore Carrot Cake Cupcakes or try the hearty Irish Beef and Guinness Stew for your next savory dish.
Greek Yogurt Cheesecake Pressure Cooker Recipe
Equipment
- 1 springform pan 9-inch
Ingredients
Ingredients
- 1 ½ cups graham cracker crumbs gluten-free if you need
- 5 tablespoons unsalted butter melted
- 1 tablespoon granulated sugar for crust
- 2 blocks cream cheese 16 ounces, room temp
- 1 ¾ cups plain Greek yogurt room temp (2% fat works best)
- ⅔ cup granulated sugar to sweeten filling
- 3 large eggs to bind everything nice and smooth
- 1 teaspoon vanilla extract for that warm flavor hint
- 2 teaspoons lemon juice to cut through creaminess
- 1 ½ cups mixed berries (strawberries, blueberries, raspberries)
- 2 tablespoons lemon juice for berries
- ½ tablespoon chia seeds optional if you want it thicker
Instructions
Instructions
- Preheat your oven to 325 degrees Fahrenheit. That crust gotta be perfect before you cook the filling.
- Mix graham cracker crumbs, melted butter, and 1 tablespoon sugar in a bowl until all sticky and combined.
- Press this mixture firmly into the bottom of a 9-inch springform pan. Make sure it's even so the base holds up.
- Beat cream cheese in a big bowl till it’s smooth and creamy with no lumps left.
- Gradually add ⅔ cup sugar while beating, making it nice and sweet.
- Pour in Greek yogurt, eggs, vanilla, and lemon juice. Mix till the batter looks homogenous with no streaks showing.
- Pour the filling over your prepared crust in that springform pan, smooth the top if you gotta.
- Bake in the oven for 30 minutes until edges feel set but center wiggles a little bit. Turn oven off and leave cheesecake inside for an extra hour to cool down slow and steady. Then chill in the fridge at least 4 hours or overnight before topping with berries and serving.