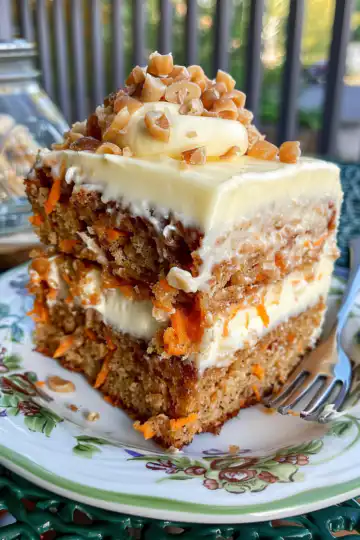
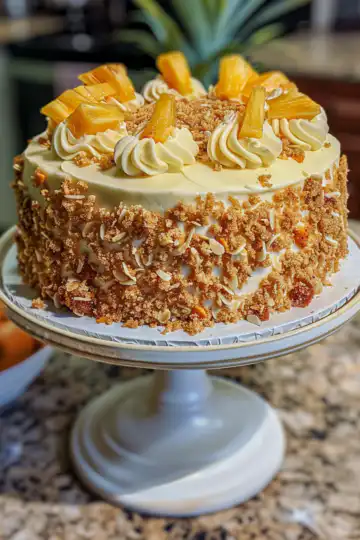
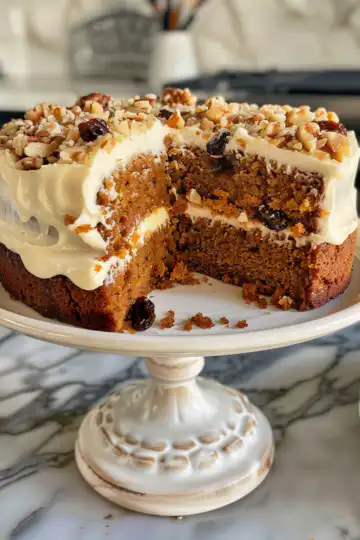
The pressure builds and you start counting down minutes until you eat. You already spot the sealing ring locked in place, which means things gonna get hot real quick. The valve hiss kicks in, and you know the pressure build is happening just right.
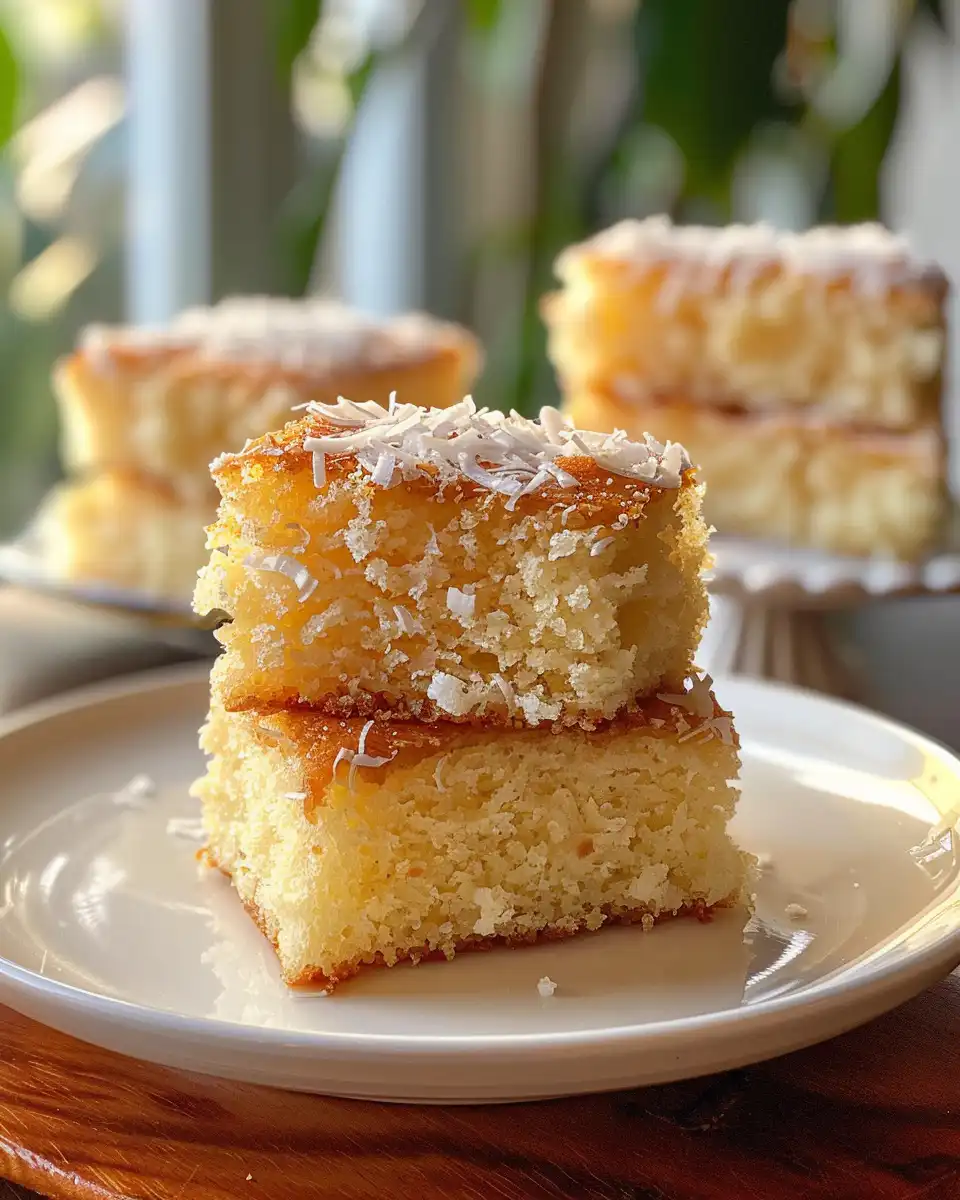
You sense the aroma of coconut and sweet rice flour beginning to mix through your kitchen. It's kinda like a little whisper telling you it's almost done. The quick release you'll do soon will let you peek at that golden Bibingka you been dreaming about.
Every second feels longer, but soon enough you'll hear the slow release and that's when the real fun starts. You recall the textures and flavors you love, but pressure cooker style. This Filipino coconut cake is ready fast, soft, and so dang tasty.
The Real Reasons You Will Love This Method
- Faster baking time compared to the oven. You won't be waiting forever.
- The pressure seals in moisture making the cake super soft and creamy.
- You don't even gotta babysit it. Just set and forget while it builds pressure.
- The sealing ring keeps the steam locked inside so flavors mix deep.
- Less heat in your kitchen since no oven roasting for ages.
- The quick release lets you check without ruining the texture.
- Cleanup is a breeze cause it cooks in one pot, no extra pans.
The Complete Shopping Rundown
- 8 oz cream cheese - gotta be softened so it blends smooth.
- 2 cups granulated sugar - the sweetness backbone.
- 3 eggs - they bind everything together nice and fluffy.
- 3 ½ cups sweet rice flour (about 1 lb) - this is what gives Bibingka its texture.
- 1 tablespoon baking powder - helps it rise just right.
- ½ cup butter, melted - adds rich flavor and moisture.
- 1 tablespoon vanilla extract - for that warm, sweet aroma.
- 15 oz can cream of coconut - this is where the coconut taste pops big time.
- 1 cup milk - to blend it all smooth and loose enough.
- 8 oz can crushed pineapple - adds a little tang and texture.
- ¼ cup brown sugar and 2 tablespoon granulated sugar - for sprinkling on top before the final pressure cook.
Make sure you pick good quality cream cheese and cream of coconut cause they really carry the flavor. Sweet rice flour might be found at Asian markets or online. If you spot fresh pineapples, you can crush them yourself instead of canned but that's your call.
The Full Pressure Cooker Journey
First, grease your round cake pan really well with butter so the Bibingka won't stick. This step's gotta be perfect or you'll miss that smooth rim.
Next, in a large bowl, beat the cream cheese and granulated sugar until it's totally smooth. You don't want lumps here so give it a good few minutes with a mixer or whisk.
Slowly add the eggs, one at a time. After each egg, mix it well so the batter stays silky. This helps the cake get fluffy when cooked.

In a separate bowl, mix the sweet rice flour and baking powder. Then you alternate adding the dry mix with the melted butter, vanilla, cream of coconut, milk, and crushed pineapple into your wet batter. Keep mixing until it's just combined.
Pour that luscious batter into your greased cake pan. Cover the pan tightly with foil so no water sneaks in during pressure cooking. Water and batter getting funky together would be a dang mess.
Put the cake pan inside your pressure cooker on a trivet with about a cup of water at the bottom. Lock the lid and make sure the sealing ring is in place. Set it to high pressure for 30 minutes.
Once time's up, do a quick release to let out the steam fast without overcooking. Carefully remove the cake pan, sprinkle with brown sugar and granulated sugar, then give it a minute or two under the broiler or a little shy of 5 minutes in the cooker with the lid off to caramelize the top. That's it!
Smart Shortcuts for Busy Days
- Use store-bought crushed pineapple to save time chopping and draining.
- Get cream cheese already softened from the fridge overnight so mixing is quicker.
- Measure and mix dry ingredients the night before to speed things up.
- Use your pressure cooker's timer so you don't forget when to quick release.
- Bake extra batches then slice and freeze. Just thaw for a quick treat.
These shortcuts work real good when you wanna enjoy Bibingka but time ain't on your side. Just a little prep ahead saves so much wait later.
Your First Taste After the Wait
When you finally slice into that soft yet slightly sticky Bibingka, your senses hit first with the creamy cream cheese and rich coconut flavors blending perfectly. You recall those warm family dinners where this cake was the star.
The pineapple adds a little surprise tang and sweet juiciness with every bite. The texture is kinda fluffy but also dense in a cozy kinda way that only sweet rice flour can do.
That caramelized sugar top is a crunchy contrast to the creamy inside, making every mouthful a mix of soft and crisp you didn't even know you wanted. You legit feel like you gotta have another slice before anybody else.
Smart Storage That Actually Works
- Wrap leftover slices tightly in plastic wrap so they don't dry out.
- Store the wrapped slices in an airtight container at room temperature if you'll eat them in a day or two.
- For longer keeping, pop the wrapped cake in the fridge but let it come to room temp before eating or it tastes a bit dull.
- If you wanna save it for weeks, wrap well then freeze it. Thaw overnight in the fridge.
Keeping your Bibingka fresh is straightforward but gotta be done right. The sugars and cream cheese mean it's best eaten within a few days for that perfect taste. Freezing is your friend if you made extra.
What People Always Ask Me
- Can I use regular flour instead of sweet rice flour? You can, but Bibingka gets that unique chewy texture from sweet rice flour. Regular flour will change how it feels a lot.
- Is the quick release safe for this recipe? Yeah totally. The quick release stops cooking right away so you don't end up with an overcooked cake.
- What if I don't have cream of coconut? You can try coconut milk but cream of coconut is thicker and sweeter, so the taste changes some.
- Can I skip the pineapple? Some folks do, but pineapple gives a nice tang and moisture that balances the sweets.
- How do I know when the cake is done? A toothpick in the center should come out clean or with just a few moist crumbs, not wet batter.
- Can I make this cake in the oven instead? Yep, preheat to 350°F and bake for about 30 minutes. But pressure cooker way is quicker and keeps it moister.
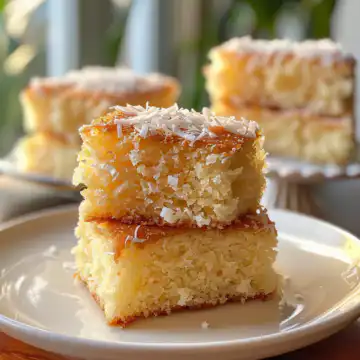
Bibingka – Filipino Coconut Cake Pressure Cooker Recipe
Equipment
- 1 Pressure cooker for cooking
- 1 Cake pan round
- 1 Mixer for mixing batter
Ingredients
Main ingredients
- 8 oz cream cheese softened
- 2 cups granulated sugar sweetness backbone
- 3 eggs binds everything together
- 3 ½ cups sweet rice flour about 1 lb
- 1 tablespoon baking powder helps it rise
- ½ cup butter melted
- 1 tablespoon vanilla extract for aroma
- 15 oz can cream of coconut coconut taste
- 1 cup milk to blend it all
- 8 oz can crushed pineapple tang and texture
- ¼ cup brown sugar for sprinkling
- 2 tablespoon granulated sugar for sprinkling
Instructions
Instructions
- Grease your round cake pan well with butter.
- In a large bowl, beat the cream cheese and granulated sugar until smooth.
- Slowly add the eggs, one at a time, mixing well after each.
- In a separate bowl, mix the sweet rice flour and baking powder.
- Alternate adding the dry mix with melted butter, vanilla, cream of coconut, milk, and crushed pineapple into your wet batter.
- Pour batter into the greased cake pan, cover with foil.
- Place the cake pan in the pressure cooker on a trivet with 1 cup of water. Cook at high pressure for 30 minutes.
- After cooking, perform a quick release. Remove the cake, sprinkle with brown and granulated sugar. Caramelize under broiler or in cooker.