That first hiss from the cooker tells you something good is happening. You got the float valve up, the broth depth just right, and all those sweet potatoes ready to soften up fast. There's this smell starting to fill the kitchen that you just can't ignore.
You catch yourself wandering back to the kitchen more than once during the cook time. It's kinda exciting to hear that valve hiss after that initial pressurizing. You know the cooker's doing its thing, bringing those sweet potatoes to a tender pull stage quicker than any oven could.
And just wait til you do the natural release. It feels like a little victory because the potatoes get so tender but don't fall apart. With every batch you make, you remember why this recipe is a total keeper, especially when time's tight but you want a homemade side dish that tastes dang good.
Why This Recipe Works Every Single Time
- The broth depth inside the cooker helps steam those sweet potatoes evenly for perfect tenderness.
- Using natural release keeps the sweet potatoes from getting mushy or breaking down too much.
- The initial valve hiss is a good sign everything's sealed and cooking at the right pressure.
- Peeling and cubing sweet potatoes into uniform chunks means they cook evenly every single time.
- Tossing with olive oil, salt, and pepper adds flavor and helps brown after cooking.
- The pressure cooker speeds up the softening without drying them out like roasting alone.
- You get that lovely tender pull texture that's just right for side dishes or bowls.
What Goes Into the Pot Today
- 4 medium sweet potatoes, peeled and cut into 1-inch cubes. They gotta be firm with no soft spots or damp patches.
- Extra-virgin olive oil, just a drizzle to bring some richness and help the potatoes brown once you finish them off.
- Sea salt, a few pinches to season and balance the sweet flavor.
- Freshly ground black pepper, for that little kick that plays perfectly with sweet potatoes.
- A cup of vegetable broth to create the right broth depth inside your pressure cooker.
- Parchment paper, to line the baking sheets if you plan on roasting the potatoes after pressure cooking for browning.
- Optional herbs if you wanna get fancy like fresh rosemary or thyme can be tossed in.
- A squirt of lemon juice or a dash of smoked paprika to add a taste twist if you like.
- Some garlic cloves if you wanna garlic scent working with the sweet potatoes.
- And a pinch of cinnamon or nutmeg for a little cozy vibe, especially in fall and winter.
Your Complete Cooking Timeline
- Step 1: Peel and cube your sweet potatoes into 1-inch pieces. Uniform size means even cooking inside the cooker.
- Step 2: Toss the cubes in a large bowl with extra-virgin olive oil, salt, and pepper until they're evenly coated. Don't skimp on the oil or seasoning.
- Step 3: Pour in about a cup of vegetable broth into the bottom of the pressure cooker. That broth depth is key to prevent burning and provide steam.
- Step 4: Place a trivet or a steamer basket inside the cooker. Arrange the sweet potato cubes on it so they aren't sitting directly in the broth.
- Step 5: Lock the lid, set the valve to sealed, and cook on high pressure for 5 minutes. After that, let it do a natural release for 10 minutes. This helps keep that tender pull texture.
- Step 6: Once the float valve drops, open carefully. Drain any remaining broth and gently toss the potatoes with a bit more oil if you want.
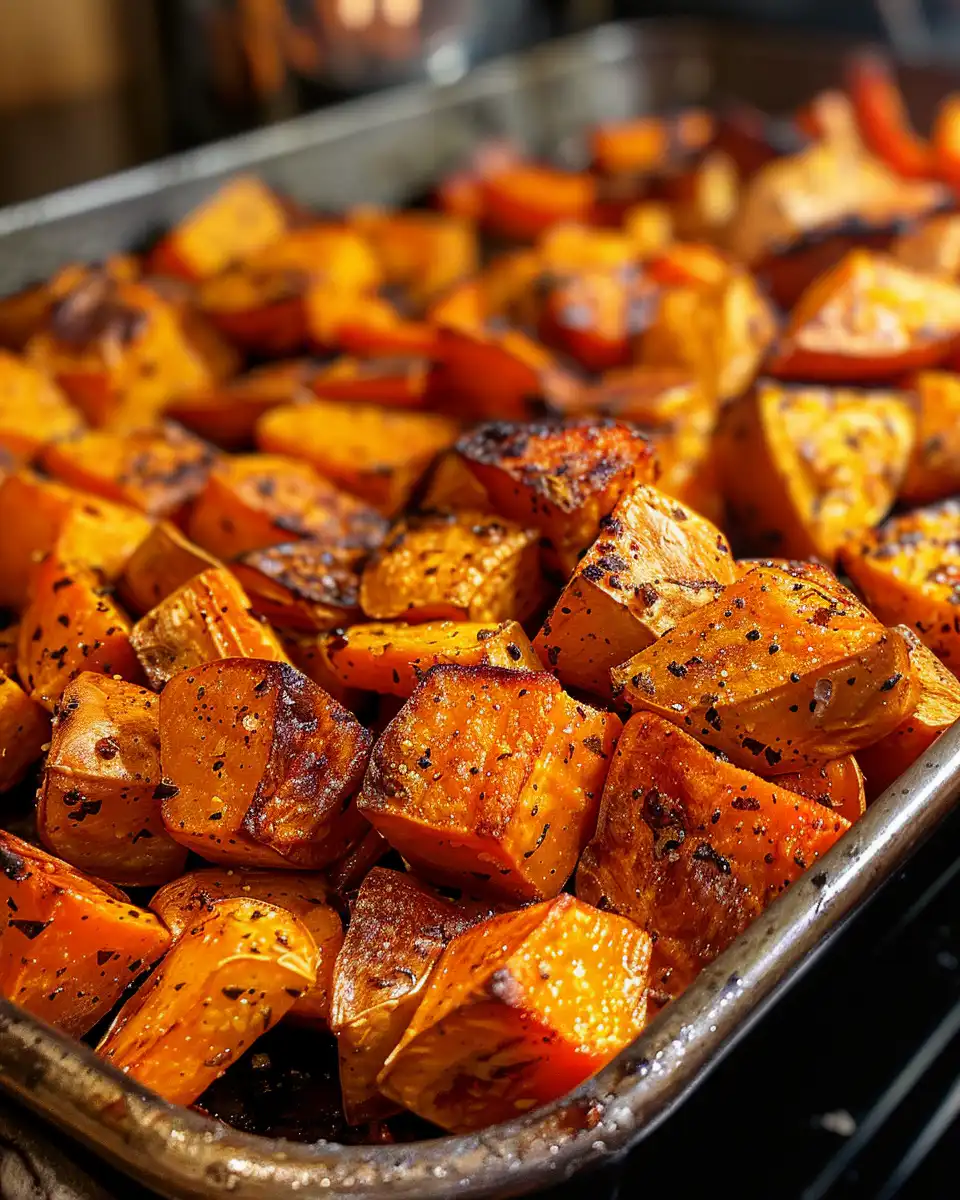
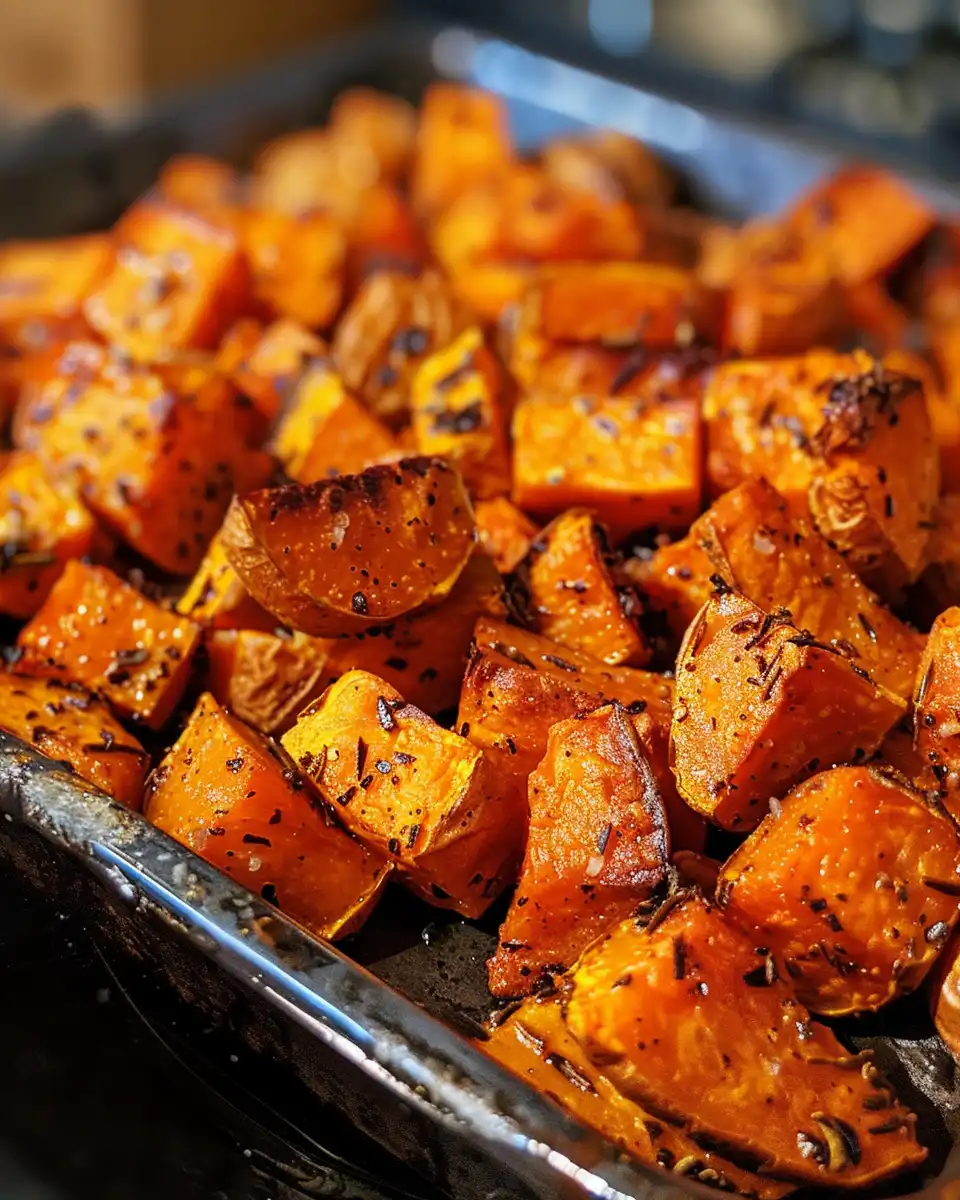
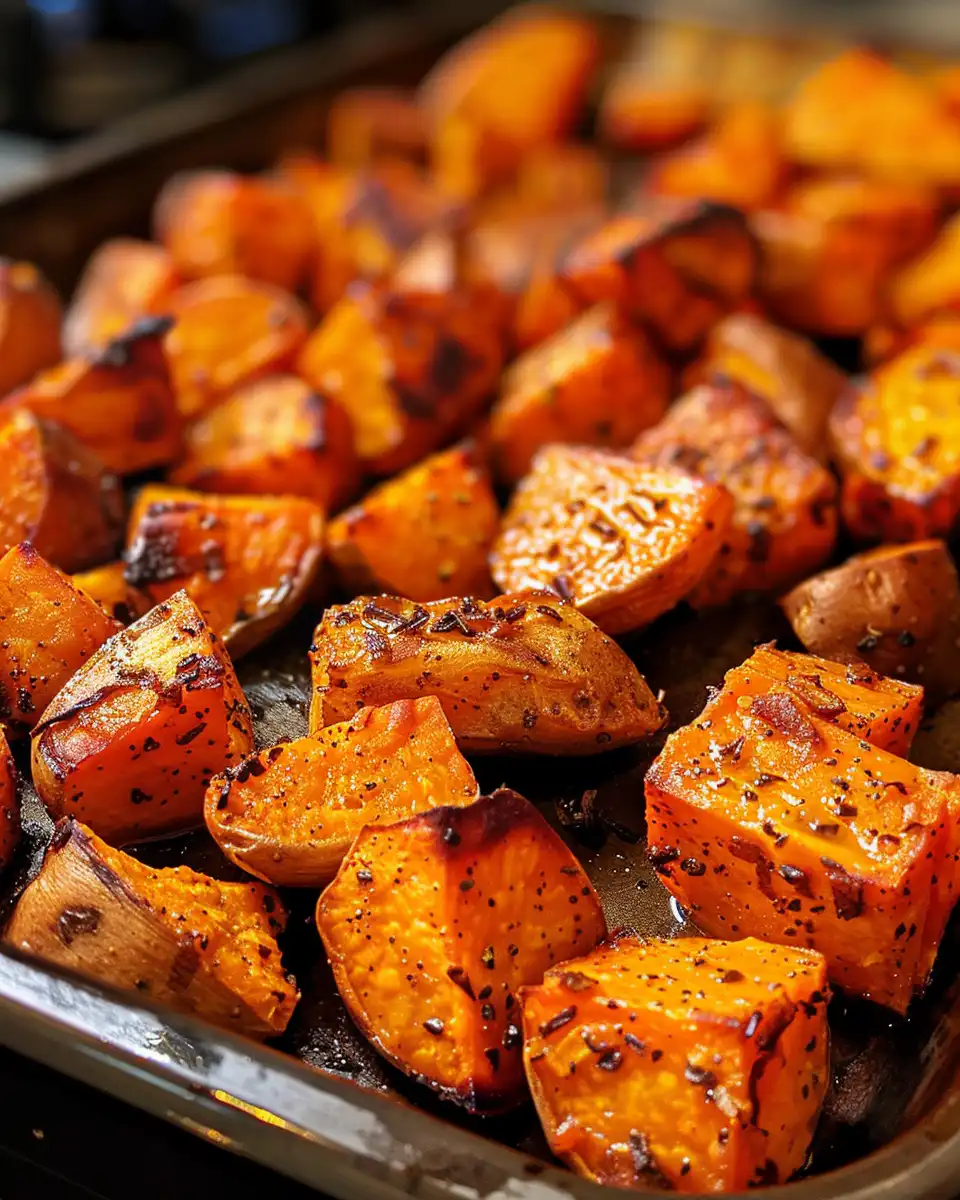
- Step 7: Optional but totally recommended, spread them on parchment-lined baking sheets and roast at 425°F for 20-25 minutes until the edges get nice and browned. Flip halfway through. Then serve warm.
Smart Shortcuts for Busy Days
- Peel and cube your sweet potatoes the night before and store them covered in water in the fridge. Cuts your prep time down.
- Use frozen pre-cut sweet potato cubes if you're really crunched for time. They work pretty good in the pressure cooker.
- Instead of roasting at the end, you can just toss the cooked potatoes in a hot skillet with oil to get that brown crust fast.
- Make extra batches and freeze individual portions. Then just microwave or reheat in a skillet later.
- Keep your seasoning simple during the week. Olive oil, salt, pepper, then add sauces or dressings right before eating.
When You Finally Get to Eat
That first bite is kinda soft and tender with a perfect balance of sweet and savory. You sense the olive oil dressing each cube with richness that coats the palate just right.
The edges have this slight crisp from the roast, giving a gentle contrast to the tender middle pieces. It's like a little flavor party in your mouth.
The aroma of roasted sweet potatoes fills the air with warmth and comfort. You remember meals from childhood but also feel like you're eating something kinda sophisticated.
Whether it's with a hearty veggie burger or tossed into a grain bowl with punchy sauces, these roasted sweet potatoes carry the meal and make it satisfying. You can't wait for leftovers.
Making It Last All Week Long
- Refrigerator storage: Place cooled roasted sweet potatoes in an airtight container for up to 4 days. Great for quick reheats during the week.
- Freezing: Flash freeze cubes on a baking sheet, then transfer to a freezer bag. Use within 2 months. Reheat in a skillet or microwave.
- Meal prep bowls: Portion roasted sweet potatoes into containers with grains and veggies for grab-and-go lunches or dinners. Keeps well for 3-4 days.
Common Questions and Real Answers
- Q: Can I skip the roasting at the end? A: Yeah, you totally can. They'll still be tender, but roasting adds that nice caramelized crust. Check out similar quick cooking tips in our Chicken Philly Cheesesteak recipe.
- Q: What if my sweet potatoes are small or large? A: Just aim for 1-inch cubes. Smaller will cook faster, larger might need an extra minute or two in the cooker. For size tips, see our Classic Deviled Eggs post for perfect sizing ideas.
- Q: How much broth do I need exactly? A: About a cup. The broth depth shouldn't cover the potatoes, just enough to create steam so nothing burns.
- Q: Can I add spices other than salt and pepper? A: For sure. Cinnamon, smoked paprika, garlic powder all work great and give the dish some personal flavor punch.
- Q: Should I do quick release instead of natural? A: Natural release is best here to keep potatoes tender but not mushy. Quick release might cause them to break down too much.
- Q: How do I know when the sweet potatoes are done? A: Look for tender pull when you pierce them with a fork. They should be soft but still hold shape good.
Roasted Sweet Potatoes: Pressure Cooker Style
Equipment
- 1 Pressure cooker
Ingredients
Main Ingredients
- 4 medium Sweet potatoes peeled and cut into 1-inch cubes
- 1 cup Vegetable broth
- Drizzle Extra-virgin olive oil for tossing
- A few pinches Sea salt
- To taste Freshly ground black pepper
- Optional Parchment paper for roasting
Instructions
Instructions
- Peel and cube your sweet potatoes into 1-inch pieces. Uniform size means even cooking inside the cooker.
- Toss the cubes in a large bowl with extra-virgin olive oil, salt, and pepper until they're evenly coated. Don’t skimp on the oil or seasoning.
- Pour in about a cup of vegetable broth into the bottom of the pressure cooker. That broth depth is key to prevent burning and provide steam.
- Place a trivet or a steamer basket inside the cooker. Arrange the sweet potato cubes on it so they aren’t sitting directly in the broth.
- Lock the lid, set the valve to sealed, and cook on high pressure for 5 minutes. After that, let it do a natural release for 10 minutes. This helps keep that tender pull texture.
- Once the float valve drops, open carefully. Drain any remaining broth and gently toss the potatoes with a bit more oil if you want.
- Optional but totally recommended, spread them on parchment-lined baking sheets and roast at 425°F for 20-25 minutes until the edges get nice and browned. Flip halfway through. Then serve warm.