The pressure builds and you start counting down minutes until you eat. You set your pressure cooker, lock the lid, and hear that familiar hiss as it seals tight, the sealing ring doing its job perfectly. You can't help but smile because you know what's coming is gonna be real good.
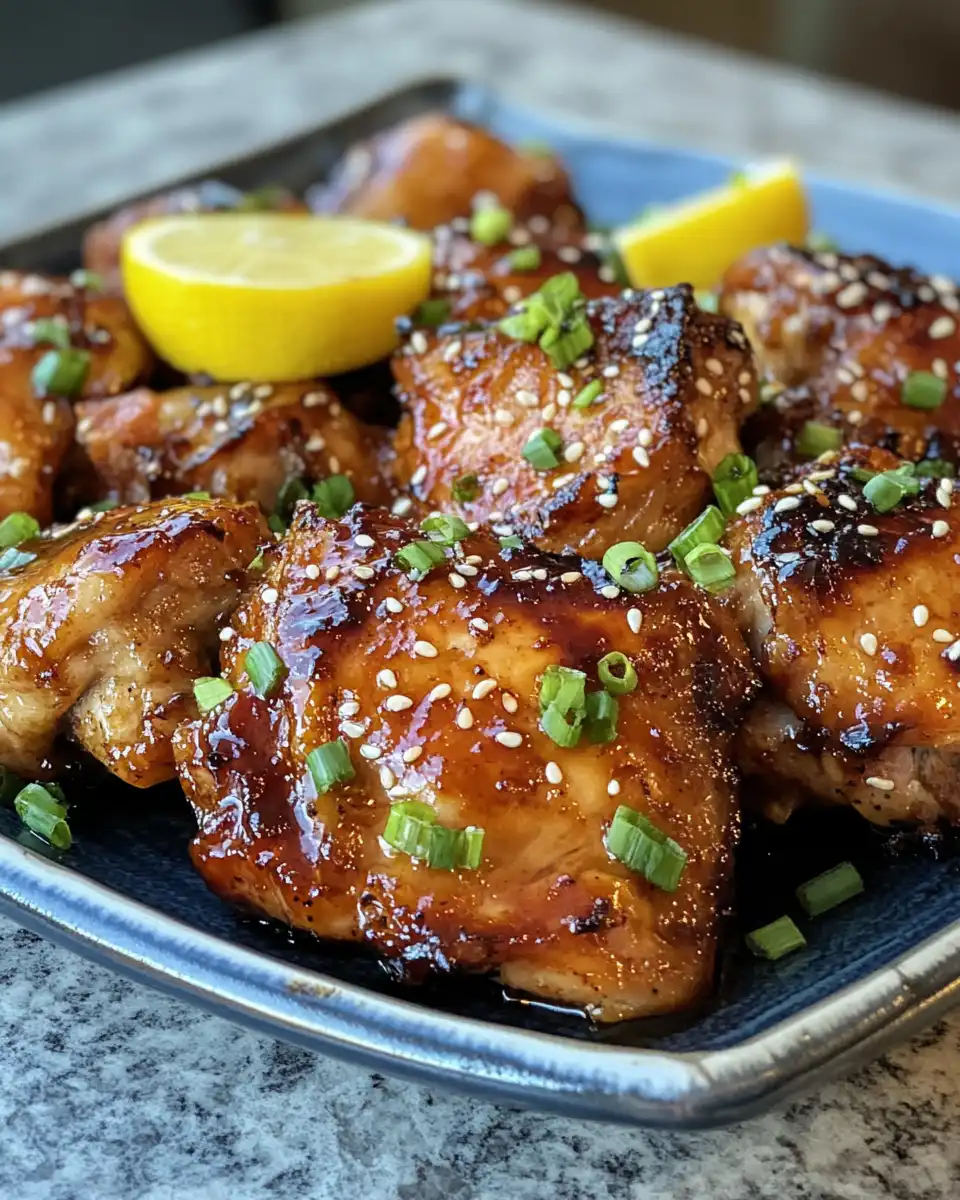
Time ticks slowly but you don't mind cause you're kinda excited for that tender pull of the chicken thigh meat that falls right off the bone-even if these are boneless, you know what I mean. The smells start creeping in and your stomach gives a little rumble. Dang, this is gonna be delicious!
Once the timer hits zero, you do a quick release, lifting the valve and letting out that steam. You peek in and see the sauce bubbling, thick and sticky. You pull out those juicy thighs and let them rest, knowing that every bite is worth the wait.
Why Your Cooker Beats Every Other Pot
- It locks in heat and moisture super tight, making your chicken extra tender and juicy every time.
- Cook times are crazy fast compared to oven or stove-top methods-you save loads of time.
- The sealing ring keeps pressure sealed without fail, so you get consistent results without dry chicken.
- You can use quick release or natural release to control how the flavors develop and keep things moist.
- Cleanup's a breeze, since you're cooking everything in one pot without extra pans.
All the Pieces for This Meal
- 6 chicken thighs, skinless and boneless - these are perfect cause they cook fast and soak up that sauce good.
- 1 cup BBQ sauce - pick your favorite kind, sweet or smoky works great.
- ⅓ cup honey - this adds a lovely touch of sweetness that caramelizes in the cooker.
- 1 tablespoon dark soy sauce - it gives a nice depth and umami to the flavor.
- ¼ teaspoon salt - just enough to bring it all together.
- ½ teaspoon pepper - for a little subtle heat.
- You'll need your pressure cooker with its sealing ring ready to go.
- A bowl for mixing all your sauces and spices.
- A baking dish if you wanna finish off the chicken in the oven after the pressure cooker step.
These ingredients come together simple and quick. You mix everything in a bowl, coat the chicken thighs well, and then it's ready for the pressure cooker action. The honey caramelizes beautifully, balancing the soy and BBQ sauce flavors in a way that tastes kinda fancy but took almost no effort.
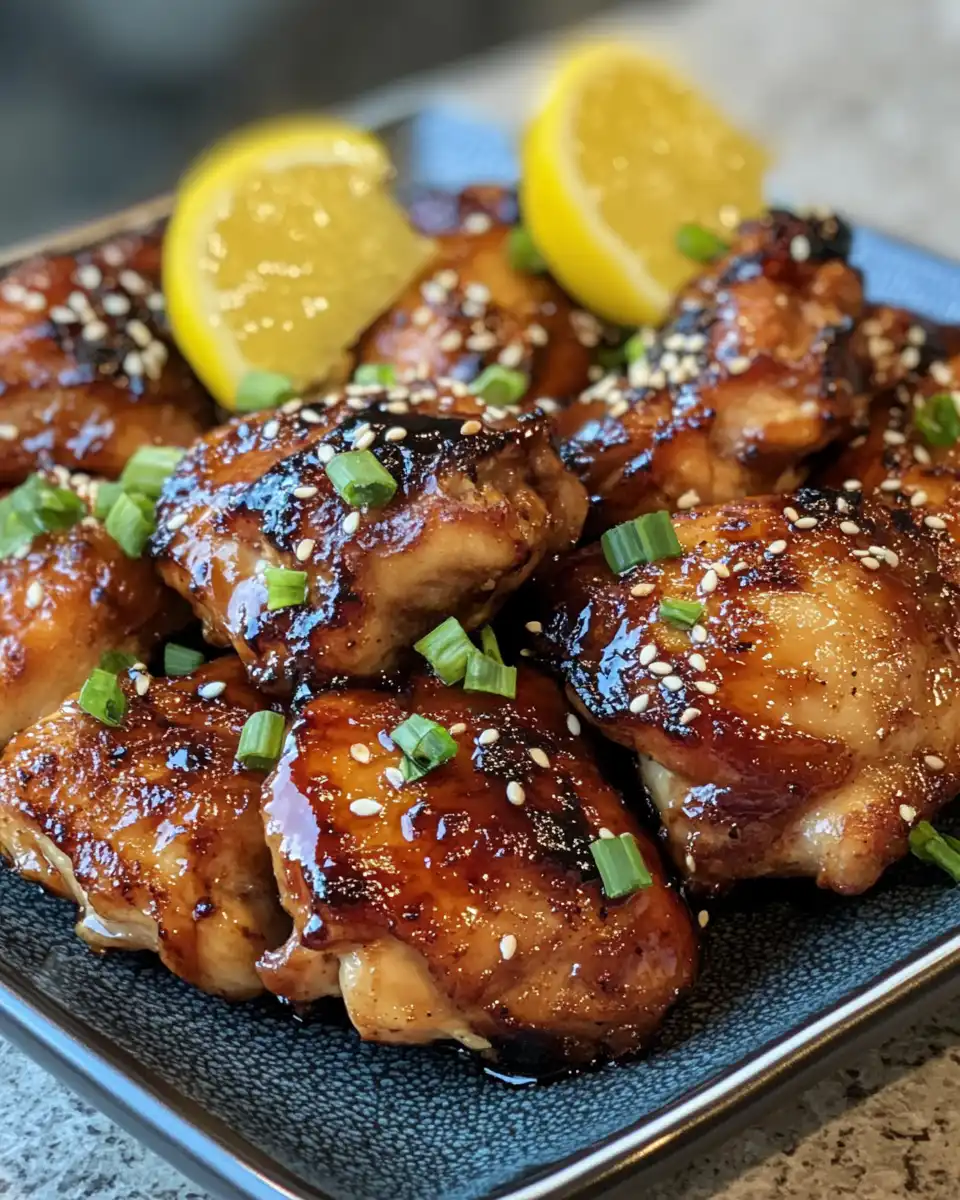
The Full Pressure Cooker Journey
- First, mix BBQ sauce, honey, dark soy sauce, salt, and pepper in a bowl until smooth.
- Place your chicken thighs in the pressure cooker pot, pour that sauce mixture over 'em, and rub it around till every bit is covered.
- Close the lid and set the sealing ring properly on your pressure cooker to make sure it seals right.
- Set the cooker to high pressure and cook for 10 minutes. Yeah it's fast!
- Once the timer's done, do a quick release to let out steam so you can open the lid fast without overcooking.
- At this point the chicken is tender and almost fall-apart good, but if you want that caramelized baked look, transfer thighs to a baking dish.
- Heat your oven to 400°F (200°C) and bake for 25-30 minutes till the sauce bubbles and caramelizes on the chicken.
- Let the thighs rest for 5 minutes after baking so the juices settle-then dig in and enjoy!
Smart Shortcuts for Busy Days
- If you're really pressed for time, skip the oven step and just serve right after the pressure cooker. The chicken's already tender and flavorful.
- Use bottled BBQ sauce you love ready-made to save mixing time-you wanna keep this easy!
- Freeze pre-mixed BBQ sauce and honey in small portions so you can thaw and toss chicken in it right away without any prep.
What It Tastes Like Fresh From the Pot
The moment you dig your fork into the chicken, you feel how tender it is with that soft pull that almost melts apart. It's juicy in every bite but not watery.
The sauce clings good and thick, sweet from the honey but with that familiar tang and a little kick from the soy and pepper. Its rich caramelized edges are just irresistible.
You notice the smell too, smoky and a bit sweet, that kinda scent that hugs your whole kitchen and makes you wanna take another bite right away.
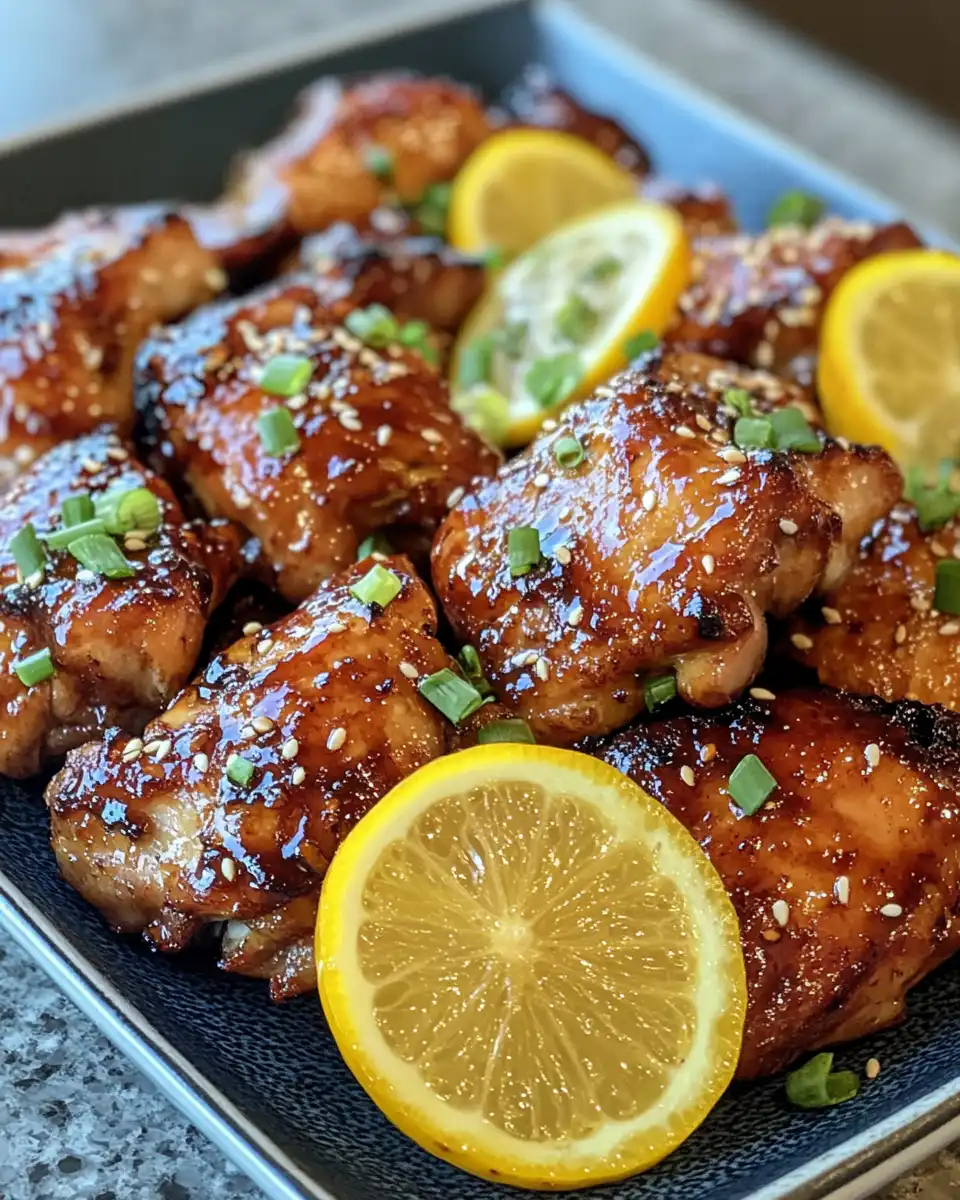
The chicken's got a hearty, satisfying mouthfeel that feels like comfort food made in a flash-you can't help but grin.
Your Leftover Strategy Guide
- Store leftovers in an airtight container in the fridge, and they'll keep well for up to 4 days.
- If you want to freeze some, put chicken and sauce in a freezer-safe bag or container, press out air, and freeze up to 3 months.
- Reheat gently in a skillet over medium-low heat so the sauce doesn't burn and chicken stays tender.
- You can also toss reheated chicken into wraps or salads for quick lunches that keep you smiling.
Common Questions and Real Answers
- Can I use bone-in chicken thighs instead? Yeah you can. Just might need to add a few extra minutes to the cooking time for that tender pull.
- What if I don't have a sealing ring? You really need it for pressure to build. Without it, cooker won't seal right and chicken won't get tender like it should.
- Can I make this without honey? Sure, but honey helps caramelize and adds sweetness. Try brown sugar or maple syrup if you wanna experiment.
- Is quick release always best? For this recipe it works great cause you don't wanna keep cooking after pressure's up. Natural release could make chicken mushy here.
- Can I double the recipe? You sure can but make sure your cooker isn't more than two-thirds full or it won't pressurize properly.
- Do I have to bake after pressure cooking? Nope, baking just adds that caramelized glaze and deeper flavor but chicken's ready right after pressure cooker step if you're in a rush.
Easy Baked BBQ Chicken Thighs
Equipment
- 1 Pressure cooker with sealing ring
Ingredients
Main ingredients
- 6 pieces Chicken thighs, skinless and boneless
- 1 cup BBQ sauce pick your favorite kind, sweet or smoky
- ⅓ cup Honey adds sweetness and caramelizes
- 1 tablespoon Dark soy sauce for depth and umami
- ¼ teaspoon Salt just enough to bring it together
- ½ teaspoon Pepper for subtle heat
Instructions
Instructions
- Mix BBQ sauce, honey, dark soy sauce, salt, and pepper in a bowl until smooth.
- Place chicken thighs in the pressure cooker pot, pour the sauce mixture over them, and rub until covered.
- Close the lid and make sure the sealing ring is properly set on your pressure cooker.
- Set the cooker to high pressure and cook for 10 minutes.
- Do a quick release to let out steam and open the lid fast without overcooking.
- If desired, transfer thighs to a baking dish and bake at 400°F (200°C) for 25-30 minutes until sauce bubbles and caramelizes.
- Let the thighs rest for 5 minutes after baking before serving.