You catch the smell through the steam vent and suddenly you are starving. That subtle hint of warm milk mixed with a slight tang pulls at your senses. It's kinda funny how a simple cooking sound makes you feel so hungry all of a sudden.
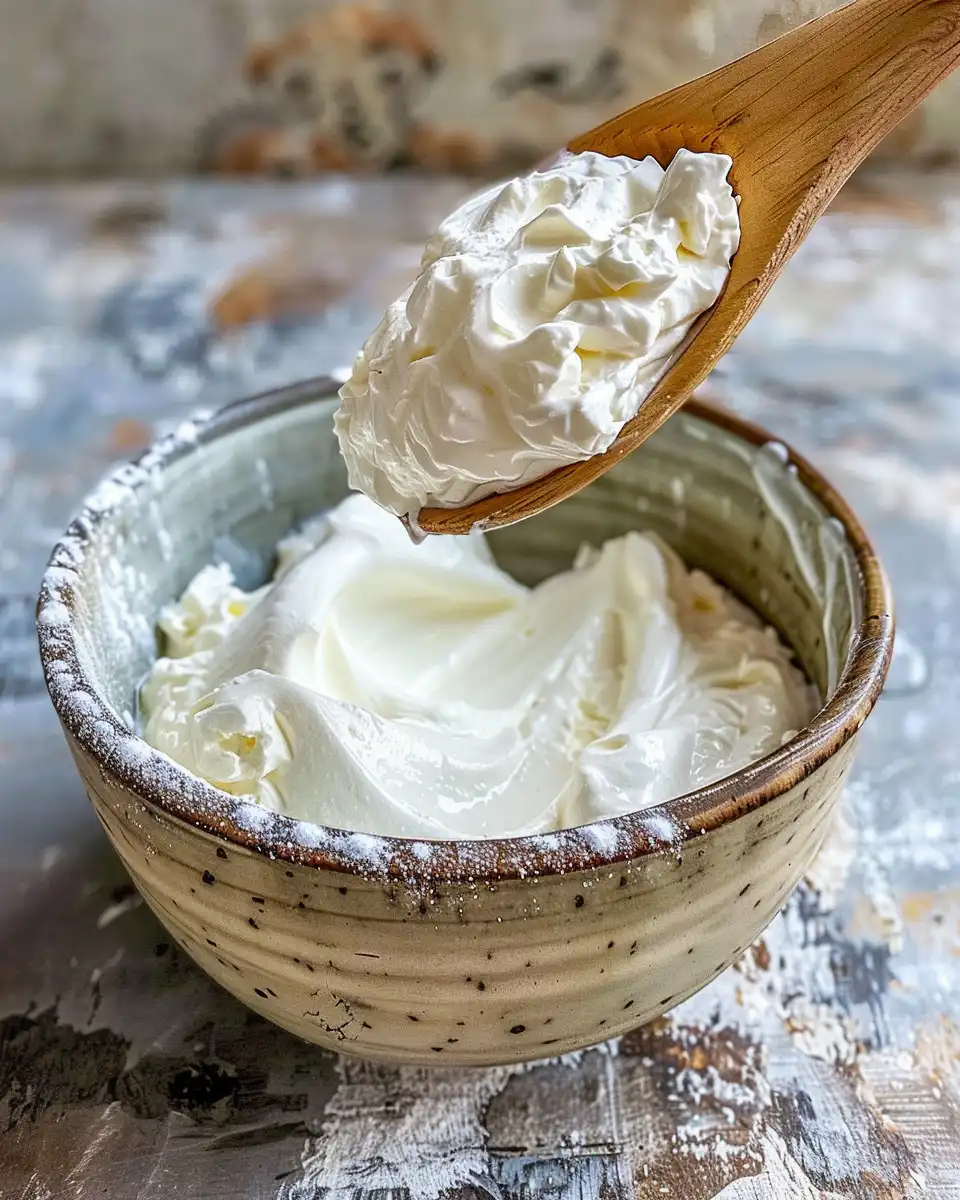
When you get your pressure cooker humming, with that valve hiss soundtrack, it's like your kitchen's telling you something good's coming. The slow release phase helps everything cook mellow-like, and you can almost sense the broth depth building up even if you're not making soup.
Whether you're new to pressure cooking or a veteran, you'll find that turning milk into creamy, tangy yogurt inside that little sealed pot is kinda neat. It does take patience, but the tender pull of thick homemade yogurt waiting for your spoon at the end is totally worth it.
The Truth About Fast Tender Results
- Keeping your milk heated to the right temp is key for smooth yogurt.
- The quick release lets you snap the lid off without losing heat too fast.
- Slow release keeps the cozy warmth steady without rushing the process.
- Using a good yogurt starter guarantees better culture growth.
- Patience is everything-rush it and you get runny mess.
- Clean containers ensure no funky stuff spoils your yogurt flavors.
- Keeping the environment draft-free during incubation helps proper setting.
All the Pieces for This Meal
- 42 ounces organic milk: you pick whole, 2%, or skim depending on your cream craving.
- 1 packet yogurt starter: gotta have live cultures in there to get the tang growing.
- A clean, heavy pot for heating milk safe for your stove.
- Instant-read thermometer: trust me, eyeballing temp ain't gonna cut it.
- A whisk or spoon for gentle stirring when mixing in the starter.
- A container with a lid or at least a towel to cover your yogurt during incubation.
- A warm spot in your kitchen: no drafts to mess with your setting process.
- Paper towels or something breathable if you cover it loosely.
- Patience and a sense of kitchen pride.
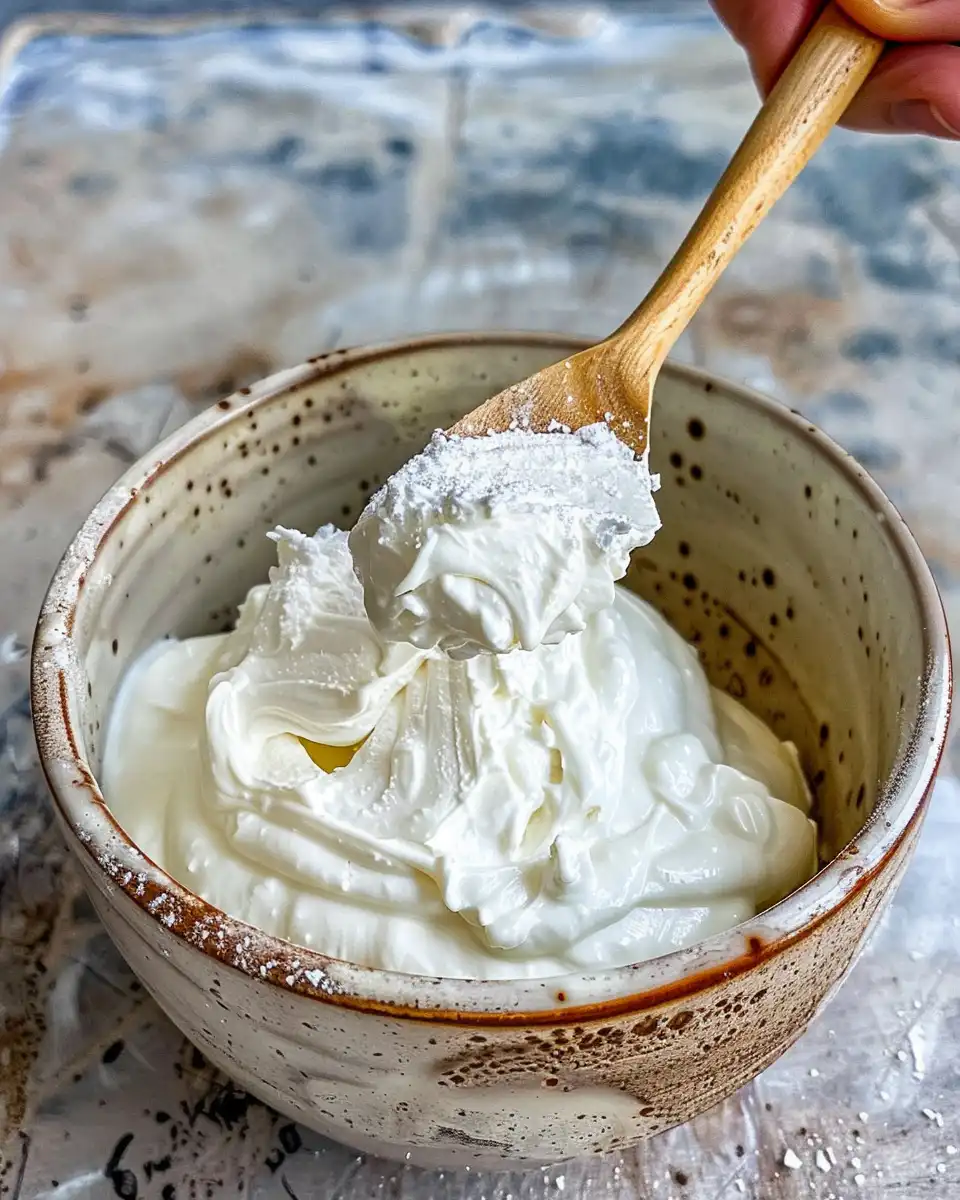
How It All Comes Together Step by Step
First things first you gotta heat the milk in your pot over medium heat. Stir it every now and then so it doesn't scorch.
Keep going till it hits about 180°F. That's when the proteins get ready to make the creamy texture you want.
Pull the pot off the heat and let your milk cool down to roughly 110°F. This is where the starter cultures get happy and alive.
Stir in your yogurt starter really well until it's all mixed in smooth.
Pour this combo into your nice clean container and cover it up with your lid or towel so no strangers get in.
Place the container somewhere warm and draft-free for like 6 to 12 hours. This incubation is the slow release phase of flavor building.
After it's firmed up good, stick it in the fridge for a couple hours to chill before you dig in.
Time Savers That Actually Work
- Use an instant-read thermometer to skip guessing if your milk's hot or cool enough.
- Cover your container with a cozy towel instead of a lid if you wanna check without lifting stuff too much.
- To get things going quicker, put your container in the oven with just the light on for a warm, draft-free zone.
- Whisk gently and quickly so you don't cool down the milk before adding the starter.
- Prep your clean container while the milk is heating to save some minutes.
That First Bite Moment
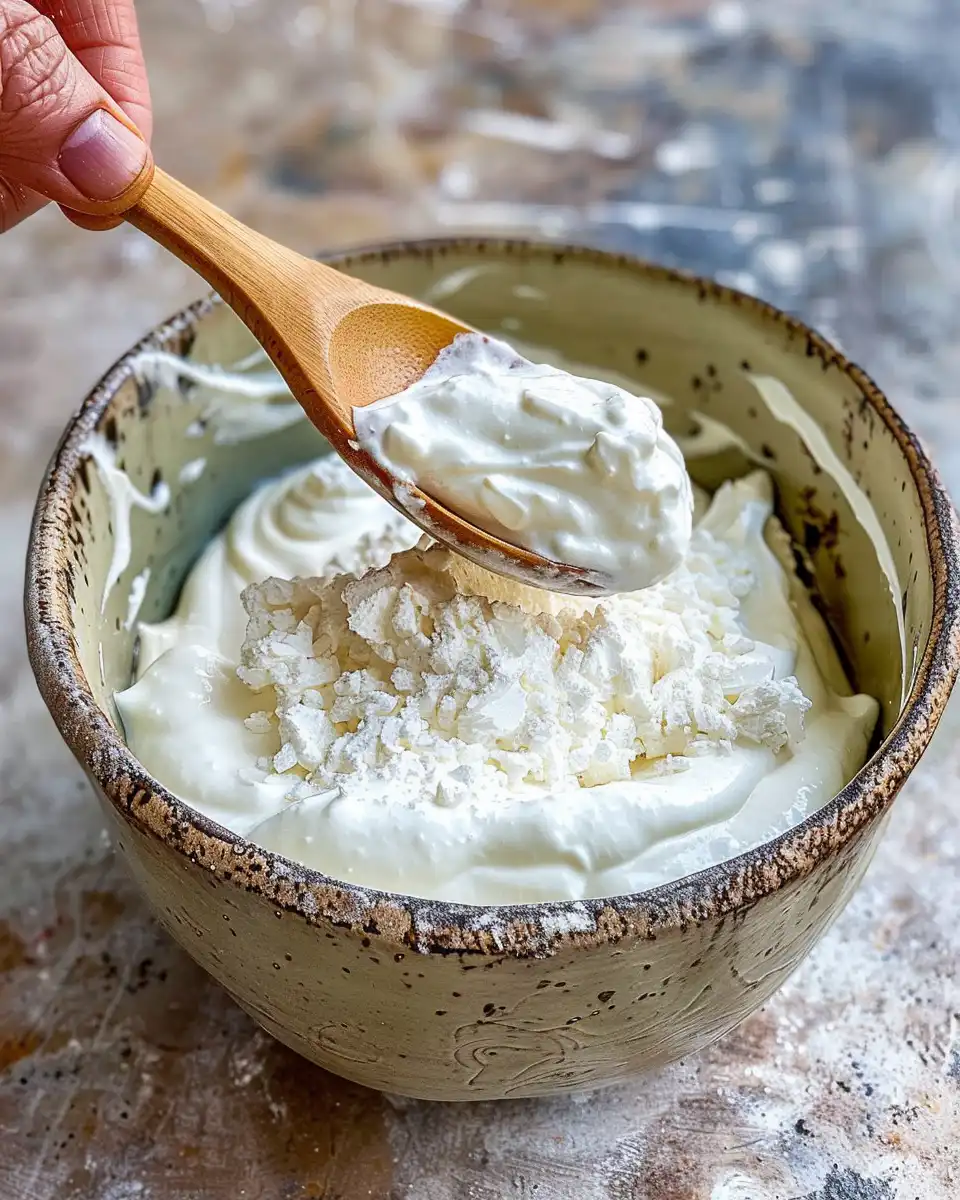
When you finally scoop your first spoonful, you feel that thick, tender pull that's honestly addictive. The yogurt clings just right without being too stiff.
It's creamy but with a nice tang that's fresh and a little bit wild like homemade should be. You spot little swirls of that silky texture shining in your bowl.
Your tastebuds catch the yogurt's gentle bite, way different from store stuff which is often too plain or overly sweet.
Each bite makes you appreciate that slow release of flavor and the care you took every step of the way. Heck, it's a little celebration inside your mouth.
Smart Storage That Actually Works
Once your yogurt is cooled and ready, keep it in a sealed container to hold the moisture and keep other fridge smells away.
Glass jars with screw lids work great, but any covered dish you trust will do the trick.
Try to eat it within a week so you get that fresh flavor and avoid any funky stuff growing in there.
Your Most Asked Questions Answered
Q1: Can I use non-organic milk? Sure, but organic tends to make a cleaner flavor. Either way, fresh milk works best.
Q2: What if my yogurt turns out runny? Usually means it didn't set long enough. Try giving it more time in that warm spot.
Q3: Should I stir yogurt after it sets? Nope, just scoop out the creamy top or whisk gently if you want a smoother texture.
Q4: How important is the temperature? Crucial! Too hot kills the starter; too cold slows the culture growth down.
Q5: Can I reuse the yogurt starter from previous batches? Y'all can, but after a few rounds the culture might get weaker. Fresh starter packet works best.
Q6: Is pressure cooking necessary? Nah, heating the milk on stove works fine, but slow release mode on a pressure cooker helps keep temp steady and easy.
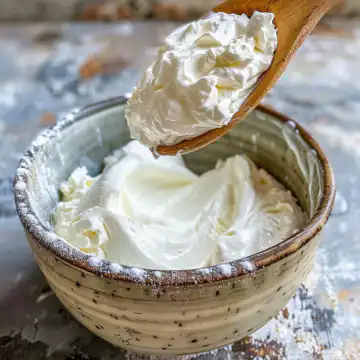
How to Make Homemade Yogurt
Equipment
- 1 Heavy pot for heating milk
- 1 Instant-read thermometer
- 1 Whisk or spoon for stirring
- 1 Container with lid for incubation
Ingredients
Main ingredients
- 42 ounces Organic milk whole, 2% or skim
- 1 packet Yogurt starter live cultures
Instructions
Instructions
- First things first you gotta heat the milk in your pot over medium heat. Stir it every now and then so it doesn’t scorch.
- Keep going till it hits about 180°F. That’s when the proteins get ready to make the creamy texture you want.
- Pull the pot off the heat and let your milk cool down to roughly 110°F. This is where the starter cultures get happy and alive.
- Stir in your yogurt starter really well until it’s all mixed in smooth.
- Pour this combo into your nice clean container and cover it up with your lid or towel so no strangers get in.
- Place the container somewhere warm and draft-free for like 6 to 12 hours. This incubation is the slow release phase of flavor building.
- After it’s firmed up good, stick it in the fridge for a couple hours to chill before you dig in.