The pressure builds and you start counting down minutes until you eat. You feel that little pump of excitement when the valve hiss lets you know your cooker is sealing tight. It's that sealing ring doing its job, locking in all the broth depth and flavors you added. You just keep watching, almost hoping that slow release would hurry itself up a bit so you can finally dig in.

Inside your kitchen, the air's getting saucy with the scent of fried chicken and spice. You spot the bubbling oil on the stove, but you're cheating this time with pressure cooking to make the best chicken biscuits faster. You remember the first time you tried this, that tender pull of juicy chicken that just fell apart but kept its crispy sides. Kinda dang good, actually.
Counting down the minutes feels longer than it really is, you realize. But that's how good things go sometimes, right? You sneak a peek at your kitchen clock, and it's almost time to savor that mix of hot honey butter melting perfectly on the warm buttermilk biscuits just waiting for you to stack the chicken on top. You're ready to chow down for real.
What Makes Pressure Cooking Win Every Round
- Locks in moisture for that juicy, tender pull every time.
- Faster cooking means you get dinner on the table without fuss.
- Sealing ring keeps all the flavors in, no sneaky steam getting out.
- Valve hiss gives you that satisfying sound you know means dinner's cooking right.
- Broth depth gets rich and intense thanks to pressure cooking's sealed environment.
- Less oil soaking in since you can do partial frying, then finish in the cooker.
- Hands off the pot, so you can prep sides or just chill while it cooks.
All the Pieces for This Meal
- 2 cups low-fat buttermilk, for marinating and that tangy base.
- 2 tablespoons kosher salt, gotta balance that flavor just right.
- 4 boneless, skinless chicken thighs, juicy and perfect for frying.
- 2 cups all-purpose flour, the crunchy coat for your chicken delight.
- 2 tablespoons garlic powder, add that garlicky punch.
- 1 tablespoon onion powder, subtle sweet notes packed inside.
- 1 tablespoon freshly ground black pepper, for that spicy kick.
- 1 tablespoon cayenne pepper, heat that flavor up a notch.
- 1 tablespoon paprika, smoky color and taste you'll love.
- Vegetable oil, as needed, for frying and those crisp outsides.
- 8 tablespoons unsalted butter, softened at room temperature for the honey butter.
- 3 tablespoons honey, sweet sticky touch for the butter mix.
- 1 tablespoon hot sauce of choice, gotta have that spicy zing; I use Crystal hot sauce.
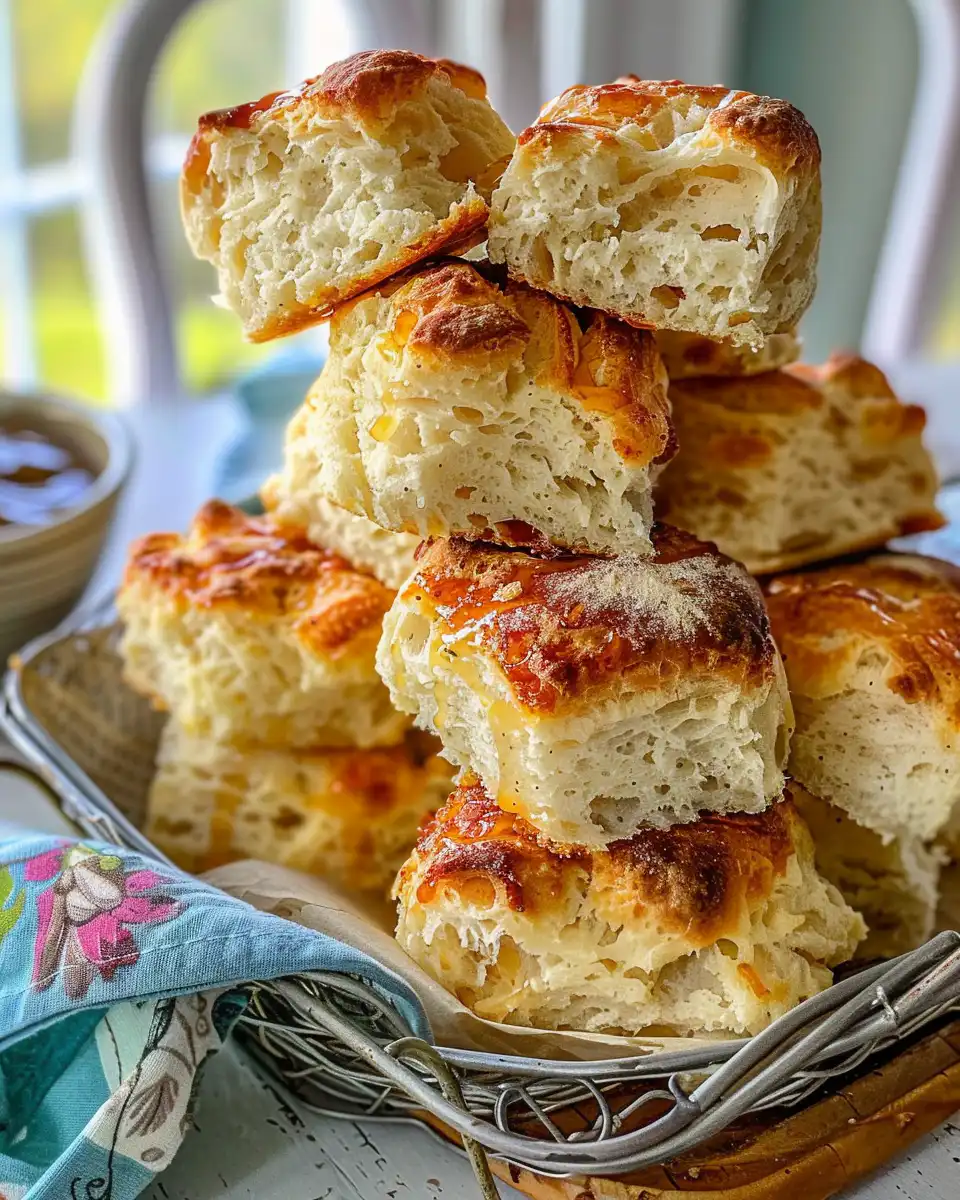
- 4 Buttermilk biscuits, split in half lengthwise and warmed to soak in the flavors.
- Bread and butter pickles, as needed for that tangy crunch.

Walking Through Every Single Move
First up is your marinade. In a large bowl, mix that buttermilk and kosher salt. Toss in your chicken thighs and make sure they're coated well. You'll wanna let them chill in there at least 30 minutes so the flavors sink deep and the chicken gets that tender pull promise.
Next, gear up your flour mixture. In another bowl, stir together the flour, garlic powder, onion powder, black pepper, cayenne, and paprika. You're building that crispy crust flavor, so don't skip the spices.
When your chicken's ready, grab each thigh and shake off the excess buttermilk. Dredge it thick in your flour mix, pressin' down so it really sticks. This is where that awesome crunch starts forming.
Heat up your vegetable oil in a skillet on medium heat. You want it hot but not smoke city. Fry the chicken about 6-8 minutes per side till it's golden brown and cooked just right through. You'll hear the sizzle and see that crispy coating come to life.
Remove your fried thighs to a paper towel-lined plate. Let 'em drain so you don't end up with oily bites. That crispy texture sticks better after a quick soak.
While your chicken rests, mix the softened butter with honey and hot sauce until smooth and spicy sweet. This hot honey butter is where the whole dang thing gets that next level flavor you don't wanna miss.
Slice your warm buttermilk biscuits in half lengthwise. Place a fried chicken thigh on each bottom biscuit half, drizzle hot honey butter on top, and add bread and butter pickles if you're feeling that extra crunch. Cap it with the biscuit top and you're ready to dive in.
Quick Tricks That Save Your Time
- Use the pressure cooker to keep chicken juicy and speed the whole process up.
- Marinate chicken overnight if you got the time, makes the tender pull even better.
- Make the hot honey butter in advance and keep it ready in the fridge.
- Warm biscuits in a toaster oven while you fry chicken, multitasking at its finest.
That First Bite Moment
You bite in, feeling the warm biscuit give softly under your fingers. There's that satisfying crunch from the fried chicken coat that snaps just right. The heat from the cayenne mixes with the sweet honey butter melting on top, creating a tangy spicy kick that wakes up your taste buds instantly.
Juicy chicken pulls apart tender with zero dryness. You notice the pickles crunch, adding a cool vinegar lift that cuts through all that fat and butter. You get a perfect balance of bold and mellow here.
The buttery biscuit soaks up a bit of the hot honey butter and chicken juices, making each mouthful richer. The hint of garlic and paprika sneaks through the crispy crust too, and it's dang satisfying.
It's one of those foods that feels like a warm hug in every bite, the kinda comfort you didn't know you needed but can't live without. You just wanna keep at it till it's gone.
Making It Last All Week Long
If you got leftovers, store your fried chicken in an airtight container in the fridge. It should keep good for up to 3 days. When you wanna eat, reheat it in the oven to keep that crispiness alive.
Biscuits can dry out fast, so wrap 'em tightly in foil or a plastic bag before refrigerating. Warm 'em in the toaster oven or microwave wrapped in a damp paper towel to revive softness.
For longer stash, freeze cooked chicken in single portions. Make sure to cool fully first, wrap in foil or freezer bags, and use within a month. Thaw overnight in the fridge before reheating carefully to not lose that crust.
What People Always Ask Me
- Q: Can I use chicken breasts instead?
A: You sure can, but thighs stay juicier and give that tender pull better than breasts, which can dry out quick. - Q: Why do I gotta fry before pressure cooking?
A: Frying locks in the crunchy crust and flavor while pressure cooking keeps chicken juicy inside. Together they work real good. - Q: Can I skip the pickles?
A: Absolutely, but the crunch and tang adds a cool contrast to the spicy sweet chicken and butter mix. - Q: What if I don't have Crystal hot sauce?
A: Any hot sauce you like will do fine. Crystal's just my fave for that mild vinegary heat. - Q: How long should I marinate chicken?
A: At least 30 minutes gets you good flavor and tenderness, but overnight is dang better if you got time. - Q: What's slow release and why does it matter?
A: Slow release lets pressure drop gently, locking moisture in longer which helps keep chicken juicy and tender rather than drying out fast.
For other pressure cooker chicken ideas to try, check out Garlic Parmesan Chicken, a recipe that also uses a pressure cooker to keep flavors juicy and tender. Or if you want something sweet to follow, you'll love the fluffy Strawberry Cupcakes made moist and fast with pressure cooking.
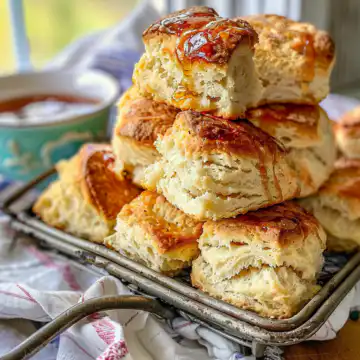
Fried Chicken Biscuits With Hot Honey Butter
Equipment
- 1 Pressure cooker For lock-in flavors
- 1 Mixing bowl Large
- 1 Skillet For frying
Ingredients
All the Pieces for This Meal
- 2 cups low-fat buttermilk for marinating and that tangy base
- 2 tablespoons kosher salt gotta balance that flavor just right
- 4 boneless, skinless chicken thighs juicy and perfect for frying
- 2 cups all-purpose flour the crunchy coat for your chicken delight
- 2 tablespoons garlic powder add that garlicky punch
- 1 tablespoon onion powder subtle sweet notes packed inside
- 1 tablespoon freshly ground black pepper for that spicy kick
- 1 tablespoon cayenne pepper heat that flavor up a notch
- 1 tablespoon paprika smoky color and taste you’ll love
- vegetable oil as needed, for frying and those crisp outsides
- 8 tablespoons unsalted butter softened at room temperature for the honey butter
- 3 tablespoons honey sweet sticky touch for the butter mix
- 1 tablespoon hot sauce of choice I use Crystal hot sauce
- 4 Buttermilk biscuits split in half lengthwise and warmed to soak in the flavors
- Bread and butter pickles as needed for that tangy crunch
Instructions
Walking Through Every Single Move
- In a large bowl, mix the buttermilk and kosher salt. Add the chicken thighs and make sure they’re coated well. You’ll let them chill for at least 30 minutes.
- In another bowl, stir together the flour, garlic powder, onion powder, black pepper, cayenne, and paprika.
- Remove each chicken thigh from the marinade and dredge it thick in your flour mix.
- Fry the chicken about 6-8 minutes per side until it's golden brown and cooked through.
- Mix the softened butter with honey and hot sauce until smooth and spicy sweet.
- Slice your warm biscuits in half. Place a fried chicken thigh on each bottom biscuit half, drizzle with hot honey butter and add bread and butter pickles.
- Cap it with the biscuit top and serve immediately.