Easter is a time for celebratin and fresh beginnings. Different cultures all over the world celebrate it in their own way. Its kinda like a symbol for hope and a new start, with lots of traditions that range from religious events to family gatherings. One fun tradition is decorating Easter eggs - these days, they kinda stand for rebirth and fertility in many places. Over time, Easter eggs have gone from just being dyed bright colors to real pieces of art showing off creativity.
In this article, we gonna dive into the cool idea of Easter aesthetic eggs - a mix of art and old traditions that takes egg decorating to a whole new level. Aesthetic eggs show off unique designs, detailed patterns, and a bit of everyone's personal style. Unlike the normal, plain-colored eggs, aesthetic eggs let you mix in lots of styles and techniques that show off your own expression and make a theme.
We'll walk through everything from the meaning behind these eggs, how to decorate them, to the trending styles that you can try. You'll find easy tips and creative ideas to kick off your own egg-decorating adventure. So grab your craft supplies and let's jump into the wonderful, messy world of Easter aesthetic eggs - your imagination is the only limit! We really hope you get inspired to try making some artistic eggs that add a little extra joy to your celebrations.
Understanding Easter Aesthetic Eggs
1.1 What are Easter Aesthetic Eggs?
Easter aesthetic eggs are like the new, artsy version of the classic egg decorating tradition. These eggs are all about showing off cool patterns, intricate details, and a unique twist that reflects your own style. Instead of just dipping eggs in a single bright dye, these eggs get painted, decorated with things like glitter, or even had washi tape applied. They dont just look pretty - they also remind us about hope and new beginnings during the season.
1.2 History of Easter Eggs
The idea of decorating eggs for Easter goes back a long time in many cultures and religions. In lots of places, eggs have been seen as a sign of fertility, rebirth, and the start of spring. For example, in early Christianity, eggs were used to represent the resurrection of Jesus Christ. Over many years, different styles and techniques have come up based on what people had around them. What started as simple solid colors turned into more detailed designs with floral patterns or religious symbols. As art moved forward, new methods like using vibrant paints and extra embellishments turned egg decorating into a fun form of artistic expression that is still alive today.
The Art of Decorating Easter Eggs
2.1 Essential Materials and Tools
2.1.1 Types of Eggs
- Fresh Eggs: They are great for traditional decorating but can be a bit fragile, so handle them carefully.
- Hard-Boiled Eggs: These are popular cause they dont break easily and you can dye them without worry.
- Plastic Eggs: Reusable and available in different sizes, these eggs are perfect for younger kids.
- Wooden Eggs: They are durable and eco-friendly. You can paint or decoupage them, and they last a long time.
2.1.2 Decorating Tools
To bring your ideas to life, youll need things like brushes, several types of dyes (both natural and synthetic), markers for fine details, stickers for a quick embellishment, and sponges to create textured effects. Depending on what you choose to do, extra items like glitter, glue, and washi tape can really help your egg designs pop.
2.2 Decorating Techniques
2.2.1 Dying Techniques
You can dye eggs using natural stuff like beet juice or onion skins that give softer, natural colors, or you can use synthetic dyes that offer bright, bold colors. Each way has its own charm - natural dyes are eco friendly and give one-of-a-kind shades, while synthetic dyes are great for getting consistent, vibrant results.
2.2.2 Painting Techniques
Painting with a brush lets you add lots of details and clean lines, while sponging can create cool textures; splattering paint gives a fun and random effect. Every technique opens up a world of creative possibilities to make your eggs uniquely yours.
2.2.3 Other Creative Methods
Besides using just dyes and paints, you can get creative with methods like decoupage-where you stick decorative paper onto your eggs-or use washi tape for fun patterns. Foam stickers can add an extra dimension and playful touch to your designs, letting you mix and match styles to match your personality.
Trending Aesthetic Styles for Easter Eggs
As people keep gettin creative with Easter egg decorating, new styles appear all the time. Here are some of the trending aesthetic looks you can try on your eggs, each bringin its own unique vibe.
3.1 Minimalist Aesthetic
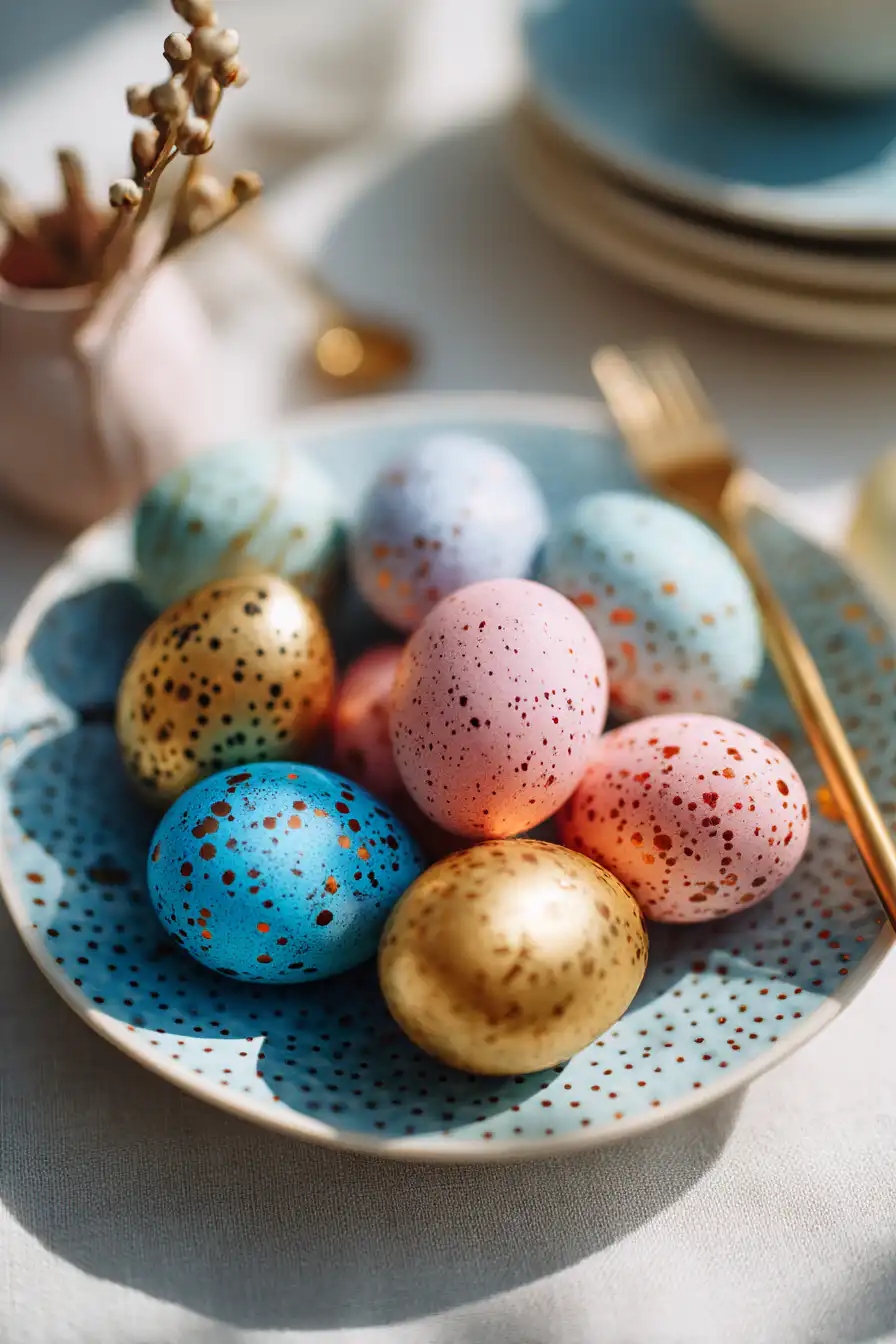
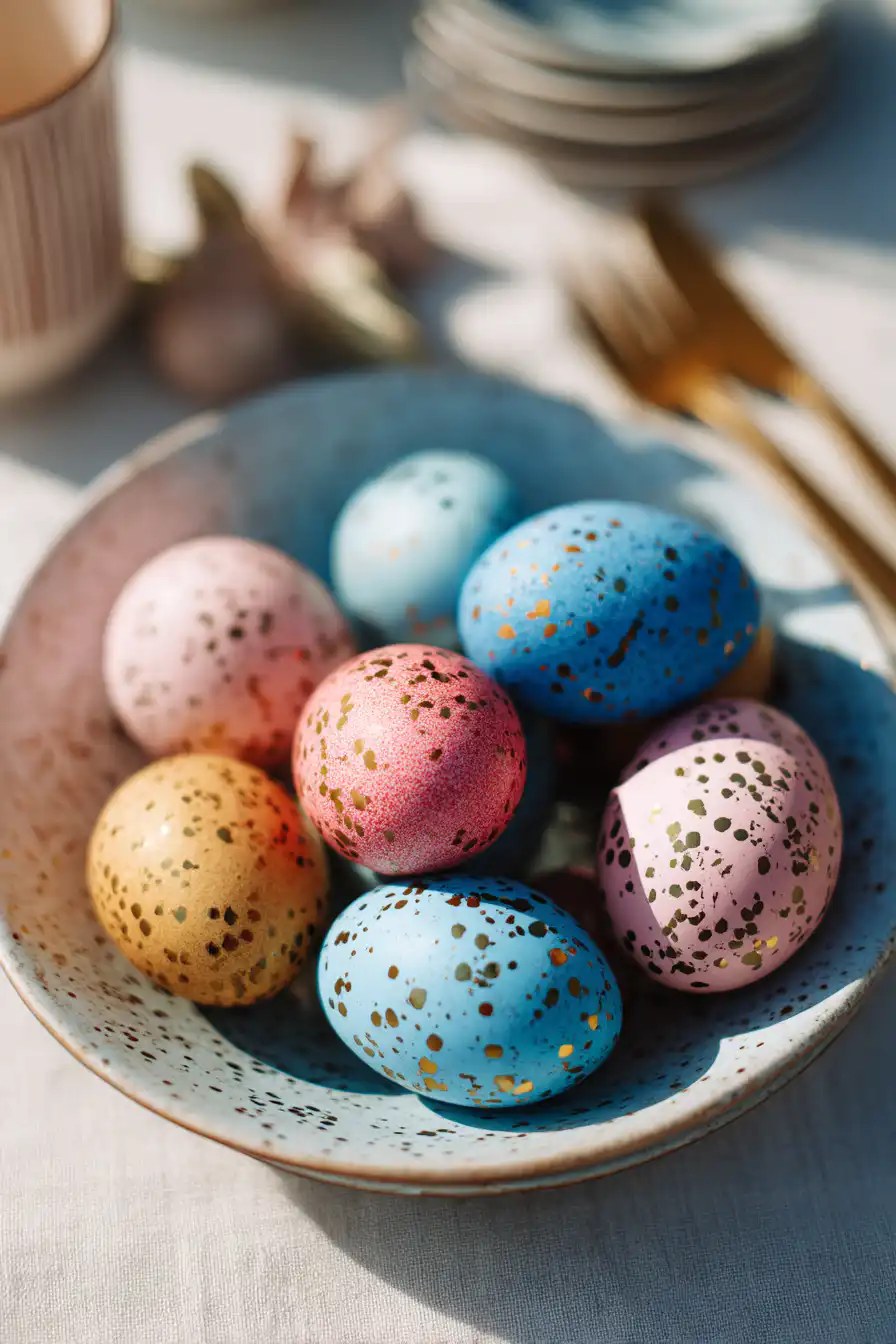
The minimalist style is all about clean lines and simple designs. To get this look, choose soft pastels or earth tones and stick with basic patterns or even just solid colors that create a calm, simple feel. A single geometric shape or motif can really make the egg stand out in its simplicity.
3.2 Bohemian Vibes
Bohemian egg designs are fun and a little bit wild. This look is full of bright colors, playful patterns, and elements from nature or different cultures. Think floral prints, paisley swirls, or bright tie-dye effects. When you layer different colors and textures in a bohemian style, you get a really eye-catching and unique result.
3.3 Vintage and Retro Styles
If you love a nostalgic feel, vintage and retro styles can add a charming touch to your eggs. These designs often use floral patterns, delicate lace, and soft pastel colors. Techniques like sponge painting or stenciling help give intricate details that remind you of the good old days. Adding retro touches like polka dots or stripes can make your eggs look timeless.
Detailed Recipe for Decorative Easter Eggs
4.1 Ingredients
To create awesome Easter aesthetic eggs, gather these supplies:
- Eggs: You can choose fresh, hard-boiled, plastic, or wooden eggs, depending on what you want to do.
- Dyes: Use a mix of natural dyes (like onion skins or beet juice) and synthetic dyes to get a lot of color options.
- Decor materials: Get glue, glitter, markers, and any other extras you like to jazz up your egg designs.
4.2 Directions for Creating Aesthetic Easter Eggs
Follow these step-by-step instructions to decorate your Easter eggs:
- Boiling and Cooling Eggs: If you are using fresh eggs, boil them for about 10-12 minutes. After boiling, cool them quickly in ice water so they dont keep cooking.
- Preparing and Applying Natural Dyes: While your eggs are cooling, prepare your natural dyes by boiling your ingredients (like onion skins or flower petals) in water. Then strain the mixture and add vinegar to help the color set. Once the dye is ready, dip your cooled eggs in the dye until you get the color you want.
- Painting and Embellishing: After your dye has dried, use brushes and paints to add any details or use washi tape to create fun patterns. You can also put on glue and sprinkle glitter for that extra sparkle, or add foam stickers for more texture and fun.
4.3 Tips and Tricks for Success
Here are some handy tips so you dont run into problems:
- Wear gloves when handling dyes so your hands dont get stained.
- Try different techniques and dont be scared to mix them for an even cooler effect.
- Let each layer dry properly before adding the next so the colors dont run together.
- Put your personal spin on the process by adding elements that match your personality or your Easter theme.
Display and Utilize Aesthetic Eggs
5.1 Creative Display Ideas
Once your Easter aesthetic eggs are all decorated and looking cool, its time to display them. Check out some creative ideas:
- Centerpieces: Arrange your eggs in a pretty bowl as a centerpiece on your table, and mix in some greenery or flowers for extra style.
- Hanging Decorations: Tie ribbons or strings to your eggs and hang them from branches or a decorative stand, creating a fun and whimsical look.
- Table Settings: Place a decorated egg at each setting as a little personal touch for your guests, boosting the festive feel.
5.2 Using Aesthetic Eggs in Celebrations
Aesthetic eggs can really bring an extra vibe to your Easter celebrations. You might include them in themed parties or an egg hunt, using their beauty to boost the event. They also make super thoughtful gifts for family or friends, spreading fun and creativity all around.
Frequently Asked Questions (FAQs)
6.1 What type of eggs are best for decorating?
For decorating Easter eggs, hard-boiled eggs are usually the best because they dont break as easy. Plastic eggs work well for little kids, and wooden eggs are a long lasting option if you want something more unique.
6.2 How can I make natural dyes for my eggs?
To make natural dyes, you can use stuff you have in your kitchen like beet juice for pink, onion skins for a yellow-orange hue, or even spinach for green. Boil the ingredients in water for about 30 minutes, then strain the mix. Adding vinegar helps lock in the color before you dip your eggs.
6.3 What are some unique design ideas for Easter eggs?
You can experiment with watercolor techniques, geometric patterns, or designs inspired by nature. You might also try decoupage with floral printed paper or add texture using materials like fabric or burlap for a one-of-a-kind finish.
6.4 How can I store decorated eggs?
To store decorated eggs, carefully place them in an egg carton or a padded box so they dont get broken. Make sure the eggs are completely dry before stashing them away, and keep them in a cool, dry spot away from direct sunlight so the colors stay bright.
Conclusion
In conclusion, Easter aesthetic eggs mix fun, creativity, and tradition in a special way that adds a cool twist to your holiday. From learnin a bit about their history to trying out different decorating techniques, each step gives you a chance to express yourself and experiment with art. We really hope these tips and ideas help you create some awesome eggs for your Easter celebration, and that you share your creative work with others!

easter aesthetic eggs
Equipment
- 1 medium saucepan
- several bowls for dyeing
- 1 whisk or spoon
- 1 strainer
- 1 set measuring cups and spoons
- several paper towels
- several white cloth or old newspapers for drying
Ingredients
- 12 large eggs
- 1 cup water (for boiling)
- 1 cup water (for dyeing)
- 1 tablespoon white vinegar
- 1 cup beet juice (for red dye)
- 1 cup yellow onion skins (for yellow dye)
- 1 cup spinach leaves (for green dye)
- 1 cup blueberries (for blue dye)
- optional edible flowers or leaves for decoration
Instructions
- Place the eggs in a medium saucepan and cover them with water. Bring to a boil and then let them simmer for about 10 minutes. Once cooked, transfer the eggs to a bowl of cold water to stop the cooking process. Let them cool completely.
- Prepare natural dyes: For beet juice, blend cooked beets with a little water and strain to extract juice. For yellow dye, boil onion skins in 1 cup of water for 20 minutes and strain. For green dye, blend spinach leaves with water, then strain. For blue dye, boil blueberries in water for 20 minutes and strain.
- In separate bowls, mix each dye with 1 cup of water and 1 tablespoon of white vinegar.
- Dip the cooled eggs into the prepared dyes. You can leave them submerged for a few minutes for a deeper color or remove them after a few moments for a lighter shade.
- Carefully remove the dyed eggs from the dye and place them on a paper towel or cloth to dry completely.
- Optionally, use edible flowers, leaves, or even a wax crayon to draw designs on the eggs before dyeing to create patterns.
- For a more vibrant color, let the eggs sit in the dye overnight. Use gloves when handling the dyes to avoid staining your hands. Experiment with different combinations and patterns for a unique aesthetic.
- These dyed eggs can be used for decoration, an Easter egg hunt, or as a tasty addition to your brunch spread.