
The pressure builds and you start counting down minutes until you eat. You hear that little hiss and spot the float valve pop up, telling you the cooker's doing its thing. Your kitchen smells gettin' all warm and sweet, and you kinda can't wait to taste the goods. It's like waiting for a party in your mouth but all calm and slow, you know what I mean?
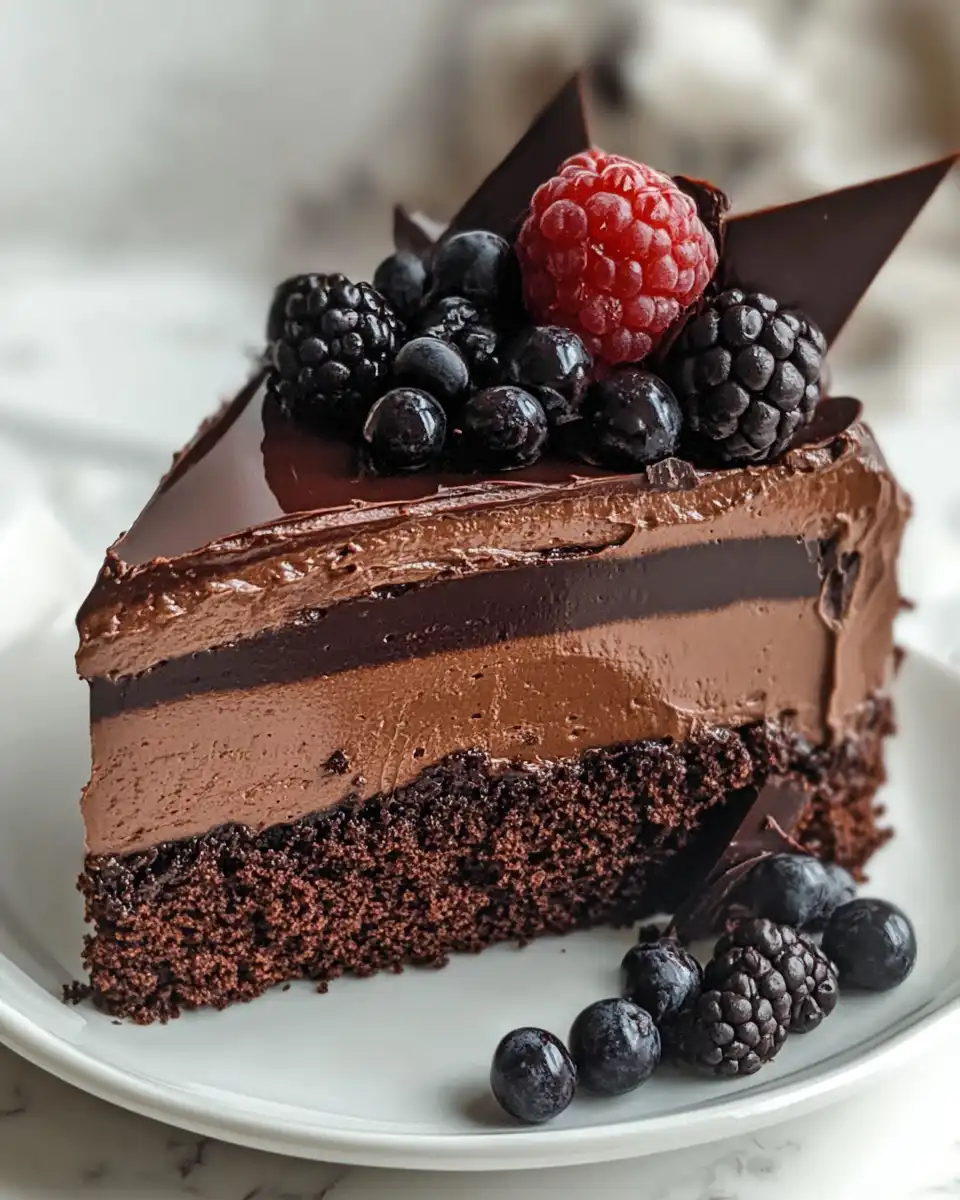
Each minute feels longer like you're counting down to yum time. You peek sometimes but no peeking really, or you lose that tender pull the cake's gotta reach. When you finally release the quick release button, the aroma hits you hard. That's when you know, dang, it's gonna be worth the wait. You catch a whiff of chocolate and cream, straight up teasing your senses.
By then your hands are itching to dig in while the buttercream's set just right. You spot the shiny ganache edges and the soft mousse holdin' together like little fluffy clouds. The whole thing's kinda like art but also just dessert, simple and real. You slice that first piece and feel the textures melt, blending deep cocoa with sweet cream, it's just a dang good moment.
Why Your Cooker Beats Every Other Pot
- Quick heating gets you to that float valve time faster than any other pot in your kitchen.
- Pressure keeps the moisture locked in, making the cake super tender without drying out.
- The slow release option lets everything finish cooking nice and even, perfect for delicate buttercream textures.
- Easy cleanup means you don't gotta spend ages scrubbing after making this deliciousness.
- You can layer the mousse right in the cooker pot if you want, saving you dishes and time.
All the Pieces for This Meal
- 1 Cup (133g) all purpose flour
- ¾ Cup (150g) granulated sugar
- ⅓ Cup (30g) unsweetened natural cocoa powder
- 1 teaspoon baking soda
- ½ teaspoon baking powder
- ¼ teaspoon salt
- ¼ Cup (60ml) vegetable oil
- 1 large egg, room temperature
- 1 teaspoon pure vanilla extract, plus extra for the buttercream
Also gotta have ½ Cup (120ml) full-fat buttermilk (you can DIY it!), ½ Cup (120ml) hot coffee or water to bring out that chocolate depth, 2 Cups (370g) semi-sweet chocolate chips, and 2 ⅓ Cups (560ml) heavy whipping cream divided for mousse and buttercream layers.
Don't forget 2 tablespoon powdered sugar to sweeten the buttercream just right, plus 1 teaspoon instant coffee or espresso powder if you wanna boost those mocha vibes. For some fresh zing, 3 Oz fresh raspberries pop on top, and for extra crunch and fun, grab 2 Oz chocolate covered espresso beans to surprise your bite.
The Full Pressure Cooker Journey
Step 1. Preheat the oven to 350°F (175°C) but hold onto that pressure cooker, you're gonna love using both tools today. Mix your dry stuff real good in one big bowl. Flour, sugar, cocoa, baking soda, baking powder, and salt, all buddies ready to make a chocolate cake start.
Step 2. Next bowl's the wet team: vegetable oil, egg, vanilla, and buttermilk. Whisk 'em together until they look smooth. Now slowly add wet into dry, stirring just until mixed. Don't overdo it or your cake gets tough.
Step 3. Pour this batter into an 8-inch greased or lined pan. Pop it in the oven for 30-35 minutes. While cake's baking, get your pressure cooker ready for mousse.
Step 4. When cake's out, cool it down completely. This wait's kinda important or the mousse and buttercream layers won't set right. Use that slow release on your cooker to keep all that broth depth in check if you're gonna make the mousse inside it.
Step 5. Melt down those semi-sweet chocolate chips with half a cup heavy cream on low heat until smooth and glossy. Whip the rest of the heavy cream with powdered sugar, vanilla, and espresso powder until soft peaks show their faces. Fold the chocolate into the cream gently to keep it fluffy like clouds.
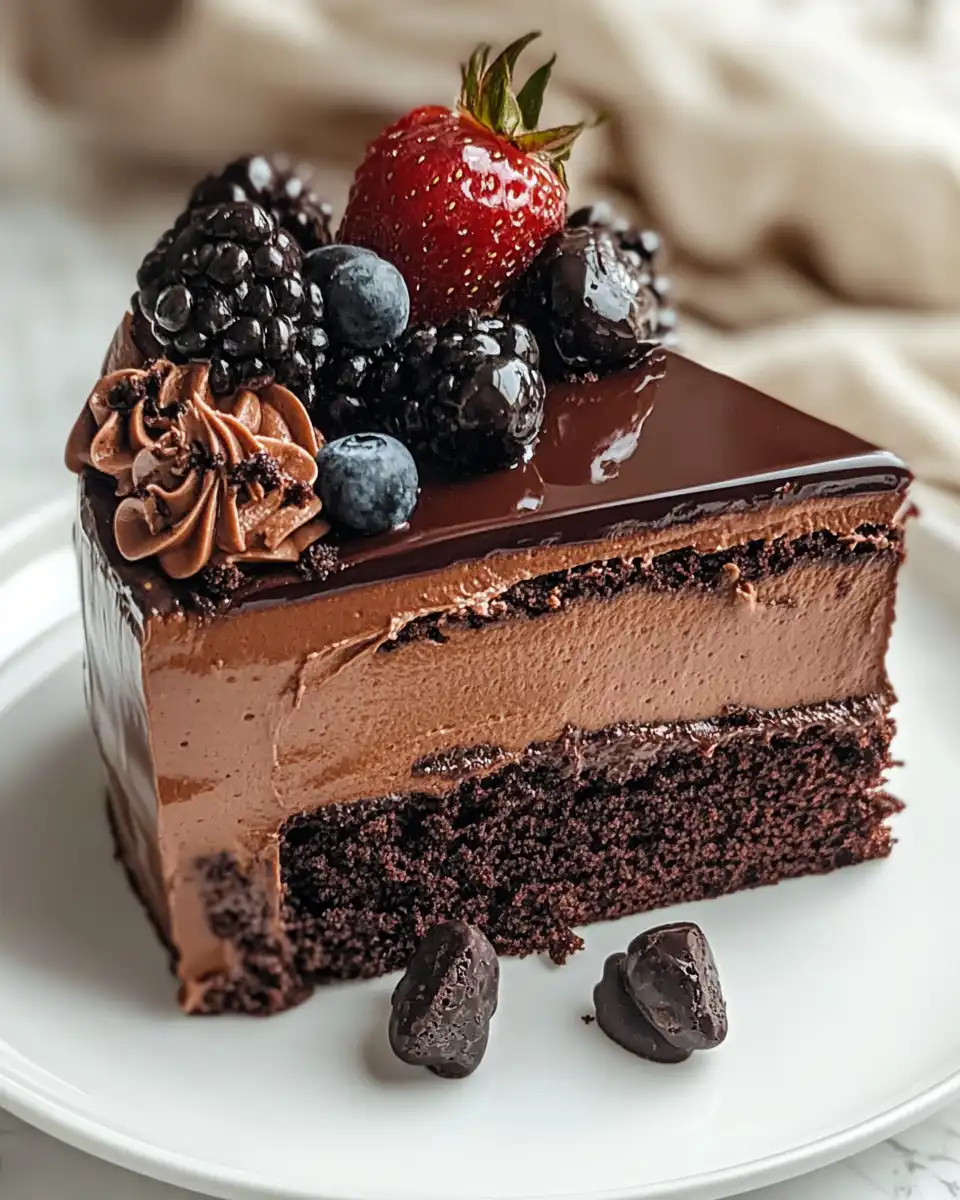
Step 6. Layer mousse over your cake base. Pipe or spread buttercream on top with whatever 'embroidery' design you want. Stick raspberries and espresso beans for that extra wow factor. Chill it for a couple hours or until set and you're ready to impress.
Time Savers That Actually Work
- Make your own buttermilk real quick by adding a splash of vinegar or lemon juice to milk. Let it sit a few minutes and bam, buttermilk!
- Use pre-chopped chocolate chips to skip chopping or melting long chunks. Works real good for quick mousse prep.
- Mix dry ingredients the night before so you're just blending wet and baking next day.
- Use quick release on your pressure cooker for mousse steps to save wait time without losing texture quality.
- Whip cream with a hand mixer while cake's baking to get two birds with one stone.
That First Bite Moment
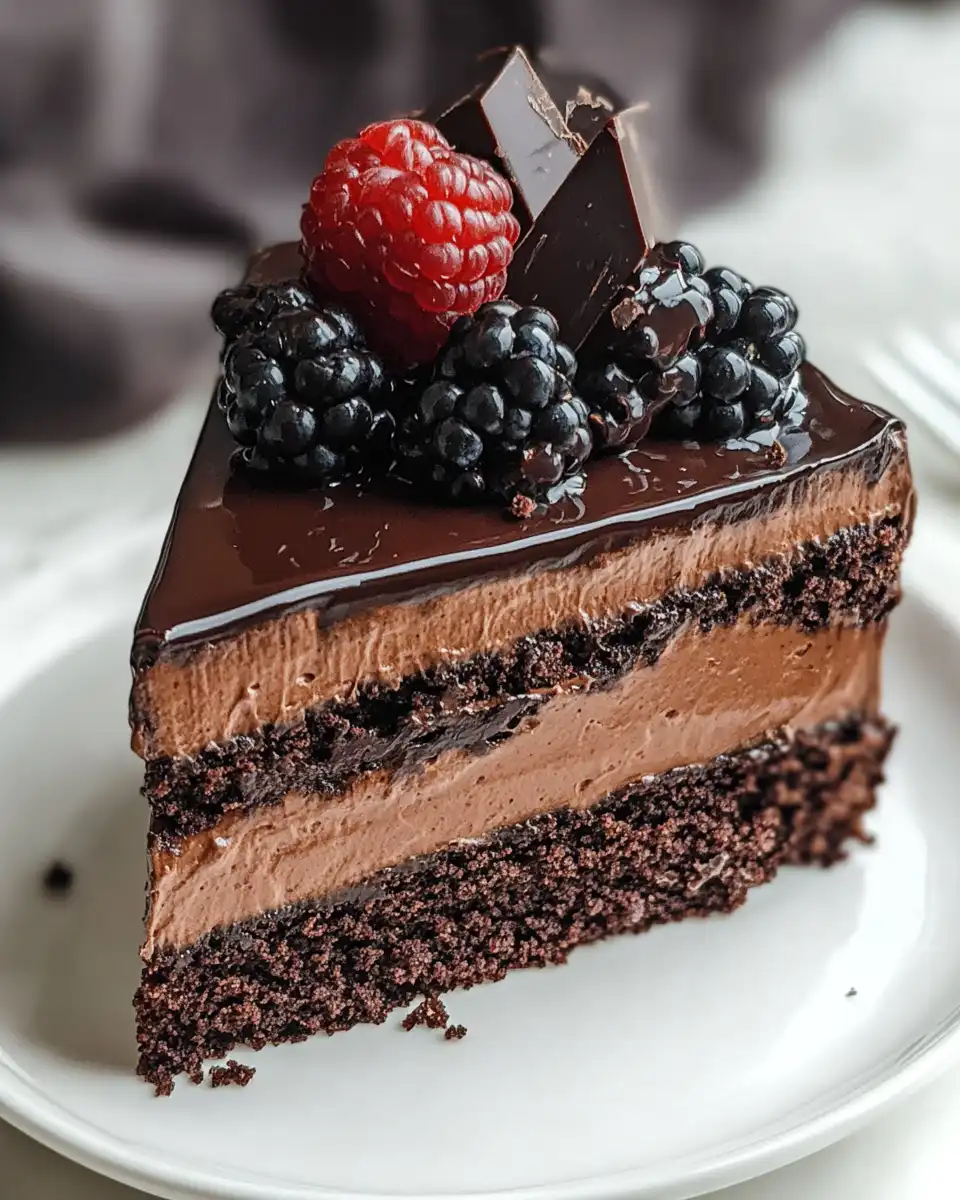
You cut a slice and the mousse sorta jiggles, inviting you to dive in. The creamy chocolate hits your tongue first, rich and velvety, with just enough coffee hint to keep it interesting. The cake layer underneath is perfectly tender, kinda like a sweet sponge holding that whole thing up.
Then you feel that smooth buttercream melting and the fresh raspberry juiciness pops in contrast. It's a party of flavors and textures all at once, kinda sophisticated but chill. You can't help but wanna grab another forkful, maybe even before you're fully done with the first.
Every bite's a reminder that sometimes the best desserts don't need a ton of fuss, just a little patience and the right tools. You sense the richness but it's balanced, and that cocoa depth stays with you long after you finish your plate.
Your Leftover Strategy Guide
Wrap any leftover cake tight with plastic wrap or pop it in an airtight container. Store it in the fridge and it'll stay good for up to 4 days without drying out too much.
If you wanna keep mousse fresh and smooth, cover your container with cling film pressed right on the surface. This stops any crust from forming and keeps that tender pull just right.
For longer storage, slice and freeze cake portions individually in freezer bags. Pull them out the night before and let them thaw in the fridge for best texture. You can still enjoy that chocolate goodness days later.
Pressure cooker cleanup's easy but don't forget to check the float valve and gasket for any leftover crumbs or cream. Gives you peace of mind next time you hit that quick release button.
Your Most Asked Questions Answered
- Can I use regular milk instead of buttermilk? Sure, but gotta add a teaspoon of vinegar or lemon juice to sour it slightly, or use the DIY buttermilk trick. This helps get that tender pull texture right.
- Is the coffee really necessary? It's optional but dang, it brings out the chocolate's depth and complexity way better than just water or milk.
- What if my mousse turns out runny? Probably over-mixing or not enough chilling. Make sure you whip your cream to soft peaks and fold gently. Chill it well in your pressure cooker or fridge.
- How long to do slow release on pressure cooker? About 10-15 minutes is a good range to keep broth depth and avoid harsh sudden drops. It helps maintain cake moisture and buttercream texture.
- Can I skip the espresso powder? Totally, it's just a subtle boost. Your mousse and buttercream still gonna be tasty, just less coffee vibe.
- Any tips for decorating buttercream embroidery? Use a small piping tip, keep your buttercream cold but spreadable, and practice squeezing with steady pressure. It's all about that tender touch and rhythm.
Easy Chocolate Mousse CakeButtercream Embroidery Cake TutorialPiped Stripe Buttercream Cake TutorialSugared Cranberry Cupcakes with White Chocolate Buttercream
Ingredients
Ingredients
- 1 Cup all purpose flour 133g
- ¾ Cup granulated sugar 150g
- ⅓ Cup unsweetened natural cocoa powder 30g
- 1 teaspoon baking soda
- ½ teaspoon baking powder
- ¼ teaspoon salt
- ¼ Cup vegetable oil 60ml
- 1 large egg room temperature
- 1 teaspoon pure vanilla extract plus extra for the buttercream
- ½ Cup full-fat buttermilk 120ml
- ½ Cup hot coffee or water 120ml
- 2 Cups semi-sweet chocolate chips 370g
- 2 ⅓ Cups heavy whipping cream 560ml divided for mousse and buttercream layers
- 2 tablespoon powdered sugar to sweeten the buttercream just right
- 1 teaspoon instant coffee or espresso powder optional to boost mocha vibes
- 3 Oz fresh raspberries for topping
- 2 Oz chocolate covered espresso beans for crunch and surprise
Instructions
Instructions
- Preheat the oven to 350°F (175°C). Mix flour, sugar, cocoa, baking soda, baking powder, and salt together in a big bowl.
- In another bowl, whisk vegetable oil, egg, vanilla extract, and buttermilk until smooth. Slowly add wet mixture into dry ingredients and stir just until combined.
- Pour batter into an 8-inch greased or lined pan. Bake for 30-35 minutes. Meanwhile, prepare your pressure cooker for the mousse.
- Cool the cake completely after baking. Use slow release on pressure cooker if making mousse inside it.
- Melt semi-sweet chocolate chips with half cup heavy cream on low heat until smooth. Whip remaining cream with powdered sugar, vanilla, and espresso powder until soft peaks form. Fold chocolate into whipped cream gently.
- Layer mousse over the cake base. Pipe or spread buttercream on top with desired embroidery design. Decorate with raspberries and chocolate covered espresso beans.
- Chill the cake for a couple of hours or until set and ready to serve.