
I step up to the trailhead with my pack and grill grate braced in my hands. You feel that eagerness stir in your gut when you know that the day ahead will bring fresh air crisp sky and tales that will burn into your mind. I remind you to breathe deep recall the smell of pine as you lace up your boots. That hunger grows quick enough to wake even a morning slug. Then you hear the first wood pop from a camp coals fire somewhere close by and you want to set something on it right away.
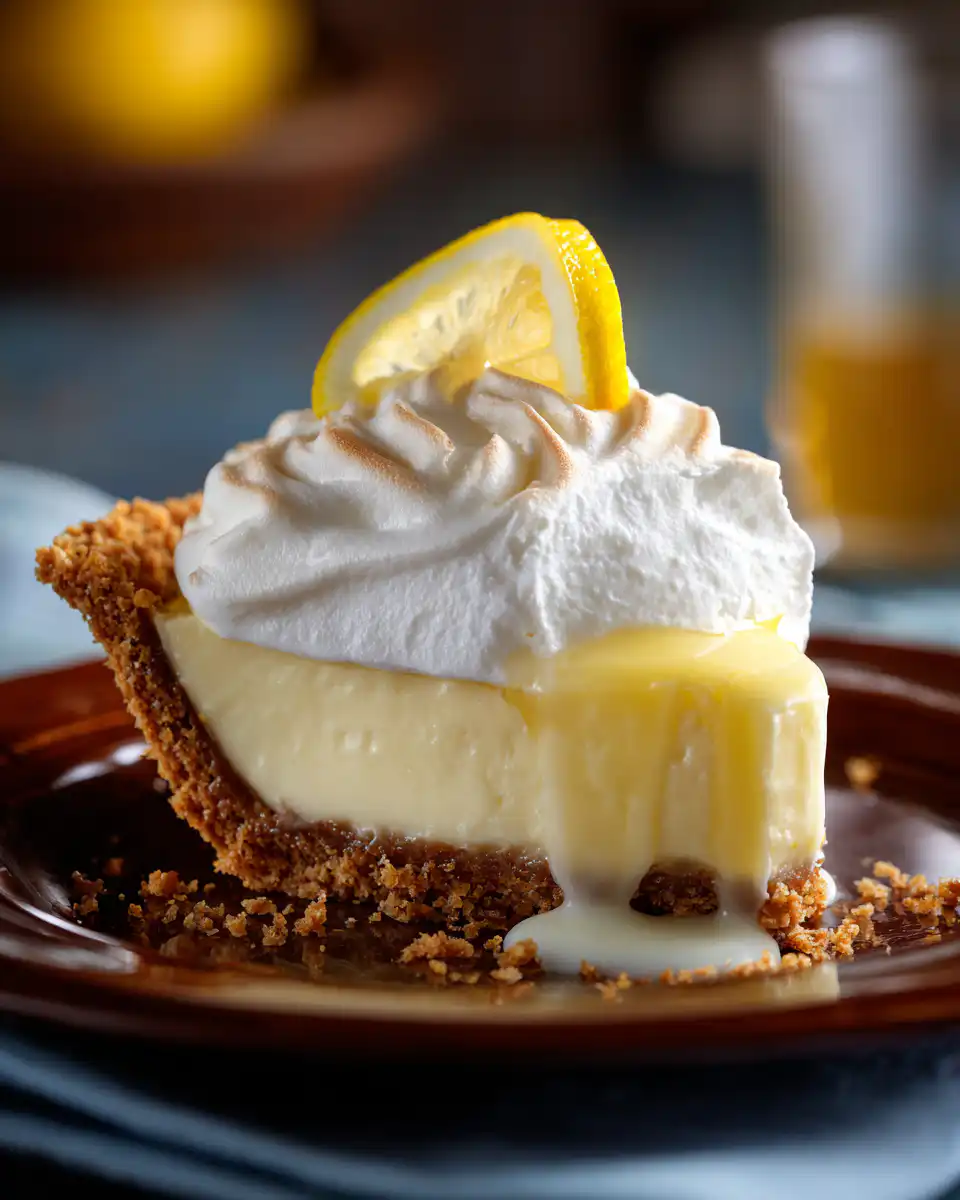
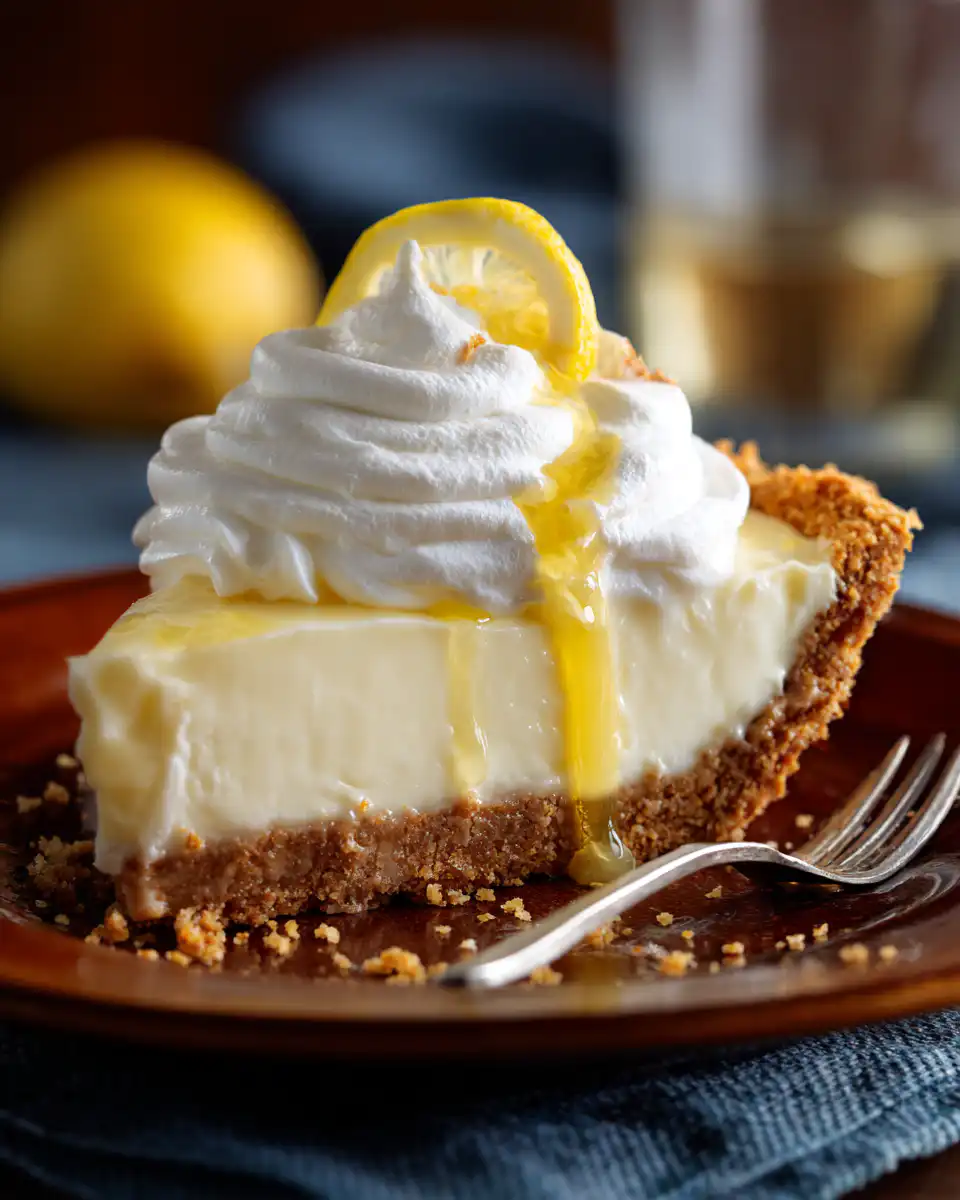
I keep a small bag of protein trail pack tucked in a side pocket with trail mix beef jerky and a few nuts. You might not think about snacks till after you start climbing that first steep ridge but I urge you yall to hustle and munch early. The point is to fuel your muscles before they bug you later when you try to toast marshmallows or whip up that Creamy Coconut Lemon Pie right there by river stones. Think about crisp tart lemon cut with creamy coconut filling under a simple crust.
Remember each step you take is building that appetite. My loose style means you might see a stick lodged wrong or a pack strap hanging out of place but trust me I got you covered. I got that cast iron sear pan primed in the pack too alongside a small torch and a mesh grill grate. When you feel your belly rumble you recall the crackle of cooling embers and reflect on how that sizzle will meet your spoon later. You imagine scooping into a slice of pie that is both cool sweet and tangy and you keep moving.
Fire build bushcraft science
Building a fire is more than just stacking sticks in a pile. I urge you to remember how to sort your tinder tiny branches and bigger logs with a bit of bushcraft science mixed in. You start with small dry bark and grass then you slowly feed in larger chips before you lay in chunks for better burn. You need that hot bed of embers to turn camp coals into a steady heat source for your cast iron sear pan.
Reflect on the classic teepee method then think of that log cabin style next to it. I walked you through each step so you can recall the shape temperatures and timing. You will see the flames dance lively once oxygen hits the right spots. This process feels rugged and real and it sets the stage for making the Creamy Coconut Lemon Pie crust sizzle on those stones near the river edge.
And dont forget safety remember to clear away debris in a circle of bare soil. You can reflect on how that notch you carve into a birch log helps you direct splinters away from your pan and pie filling. You might laugh at how simple this seems but getting the fire build just right is a neat trick for beginners and pros alike.
Pack list rundown six to eight items
I walk you through a rough pack list for whipping up that Creamy Coconut Lemon Pie out in the wild. You might think its heavy but trust me you want each item snug in your protein trail pack. I urge you to lay them all out on a tarp then tuck them in labeled bags so you can recall what goes where once you hit the trail. Dont just throw them in random pockets or you could end up fishing for a whisk when its time to cook.
- Grill grate that fits over river stones so you get even heat across the pan
- Cast iron sear pan with a handle cover so your mitt doesnt fry when you grab it
- Parchment paper and small whisk to mix filling and keep your pan clean
- Canned coconut milk and lemons or a little squeeze bottle of juice
- Dehydrated eggs or powdered egg substitute for that silky smooth custard
- Sweetener like sugar or honey stashed in a small zipper bag
- Crust mix or simple flour salt water combo packed in a labeled baggie
- Fuel source like small wood chunks for camp coals or a backpacking stove cell
I also pack a spoon spatula and a small dish for zesting lemon peel. Remember to clear dew or dirt off river stones so your crust dont stick and break. I recall a morning when soggy stones ruined my crust and I ended up scraping mess off the pan. You reflect on that and wipe off stones real good before you build up that fire for a cast iron sear moment. Packing these things right means you can roll out a pie faster than you think.
Grill setup steps five
- Pick your spot
When you arrive I remind you to scout for firm level ground near the water but far enough to avoid rising flows or splash. You clear away leaves gravel and sticks so your grill grate sits solid without tipping and spilling that coconut lemon filling. Reflect on why a shaky grate can ruin a whole pie baking session. - Position your river stones
I gather round flat stones and arrange them in a circle or rectangle matching the grate shape. You place bigger stones on the bottom smaller ones on top to create a stable base. Remember each stone warms evenly under camp coals so your cast iron sear pan gets uniform heat across the crust without hot or cold spots. - Light that fire
I walk you through tinder kindling and logs then build up to camp coals for a low consistent flame. You strike your match near the base of tinder let it catch then feed in small twigs blowing gently at the base. Reflect on the crackle scent that tells you its burning right before you load heavier wood for a long bake. - Add wood for heat control
Once you have glowing embers I show you how to slide in larger wood chunks around the edges not on top of the grate. You want indirect heat that mimics an oven not a direct flame that scorches the bottom of your pan. I remind you to shift wood and stones so you can dial in the temperature as you would in a cast iron sear grill at home. - Place your grate and test
I lower the metal grate on the stones as soon as you got a bed of glowing camp coals. You lay your hand a couple inches above to test heat feel that steady warmth. Reflect on that feel and imagine it heating your pan. If its too hot blow gently or remove coals. If its too cool add fresh chunks under the grate.
Sizzle echo scene
When you slide that cast iron sear pan onto the grill grate you hear it right away a deep sizzle echo that kicks up tiny waves of steam. I urge you to recall how the heat from camp coals meets the cold pan in that split second. You watch wisps of smoke curl up as red embers glow below the stones. That sound jumps back at you from the river bank then echoes off nearby boulders. Its pure promise it says treat me right and I will reward you later.
You pour in your creamy coconut lemon filling and the pan hisses like a waking beast. I tell you to lean in close to catch every pop and puff of steam. Reflect on how that sound will stick in your memory as the taste of crisp crust and tangy filling lands on your tongue. Its a heck of a party to your senses out there near the river bank.
Mid cook wood feed checkpoints
About halfway through baking that Creamy Coconut Lemon Pie I always check on coals and embers first. I urge you to gently lift the grate a little with a flat stick so you can peek under the pan. You look for glowing reds not bright yellow flames because those burn hot and can scorch your crust. Reflect on that and you will feel when to add fresh wood.
Next I watch the pan edges for darkening I call this bake ring its a sign the filling is setting up. You might see bubbling juice peeking over the crust sometimes so I remind you to let that stuff settle before you adjust. Recall how fast it can go from goo to burnt mess if youre not paying attention.
Then I feed small pieces of dry wood to the embers to keep heat constant. You slide wood gently along the side of the stones never on top of the grate. Slowly you build a camp coals zone that holds a uniform glow. If you move pieces too quick you get heat spikes and dips. Reflect on the timing and you can keep that pie cooking steady on a river bank.
Camp plate ideas
After you slide that Creamy Coconut Lemon Pie slice onto a plate out there in the wild remember you still need to think about cleanup. I recommend using disposable leaf plates or small enamel dish ware that you can rinse later in the river. You place a sprig of mint or a little extra lemon zest on top just like a fancy cafe but out here it feels way more alive.
You can pair this slice with fresh blackberries we foraged downriver and it tasted off the charts. Dont forget a small drizzle of honey or maple syrup to glam it up. At dawn or twilight the colors in the sky draw you in while you munch. You might also skip sweet sides and go salty with tortilla chips if you want that crunch contrast.
Serve your slice warm or let it cool a bit I think both ways rock. Pour a cup of mint tea or cold river water if you prefer. You sit back on a log or rock and reflect on the mist on the water and the sizzle that got you here. This scene stays in your memory way longer than the pie crumbs.
Leftover trail snack guide
Next morning if you got leftover Creamy Coconut Lemon Pie you can wrap slices in parchment and tuck them in your protein trail pack. I do this all the time because you never know when hunger pangs sneak up on you high up on a ridge. You relish that sweet tang and crisp crust while the sun peeks over mountain tops. Dont let that treat get smushed by water bottle or gear you havent stowed right.
You also slice it into bars and skewer them onto knot sticks for a handheld snack by camp coals. You might dust the edges with a little sugar for crunch. I recall cutting my pie into wedges then wrapping each in foil and they stayed perfect till lunch break mile three. At midday shade spot grab a bite and watch clouds drift then get right back on the trail.
If you got no pie left you can transform dry crumbs into cereal mix by tossing them with nuts seeds and dried fruits from your pack. You top it with milk powder or coconut milk for a breakfast crunch pack. You could even mix some powdered protein into the mix for a post hike boost. This hack turns waste into sustenance and keeps you fueled for days on the trail without lugging extra snacks.
Final campfire chat plus FAQs
As the last coals glow and stars pop out I settle on a log and chat about today. I nod and urge you to reflect on each crackle snap and pop from your Creamy Coconut Lemon Pie cooking by river stones. We laugh over nearly dropping the pan in water and how that slip turned into a fun tale. Be proud youre cooking dessert miles from the nearest bakery with just camp coals a grill grate and a cast iron sear pan.
We talk about which river sounds best how flavor tastes richer in cool fresh air and why a simple crust can feel like a feast. I recall being stoked when lemon scent drifted through pines and that pie slid out golden just at dusk. Its more than a pie its a memory you carry home and share.
Before we call it a night here are a few questions I get most
- Can I bake pie without cast iron pan
You can try steel but heat makes hot spots. Cast iron sear holds warmth steady under camp coals and browns crust nice. - How long does filling need to set up
About fifteen twenty minutes off heat. Gently touch center with spoon if it jiggles slightly its good to go. - No parchment paper what now
Spread coconut oil or butter in pan wrap foil and dust flour so crust wont stick. - Skip lemon zest safe
You could but zest adds bright zing to cut through creamy coconut base dont skip unless you got no lemons.
I hope these pointers help turn your next outdoor dessert into a lasting campfire memory. You keep exploring cooking and recalling each bite till your stories stack high around the fire.
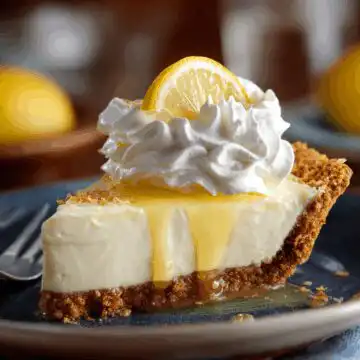
Creamy Coconut-lemon Pie
Equipment
- 1 9-inch pie pan
- multiple mixing bowls
- 1 whisk
- 1 measuring cups and spoons
- 1 rubber spatula
- 1 hand mixer or stand mixer
- 1 saucepan
- 1 heatproof mixing bowl for the double boiler
Ingredients
- 1 pre-made pie crust 9-inch pie crust
- 1 can coconut milk 13.5 oz
- 1 cup granulated sugar
- ¼ cup cornstarch
- ¼ teaspoon salt
- 2 large eggs
- ½ cup lemon juice freshly squeezed
- 1 tablespoon lemon zest
- 1 cup shredded coconut unsweetened
- 1 teaspoon vanilla extract
- 1 cup heavy cream for whipping
- 2 tablespoons powdered sugar for whipped cream
- as desired toasted coconut for garnish
Instructions
- Preheat your oven to 350°F (175°C).
- Place the pie crust in the 9-inch pie pan and bake it for about 10 minutes, or until lightly golden. Let it cool completely.
- In a saucepan, mix together the coconut milk, granulated sugar, cornstarch, and salt over medium heat. Stir continuously until the mixture thickens and bubbles, about 8-10 minutes.
- In a separate bowl, whisk the eggs until well-beaten. Gradually add a small amount of the hot coconut mixture to the eggs (to temper them), then stir the egg mixture back into the saucepan with the remaining coconut mixture.
- Continue to cook while whisking for another 2-3 minutes until thickened. Remove from heat and stir in the lemon juice, lemon zest, shredded coconut, and vanilla extract.
- Pour the filling into the cooled pie crust. Let it cool to room temperature, then refrigerate for at least 2 hours or until set.
- Once the pie is set, whip the heavy cream with the powdered sugar until soft peaks form.
- Spread the whipped cream over the pie and sprinkle with toasted coconut for garnishing.
- Slice, serve, and enjoy this rich and tart creamy coconut-lemon pie!