The pot lid rattles and you know dinner is almost ready. That steady clatter kinda builds your appetite while you peek at the steam seeping out just a little. You feel that warm kitchen vibe wrapping you like a cozy blanket. Cooking with a pressure cooker really brings dinner excitement to your small city kitchen, no doubt about it.
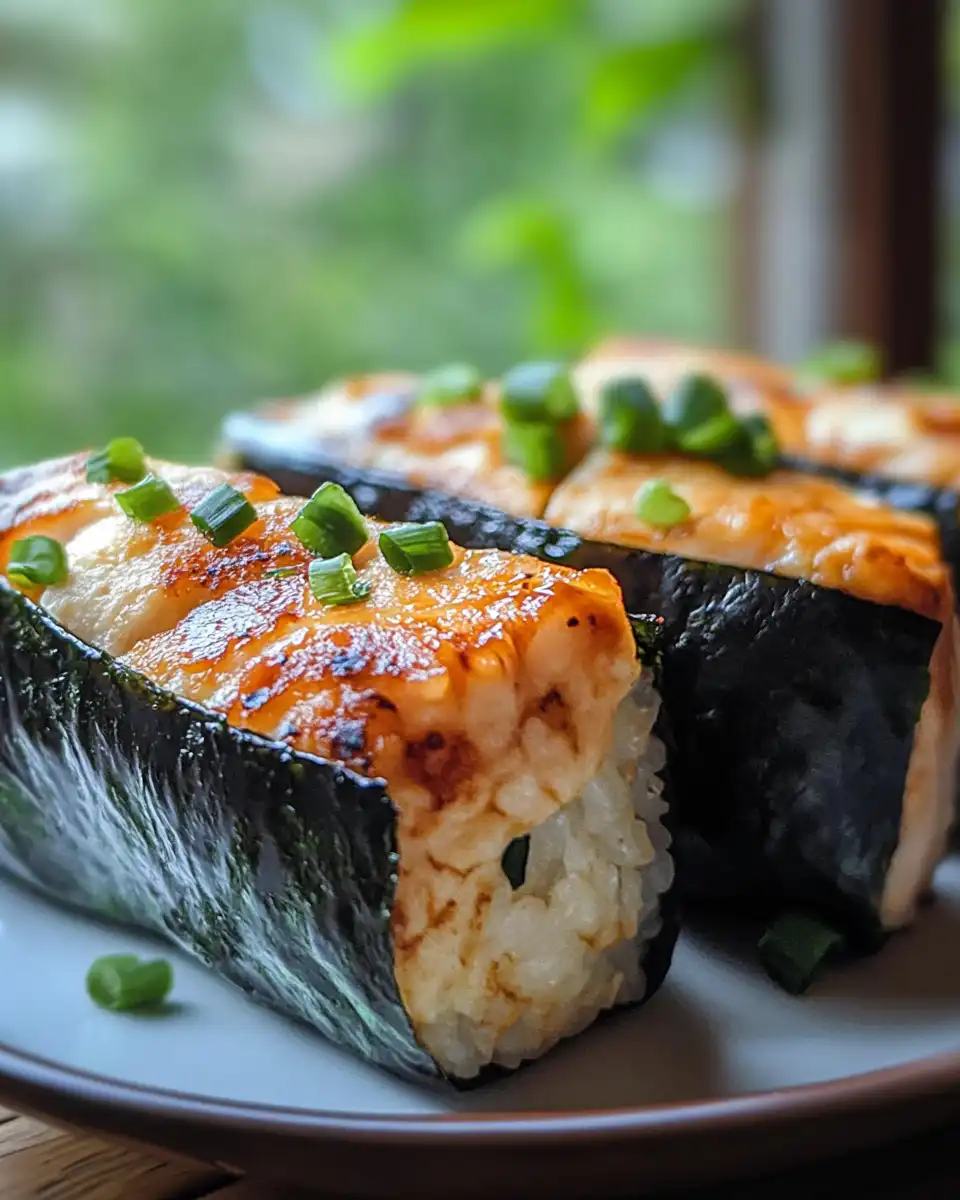
You spot the lovely scent of ginger and soy sneaking into the air from the chicken cooking inside. It's that brothy depth that only happens when you let flavors get close under pressure. You remember how long it took before when you made rice balls the usual way. Now you're counting the minutes til that tenderness you want fills your chicken inside each onigiri.
You recall how fun it is to mold those sticky rice balls with your hands, warm and wet to keep from sticking. Then you wrap each triangle up with nori strips for just the right bite. Soon, you'll be tasting your own little bundles of happiness that kinda taste like a warm Japanese hug.
What Makes Pressure Cooking Win Every Round
- Quick cooking means your chicken fills up with flavor real fast.
- Pressure locking in moisture keeps the chicken tender without drying out.
- Using natural release helps the rice stay fluffy and the chicken juicy.
- Pressure cooker gets a great broth depth, pulling all those seasonings right into the meat.
- Float valve signals when you've got the right steam pressure, so you can relax while it cooks.
Your Simple Ingredient Checklist
Getting your ingredients ready is half the fun. You'll need 1 teaspoon of sesame oil to start things off. Ground chicken, about 3 and a third ounces, is the star protein here.
For that classic Japanese flavor, grab 1 tablespoon of tamari soy sauce and 1 tablespoon of sake or dry white wine. A teaspoon of sugar and half a teaspoon of grated ginger bring out the savory and just a hint of sweetness. Of course, 4 cups of cooked Japanese rice is your base for these little rice balls.
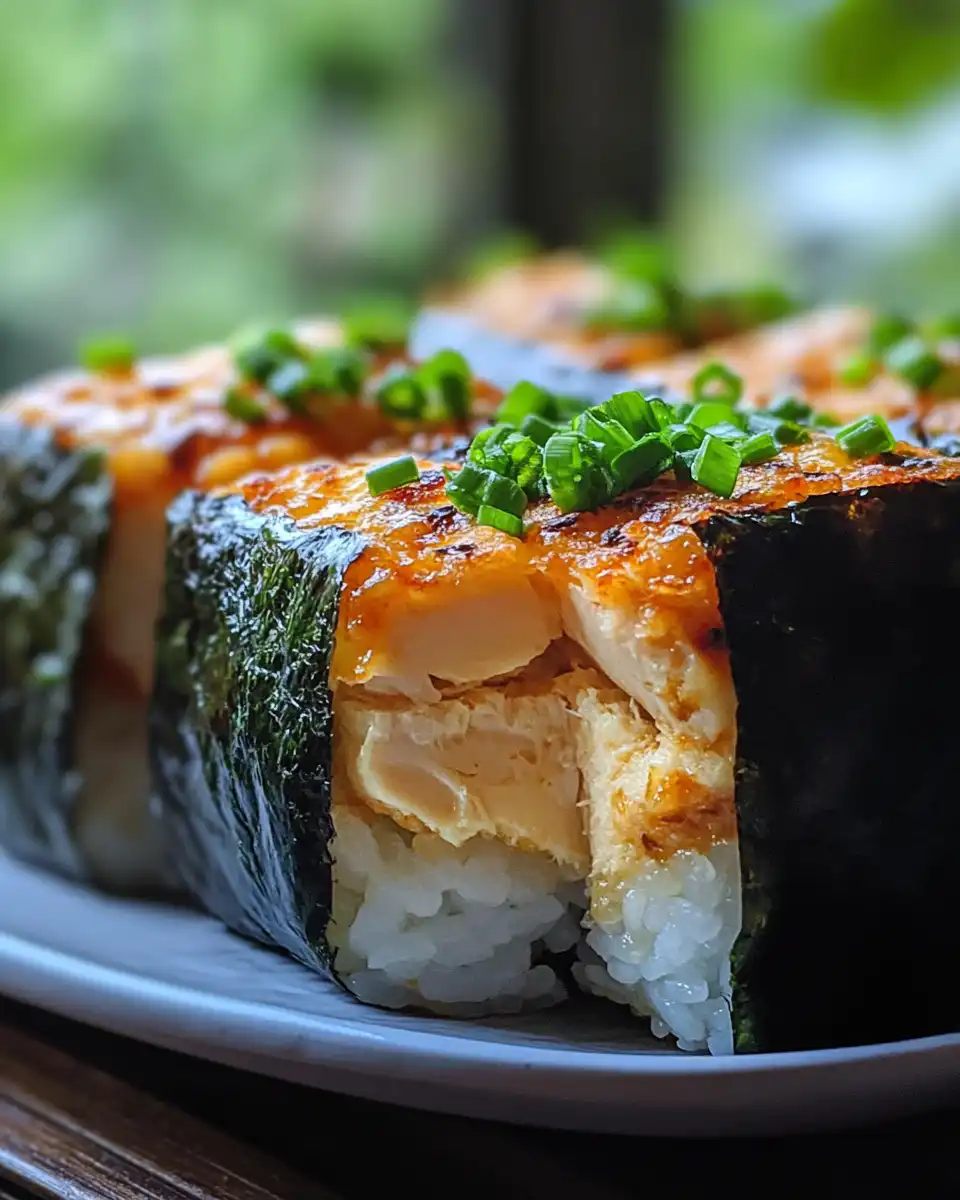
Don't forget the 4 strips of nori seaweed. You gonna use those to wrap your onigiri for the perfect handheld treat. That's all you really need to get started for these delicious bite-sized triangles.
The Full Pressure Cooker Journey
- Heat 1 teaspoon of sesame oil in a skillet over medium heat till it shimmers kinda like it's ready for the chicken.
- Add your ground chicken and cook it up until it loses all that pink. Stir and break it up with a spoon so it cooks evenly.
- Pour in the tablespoon each of tamari soy sauce and sake plus the teaspoon of sugar and grated ginger. Cook for 2 to 3 minutes more until most liquid is soaked up and the chicken is nicely seasoned.
- Take the skillet off the heat and let the chicken mixture cool just a bit so it's easier to handle.
- Wet your hands under cold water and lightly salt them so the rice won't stick to your hands when you shape the balls.
- Grab a handful of your cooked Japanese rice and flatten it slightly in your palm to make a nice bed for the chicken filling.
- Put a spoonful of that tasty chicken mix in the center of your rice bed and mold the rice gently around it, forming a triangle or a ball shape. It works real good either way.
- Wrap a strip of nori seaweed around each shaped onigiri. This helps make them easy to hold and adds a crisp taste when you bite in.
Valve Hacks You Need to Know
- Let the natural release happen instead of quick letting out steam. It keeps your rice fluffier and chicken with the tender pull you want.
- Watch the float valve to know exactly when the cooker hits pressure. That signal means it's doing its job and you can chill for a bit.
- Use steam cues by listening to gentle hisses for timing rather than just a stopwatch. This helps you avoid overcooking.
- If you need to stop cooking fast, do a quick release but expect the rice to be a bit less fluffy.
- When it's done, open the lid away from you so that hot steam doesn't catch ya by surprise. Safety first!
When You Finally Get to Eat
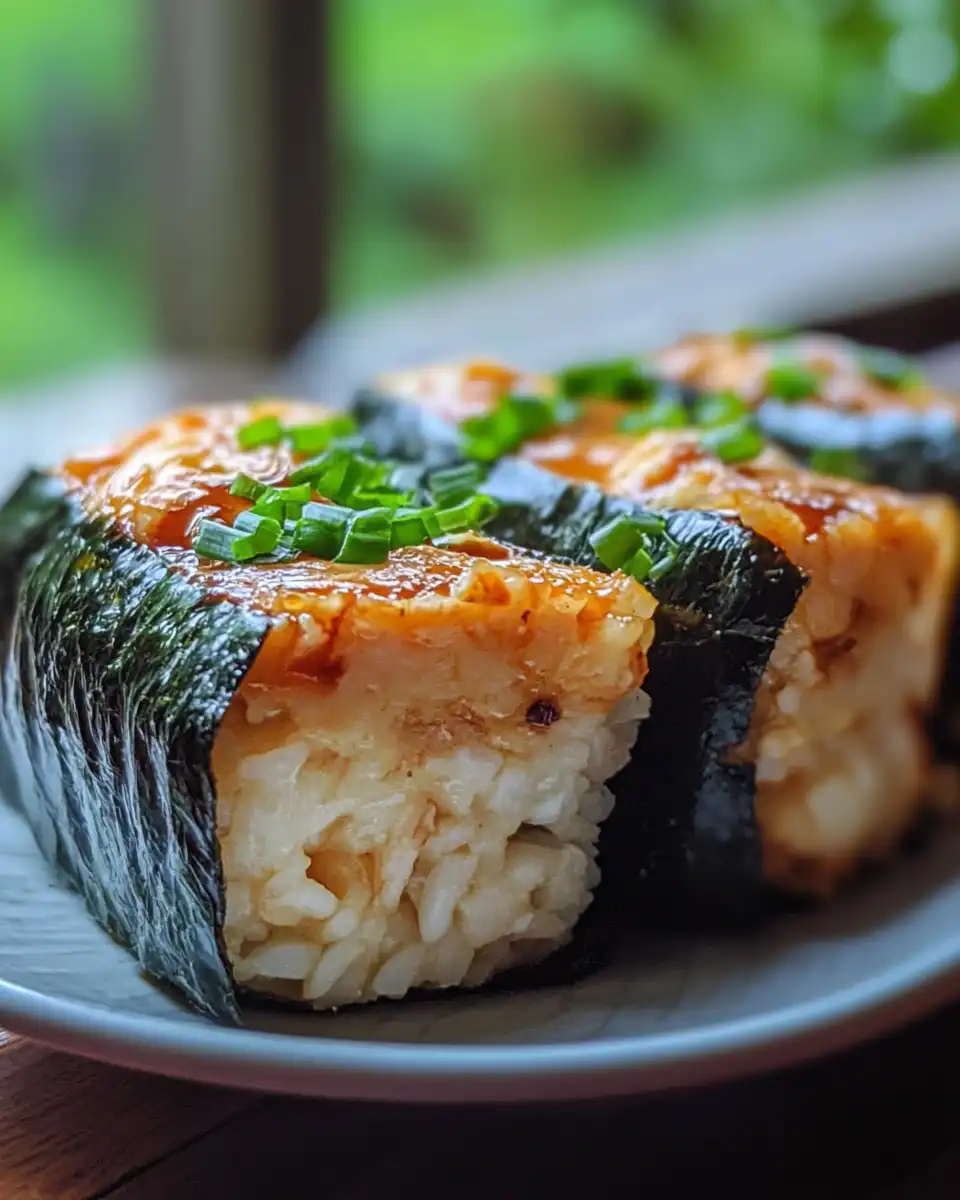
That first bite kinda melts in your mouth. The filling is tender and full of that savory ginger and soy goodness. The rice is warm and sticky, holding the chicken close like it's meant to be.
The nori wrap adds a little crisp snap and a salty taste that balances the softness inside. You feel how all these textures and flavors kinda come together perfectly without being too complicated.
You remember why you love making onigiri at home. They're fast snacks or a casual meal you can grab anytime. Plus, cooking the filling in a pressure cooker gives you that satisfying depth that makes every bite worth it.
Making It Last All Week Long
Got leftovers? You can keep your onigiri fresh by wrapping each one tightly in plastic wrap. Store them in the fridge for up to 3 days. When ready to eat, just heat them gently to keep juicy.
If you want to stash them longer, pop wrapped rice balls into a freezer bag. In the freezer, they'll last about a month. Thaw in the fridge overnight then warm up before serving.
For a quick lunch fix, pack refrigerated onigiri in an insulated lunchbox with a little ice pack. They keep nice and tasty for a few hours without drying out.
Common Questions and Real Answers
- Q: Can I use regular white rice instead of Japanese rice?
You can try but Japanese rice is sticky and helps hold the balls better. Regular white rice might fall apart easier. - Q: What if I don't have sake? Can I skip it?
You can swap sake with dry white wine or just use more tamari soy sauce. It's gonna taste good either way. - Q: How do I know when to do natural release?
After cooking time ends, just let the pressure come down by itself instead of turning the valve. That's it. It keeps things moist. - Q: Can I add other fillings besides chicken?
Sure thing, you can use cooked veggies or even seasoned tofu for a change. Just adjust cooking time as needed. - Q: Is it okay to use a quick release sometimes?
Yeah, but rice might be a little less fluffy. Use quick release if you're in a hurry though. - Q: How to stop rice from sticking to my hands?
Wet them under cool water and add a little salt before shaping each ball. This works real good to keep things clean.
For more inspiration with comforting and easy pressure cooker recipes, check out our Slow Cooker Garlic Butter Beef Bites & Potatoes Recipe or try the hearty Cowboy Casserole for a comforting one-pot meal.
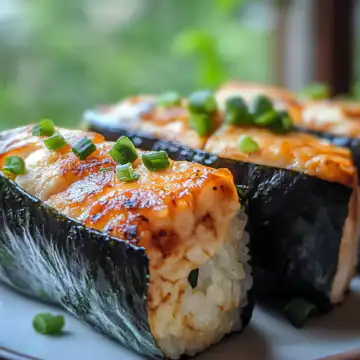
Chicken Onigiri (Japanese Rice Balls)
Equipment
- 1 Mixing bowl Large
Ingredients
Main ingredients
- 1 teaspoon Sesame oil
- 3⅓ oz Ground chicken
- 1 tablespoon Tamari soy sauce
- 1 tablespoon Sake or dry white wine
- 1 teaspoon Sugar
- ½ teaspoon Grated ginger
- 4 cups Cooked Japanese rice
- 4 strips Nori seaweed
Instructions
Instructions
- Heat 1 teaspoon of sesame oil in a skillet over medium heat until shimmering.
- Add ground chicken and cook until no longer pink, breaking it up as it cooks.
- Add tamari soy sauce, sake, sugar, and grated ginger. Cook 2–3 minutes until liquid is absorbed.
- Remove the skillet from heat and let the chicken cool slightly.
- Wet hands under cold water and lightly salt to prevent sticking.
- Flatten a handful of rice in your palm to make a base.
- Place a spoonful of chicken on rice, then mold rice into a triangle or ball around it.
- Wrap each onigiri with a strip of nori seaweed.