The pot lid rattles and you know dinner is almost ready. It's that little sound you catch when the pressure's building and the steam cues start telling their story. Y'all, it's like the kitchen's own drum roll, something small but mighty waiting just for you.
You sense the kitchen's warmth starting to sneak out from under that sealing ring, that quiet but steady hiss kinda whispering dinner's nearly done. The float valve's up and proud, telling you it's holding tight on all the flavors inside. It's such a relief when you see that little sign that pressure's built just right.
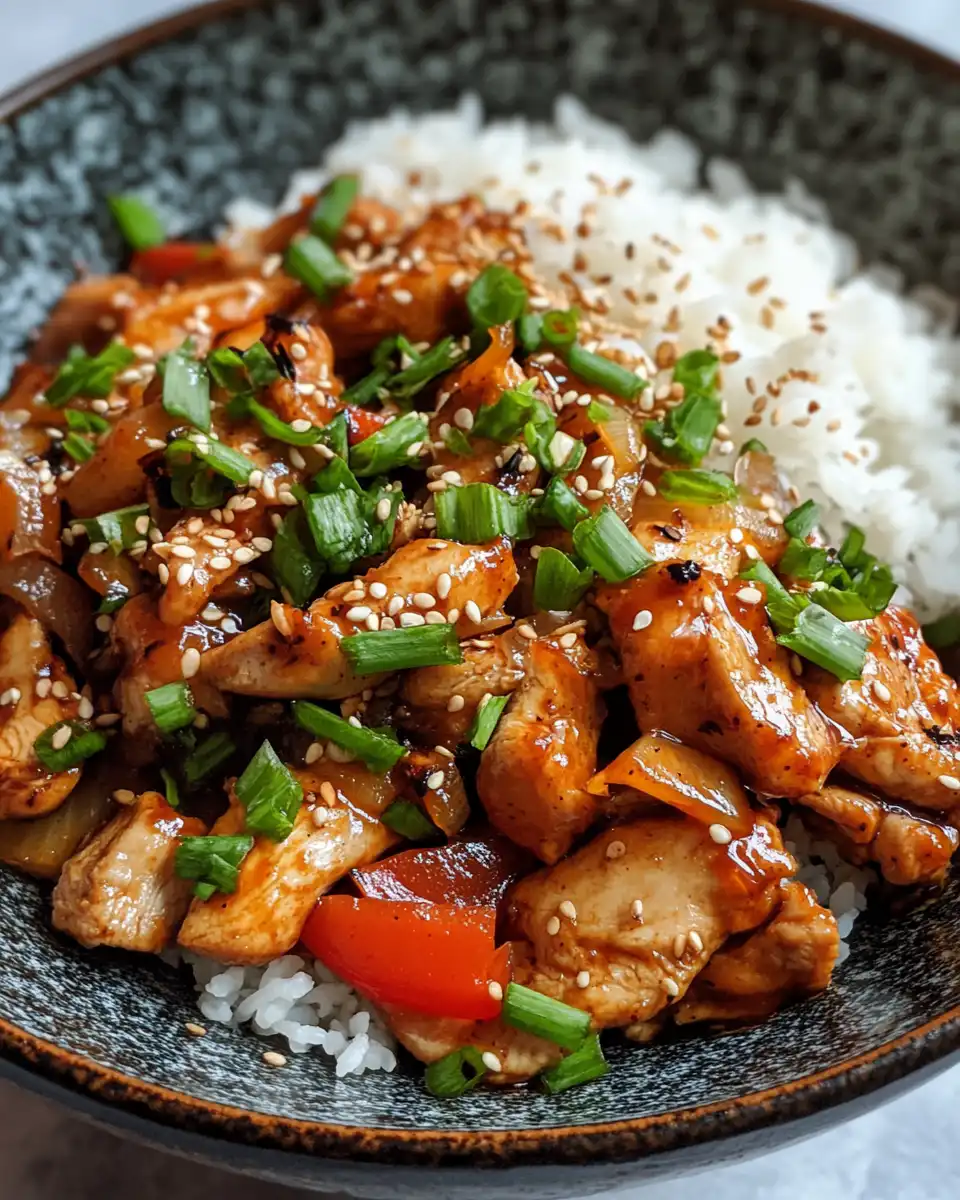
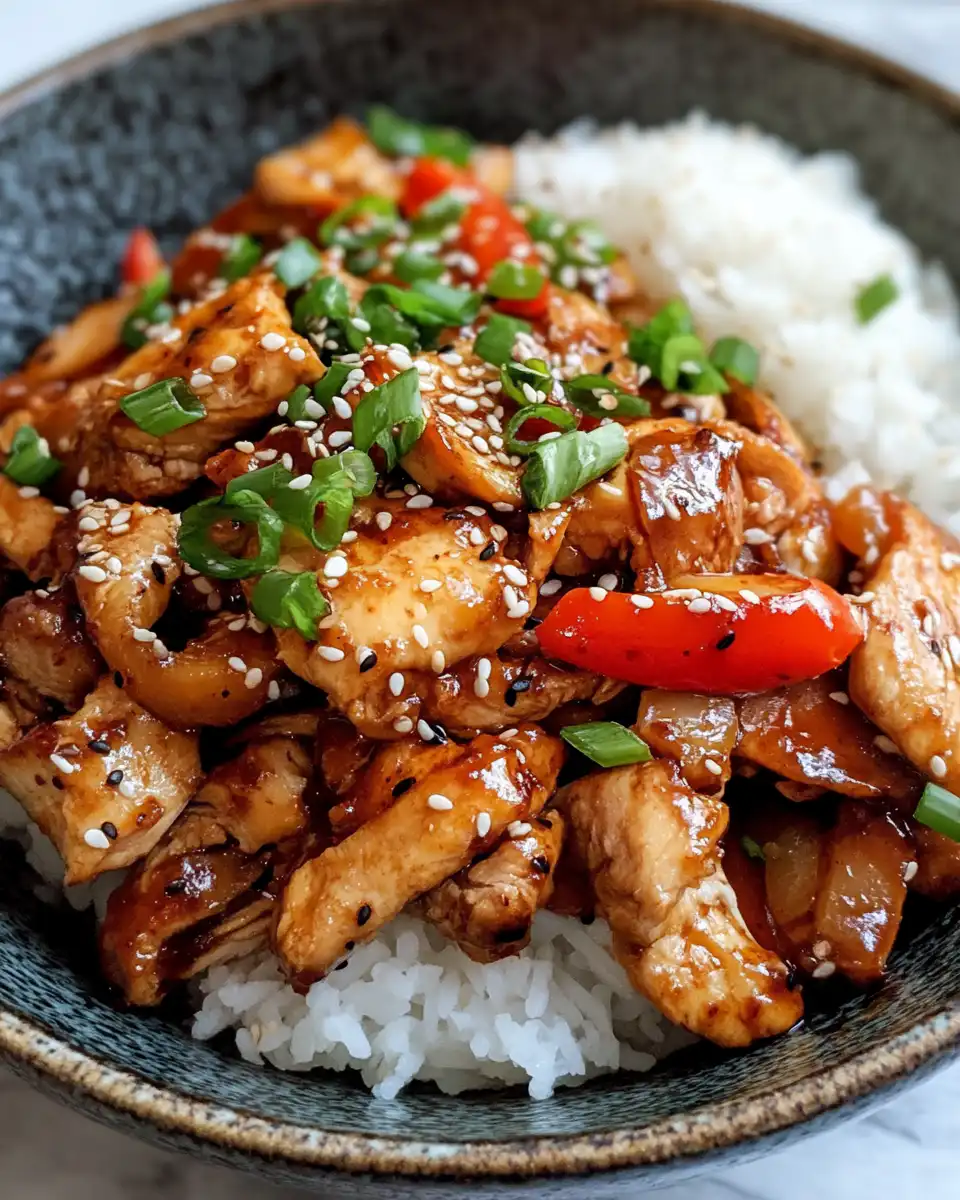
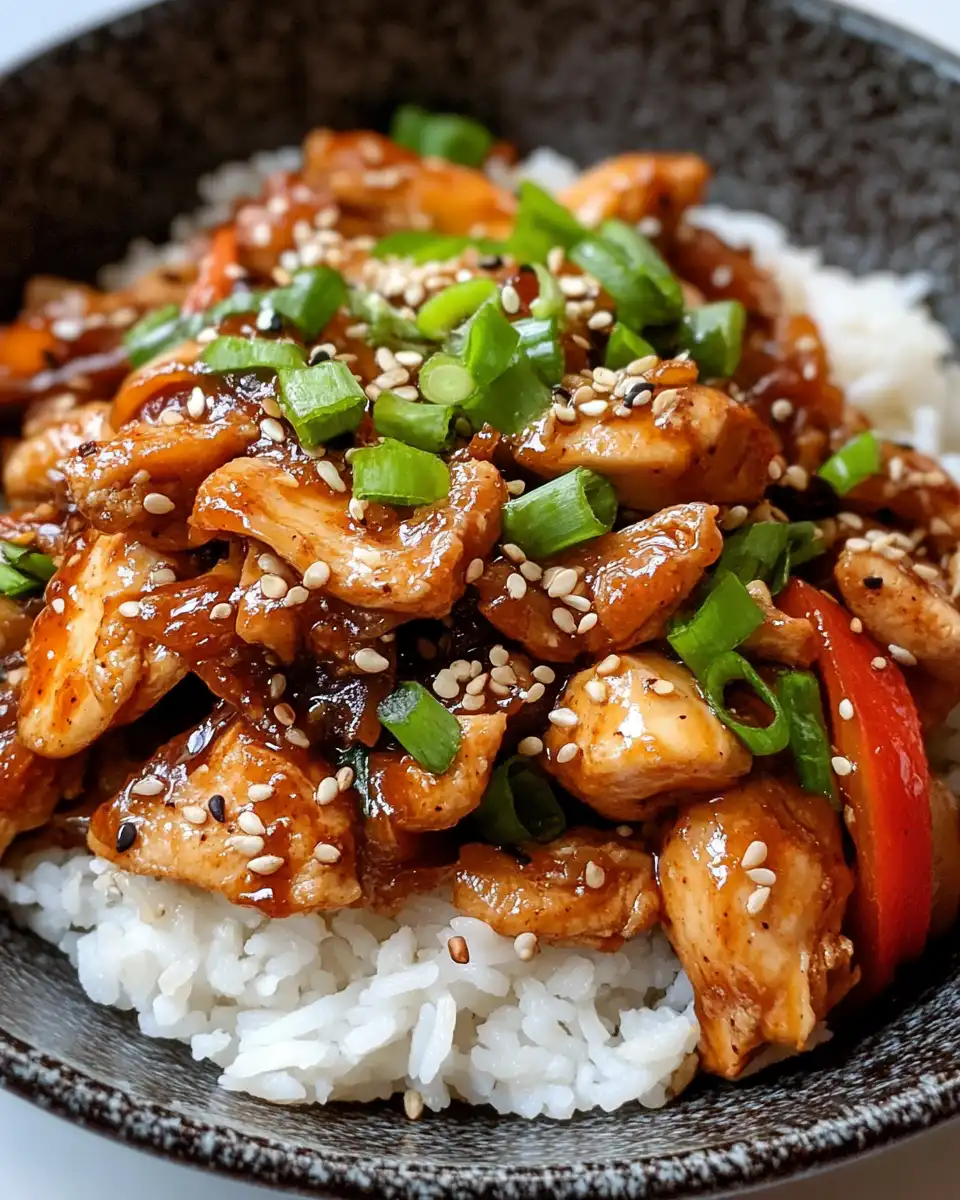
And you spot it too, the timing working in your favor. Not long and you'll be diving into that juicy, caramelized chicken bulgogi, all tender and bursting with those soy and sesame vibes. It's funny how a simple pressure cooker moment feels like a small victory at the end of a busy day.
The Real Reasons You Will Love This Method
- You get that deep flavor soak quick 'cause the pressure build pushes marinade right into every bit of chicken.
- The sealing ring keeps all those fresh aromas locked tight so your kitchen smells amazing.
- Steam cues help you know exactly when it's safe to go in - no guesswork needed.
- The float valve is your little helper, popping up to say hey, the cooker's doing its job.
- Quick release means you get to your dinner faster, no long waits after cooking.
- Using the pressure cooker frees up your stove for other dishes or sauces you might wanna whip up.
- Caramelization happens right there in the skillet after pressure cooking for that perfect texture and taste.
Everything You Need Lined Up
- ¼ cup chopped onion
- 5 tablespoons soy sauce
- 2 ½ tablespoons brown sugar
- 2 tablespoons minced garlic
- 2 tablespoons sesame oil
- 1 tablespoon sesame seeds
- ½ teaspoon cayenne pepper
- 1 pound skinless, boneless chicken breasts, cut into thin strips
You'll also want some salt and black pepper on hand to taste, real simple stuff but key players here. Get all these prepped and measuring out before you start so everything flows smooth.
The marinade's got this kicker of sweetness and heat from brown sugar and cayenne, balanced by garlic and sesame goodness. Once your chicken's trimmed into strips, everything's ready to get cozy in the bowl for its flavor soak.
The Full Pressure Cooker Journey
Start by mixing your chopped onion, soy sauce, brown sugar, minced garlic, sesame oil, sesame seeds, cayenne, salt, and pepper in a bowl. Give it a good stir to get those flavors mingling.
Next, add the chicken strips to the marinade. Stir them around so every piece gets coated in the sauce. Cover the bowl and stick it in your fridge for at least 30 minutes. This lets the flavors sink in deep.
Once marinated, heat your skillet over medium-high heat while you grab your pressure cooker ready. We're gonna brown the chicken after the pressure cooking, so don't forget this part.
Transfer the marinated chicken and all that yummy sauce into the pressure cooker. Secure the lid, make sure your sealing ring's in place and the float valve's down. Set it to cook under high pressure for about 6-8 minutes.
When the timer pops, use a quick release to let the steam out fast. Carefully open the lid once the float valve drops. Now your chicken is tender, juicy, and infused with marinade goodness.
Finally, toss that chicken into your hot skillet, and cook for 8-10 minutes stirring occasionally until it caramelizes nicely and gets that beautiful golden-brown finish. Serve it up with rice or your favorite veggies and enjoy!
Valve Hacks You Need to Know
- Always double-check your sealing ring before starting - no ring means no real pressure build.
- Listen closely for the steam cues - a steady hiss means you're locked in and cooking right.
- If you're in a hurry, the quick release valve is your best friend to speed things up safely.
- Be patient with the float valve, it won't pop up till pressure's just right so no peeking before that.
These little tricks keep your pressure cooker happy and working smooth. You'll feel way more confident knowing what each valve and hiss means.
When You Finally Get to Eat
That first bite greets you with a burst of sweet and savory. The brown sugar and soy sauce dunked chicken tastes full of life, kinda sticky but not too sweet.
You feel the garlic and sesame oil flavors melting into each tender strip. A gentle heat from the cayenne follows, adding a subtle kick that wakes up your taste buds just right.
The texture's satisfying - juicy chicken with edges caramelized to a slight crisp. It's like each piece got a little love from the skillet after pressure cooker magic.
This meal feels cozy and fresh, perfect paired with fluffy white rice or crisp veggies to balance all that flavor richness. Y'all are gonna want seconds for sure.
How to Store This for Later
Got leftovers? No worries, you can keep this bulgogi tasty and safe for later enjoyment. Store your cooked chicken bulgogi in an airtight container and pop it into the fridge. It should keep great for about 3 to 4 days.
If you wanna save it longer, freeze portions in freezer-safe bags or containers. Just be sure to label what it is and the date. It's best eaten within 2 months for flavor and texture.
When reheating, do it gently in a skillet over low-medium heat or in the microwave adding a splash of water or broth so it don't dry out. The caramelized edges might lose some crispness but the flavors stay solid.
For meal prep, you can even freeze the marinated chicken raw, then thaw in fridge before pressure cooking. That way you're always ready for a quick dinner fix.
Your Most Asked Questions Answered
- Q: Can I use thighs instead of breasts? A: Totally! Thighs stay juicy and give a slightly richer flavor, just check they're cut thin like breasts.
- Q: How spicy is it with cayenne? A: It's a mild punch, warms up your mouth without burning it. You can always tweak cayenne up or down to taste.
- Q: What if I skip the quick release? A: If you do a natural release, the chicken will keep cooking a bit longer and be super tender. Just takes extra time at the end.
- Q: Can I double the recipe? A: Yep, just make sure your cooker isn't more than ⅔ full to avoid pressure troubles.
- Q: Should I marinate longer? A: 30 minutes is good, but if you got more time, a few hours amps up flavors nicely.
- Q: What can I serve this with? A: Rice, greens, kimchi, or steamed veggies all work great to round out this dish.
Skillet Chicken Bulgogi in Your Pressure Cooker
Equipment
- 1 Pressure cooker
- 1 Skillet For caramelizing
- 1 Mixing bowl
Ingredients
Main ingredients
- 0.25 cup chopped onion
- 5 tablespoons soy sauce
- 2.5 tablespoons brown sugar
- 2 tablespoons minced garlic
- 2 tablespoons sesame oil
- 1 tablespoon sesame seeds
- 0.5 teaspoon cayenne pepper
- 1 pound skinless, boneless chicken breasts cut into thin strips
- salt and black pepper to taste
Instructions
Instructions
- Mix chopped onion, soy sauce, brown sugar, minced garlic, sesame oil, sesame seeds, cayenne pepper, salt, and pepper in a bowl.
- Add chicken strips and stir to coat. Cover and refrigerate for at least 30 minutes.
- Transfer the marinated chicken and sauce into the pressure cooker. Secure the lid and cook under high pressure for 6-8 minutes.
- Perform a quick release. Once the float valve drops, open the lid carefully.
- Transfer the chicken to a hot skillet and cook for 8-10 minutes until caramelized and golden-brown.