That first hiss from the cooker tells you something good is happening. You feel that sense of anticipation, like the kitchen's about to turn into your favorite spot. The float valve pops up and you know the pressure's building, just right for making jam that's bursting with fresh berry flavor.
You notice the simmer, the soft bubbling happening under the lid. It's like the cooker's doing its slow release of goodness, turning those berries tender and juicy, the perfect tender pull you crave. The smell hits you too, that sweet tang mixing with citrus notes from the juice you threw in last minute. You remember how last time you hovered, waiting for the quick release so the jam wouldn't overcook.
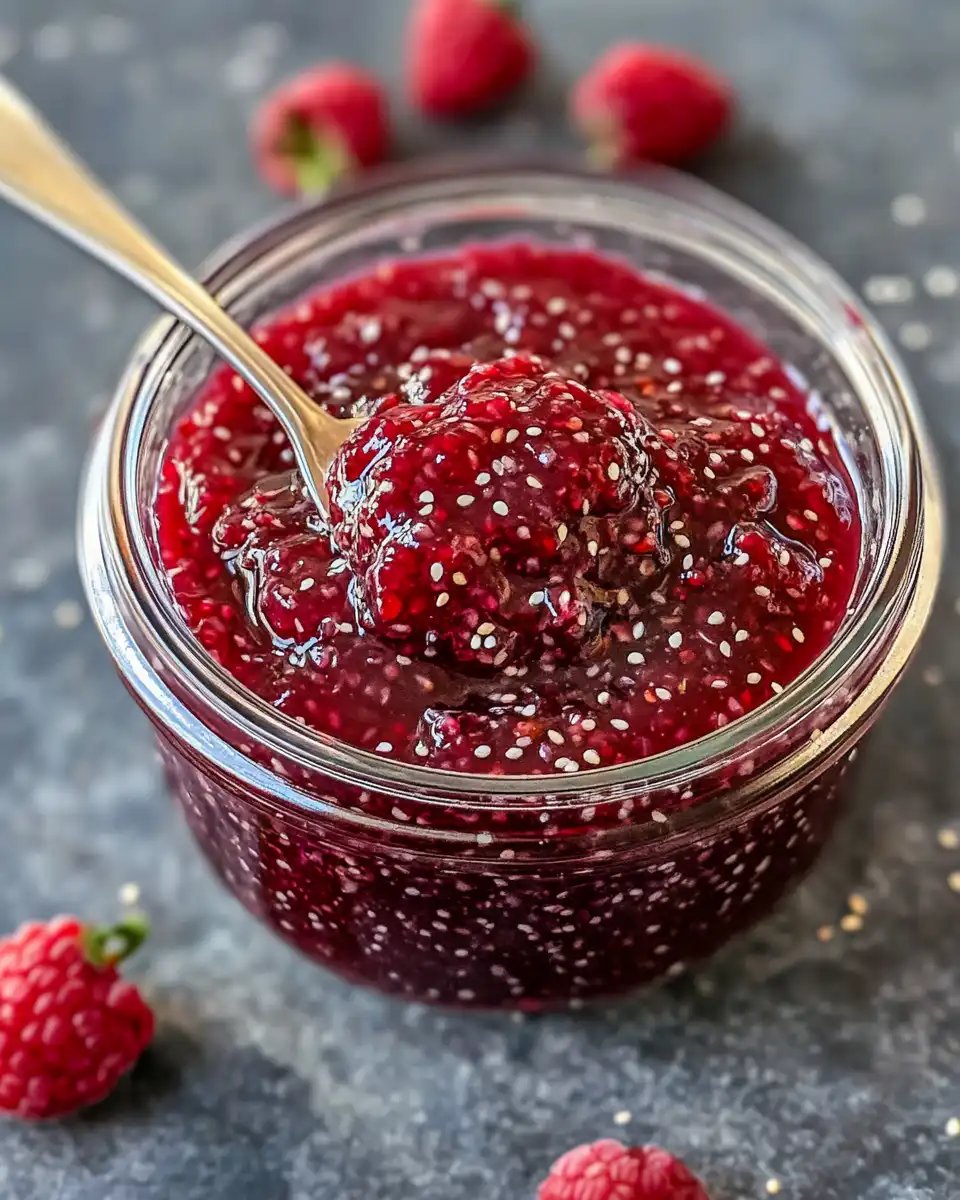
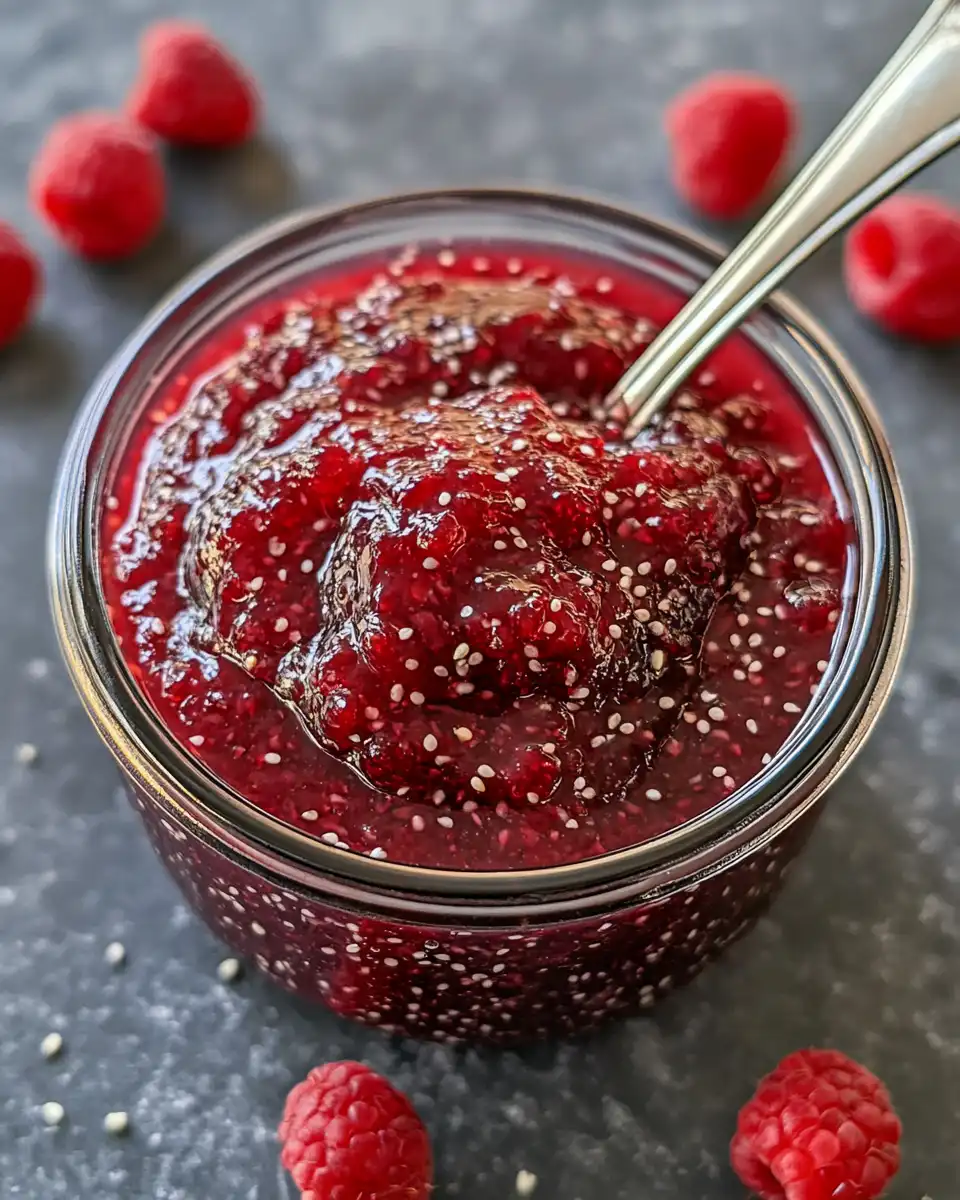
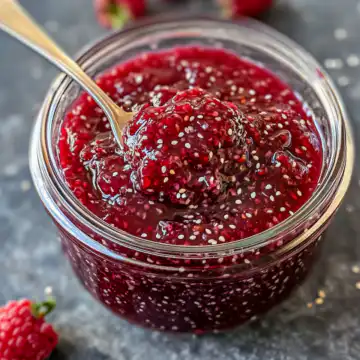
Once you crack the lid open, you see that beautiful depth of broth, thick with real fruit chunks and seeds teasing your senses. The chia seeds did their job, soaking up juices and turning everything into this perfect jelly consistency without any fuss. You can almost taste it, fresh and vibrant, ready to slap on toast or swirl into your yogurt for a sweet punch.
The Real Reasons You Will Love This Method
- It's super simple, just a few steps and your pressure cooker does most of the work.
- You get that tender pull texture which no stovetop jam can match as fast.
- The chia seeds thicken the jam naturally without extra pectin or weird stuff.
- The float valve signals when things are heated perfectly for best flavor.
- It's flexible with any berries you got-fresh or frozen works just fine.
- You control sweetness easy with honey, syrup, or keto-friendly sweeteners.
- Storage is a breeze; this jam chills well and lasts you through the week.
All the Pieces for This Meal
- 2 cups of your favourite berries, fresh or frozen. Seriously, any berry you love-blueberries, strawberries, raspberries, heck even a mix.
- 3 tablespoons chia seeds. These lil' guys thicken things up and add a nice touch of fiber.
- 2 tablespoons fresh citrus juice. Lemon, lime, grapefruit, or tangerine all work to brighten the jam's flavor.
- 1 tablespoon honey or pure maple syrup. This is your natural sweetener, but totally skip or swap it if you're doing keto.
- A medium saucepan. Even tho you're using a pressure cooker, you start the jam on the stovetop so berries don't burn.
- A fork or potato masher. For mashing those berries up once they soften real good.
- Measuring spoons for chia, citrus juice and sweetener. Gotta be precise so you don't overshoot sweetness or thickness.
- A jar or container for storing. Clean and ready to take that fresh jam home to chill.
- Your trusty pressure cooker. This tool makes the whole process speedy and way more fun.
The Exact Process From Start to Finish
- First, drop your berries into the medium saucepan over medium heat. You stir now and then for about 5 to 10 minutes. Watch as berries start to break down and bubble up-a beautiful sight.
- Next, grab your fork or potato masher and mash those softened berries to the consistency you like. Chunky or smooth, it's your call.
- Then stir in the chia seeds and fresh citrus juice. You lower the heat to low and keep stirring often for around 5 minutes so the jam thickens nicely.
- Remove the pan from heat. Now's the time to stir in the honey or maple syrup. Taste it a bit and adjust if you want it sweeter or more citrusy.
- Let the jam cool off for 10 to 15 minutes on your counter. It will bog in thickness as it cools, the texture gets real good.
- Once it's cooled, carefully spoon the jam into your jar or container. Seal it up tight and pop it in the fridge for at least 2 hours so flavors meld perfectly.
- Time to enjoy your homemade jam. Slap it on toast, swirl in yogurt, or dollop right on pancakes. You nailed it with this tender, fruity delight.
Quick Tricks That Save Your Time
- Skip washing if you use frozen berries that are pre-washed. Saves you a step and cuts prep time.
- Use a blender briefly to mash berries if you're in a hurry-but don't overdo it or you'll lose that chunky texture you love.
- Double the batch and keep it in the fridge. More jam ready to grab whenever the hunger hits, and can save you from making it again soon.
What It Tastes Like Fresh From the Pot
You sense the bright burst of fresh berries mixed with the lively zing from that fresh citrus juice right away. The flavor is juicy, tangy, and a little sweet, just screaming summer days on your tongue.
That tender pull texture hits your mouth, thick but not gluey, with tiny crunchy chia seeds giving a subtle pop. You notice the natural sweetness mingles perfectly with the tartness, making it balanced and fun.
There's a real warmth straight from the pot, like a fresh baked treat mixed with garden-fresh fruit. The broth depth shows in every spoonful, rich and thick and full-bodied.
It's kinda like fruit jam your nana would make but without that sticky sugar overload. Just pure berry joy, easy to spread and perfect for any snack or meal.
How to Store This for Later
- Put your jam into a sealed jar or container and chill it in the fridge. It'll last about a week or a bit longer if kept cold and airtight.
- You can freeze leftover jam in freezer-safe containers. It keeps good for a couple months, just thaw in the fridge overnight before using.
- For quick grab-and-go, portion jam into small containers so you don't gotta open the big jar every time. Super handy for busy mornings or packing lunches.

Your Most Asked Questions Answered
- Q: Can I use any kind of berries fresh or frozen?
A: Yep, both work real good. If frozen, no need to thaw first, just pop 'em straight into the pot. Check out our related Slow Cooker Garlic Butter Beef Bites & Potatoes recipe for another cozy kitchen favorite. - Q: What if I don't want to use sweetener?
A: That's totally fine. You can skip it or swap with keto options like erythritol. The citrus juice gives some natural tang. We also have a great Keto Meatball Casserole with Cheese and Sauce recipe that's yummy low-carb. - Q: How do I know when jam is done in the pressure cooker?
A: Watch the float valve pop up then do a slow release so jam keeps tenders but doesn't overcook. It's about 10 mins usually. For other great recipes using pressure cooker techniques, check out our Stuffed Pepper Soup. - Q: Can I make this jam without a pressure cooker?
A: Sure thing. The original recipe starts on the stove. The pressure cooker just speeds things up if you wanna try it that way. - Q: How thick will the jam get?
A: Patience is key. After cooling and refrigeration, that chia seed gel thickens it to perfect jam texture. - Q: What's best to eat with this jam?
A: Oh man, yogurt, toast, waffles, or even drizzle over salads for a fresh fruit twist. It's dang versatile.
How to Make Easy Chia Seed Jam
Equipment
- 1 Medium saucepan
- 1 Fork or potato masher
- 1 Measuring spoons
- 1 Jar or container for storage
- 1 Pressure cooker
Ingredients
Main Ingredients
- 2 cups Mixed berries fresh or frozen
- 3 tablespoons Chia seeds
- 2 tablespoons Fresh citrus juice lemon, lime, grapefruit, or tangerine
- 1 tablespoon Honey or maple syrup optional or keto-friendly substitute
Instructions
Instructions
- Add berries to a medium saucepan over medium heat.
- Stir occasionally for 5–10 minutes until berries begin to break down and bubble.
- Mash softened berries using a fork or potato masher to desired consistency.
- Stir in chia seeds and citrus juice. Reduce heat to low and stir for ~5 minutes until thickened.
- Remove from heat and stir in honey or maple syrup. Taste and adjust to your liking.
- Let jam cool 10–15 minutes, then transfer to clean jar or container. Refrigerate for at least 2 hours.