That first hiss from the cooker tells you something good is happening. You feel that almost like a promise right there as the valve hiss breaks the quiet kitchen air. It's kinda like your belly reminding you dang this pie's gonna be amazing.
You sense something special getting ready inside, the pressure building up while the flavors are marrying up. You remember the last time you tried a lemon dessert, but this time it's way easier cause the pressure cooker does the heavy lifting for you. No fuss, just anticipation growing.
The slow release at the end means you get to sit back and let the filling settle just right. You recall the creamy zing of lemon balanced with that sweet smoothness. By the time you're ready to quick release, your kitchen's buzzing with expectation, and you're almost ready to dive in with a spoon.
Why Your Cooker Beats Every Other Pot
- The pressure cooker seals in heat and moisture so your pie filling cooks way faster than the oven would.
- You control that valve hiss which means you're the boss of the cooking time and texture.
- Slow release lets the pie setting gently, so no cracking or weird texture ruins your day.
- That tender pull on the crust ends up perfect since the cooker keeps it just right - not soggy, not dry.
- It's a one-pot deal where the cooker does the thickening and cooking without a million dishes afterward.
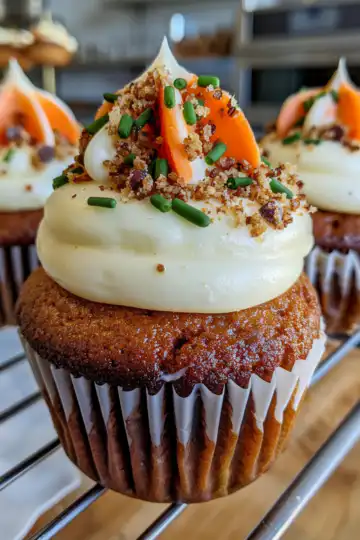
Check out our popular Carrot Cake Cupcakes or learn pressure cooker tips to master your cooker's magic.
Your Simple Ingredient Checklist
- 1 9-inch pre-baked pie crust. You gotta have this one ready or grab from the store to skip a step.
- 1 cup granulated sugar. Sweet but not crazy sweet, perfect balance for the filling.
- 3 Tablespoon plus 1 ½ teaspoons cornstarch. This is your thickener, so don't skip or eyeball it.
- 1 cup milk. Whole milk works good here and makes the creaminess shine.
- ½ cup fresh lemon juice from about 2-3 lemons. Fresh juice is key for that zing.
- 3 large egg yolks, lightly beaten. They add richness and help thicken the custard just right.
- ¼ cup softened butter. This rounds out the flavor and gives silkiness to the filling.
- Zest of one lemon, that is about ½ tablespoon. The zest punches up the lemon flavor big time.
Walking Through Every Single Move
- First, mix sugar, cornstarch, and milk in a medium saucepan. Whisk it smooth so no lumps are lurking.
- Cook over medium heat stirring all the time. You'll see it thicken and little bubbles start to form, that's your cue to move fast.
- Take it off heat and whisk in lemon juice, egg yolks, butter, and lemon zest right away. This keeps everything smooth and creamy.
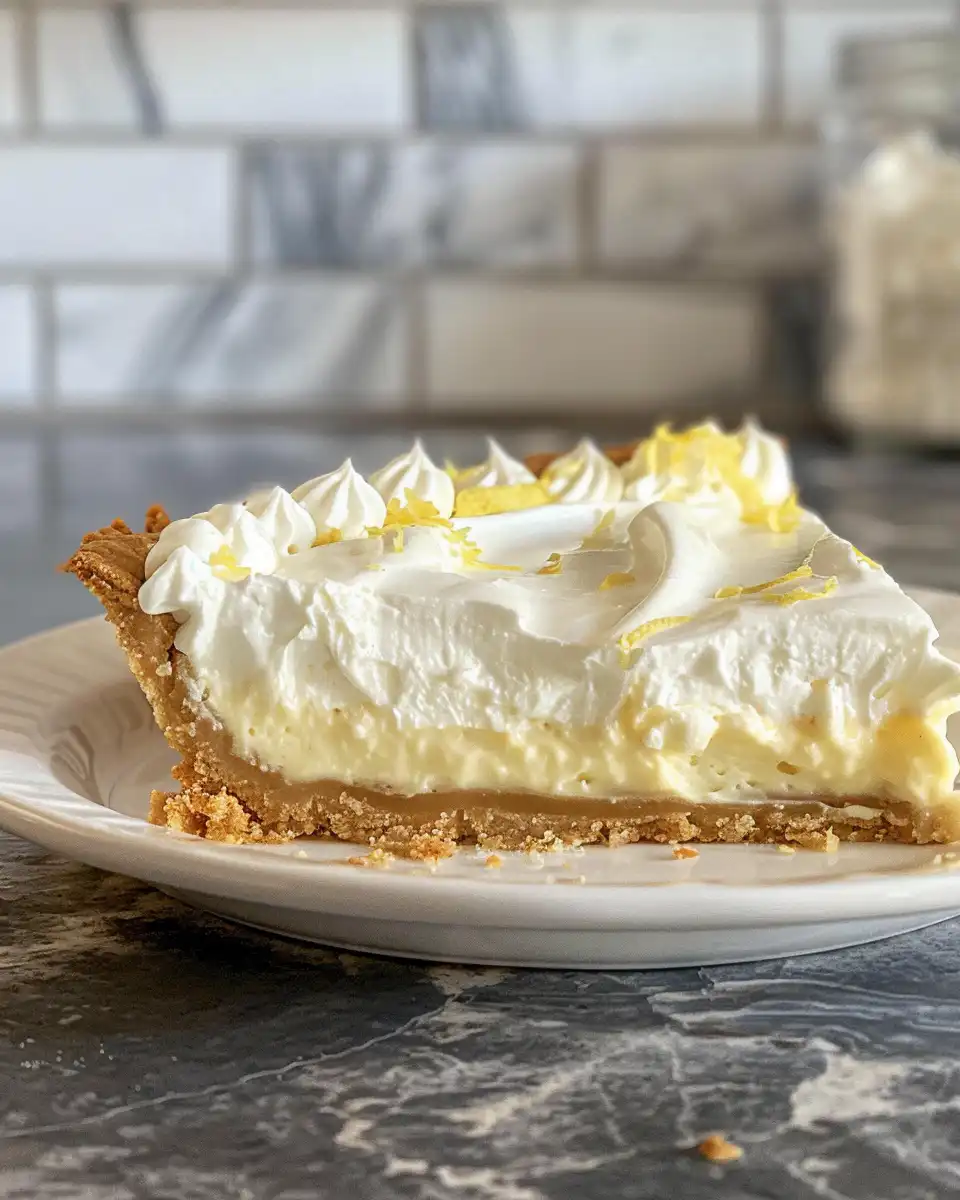
- Pour that gorgeous filling into your pre-baked pie crust. Spread it out evenly so every bite's got love.
- Pop the pie into the fridge for at least 4 hours until it sets up solid. This is the hard part, waiting, but it's worth it.
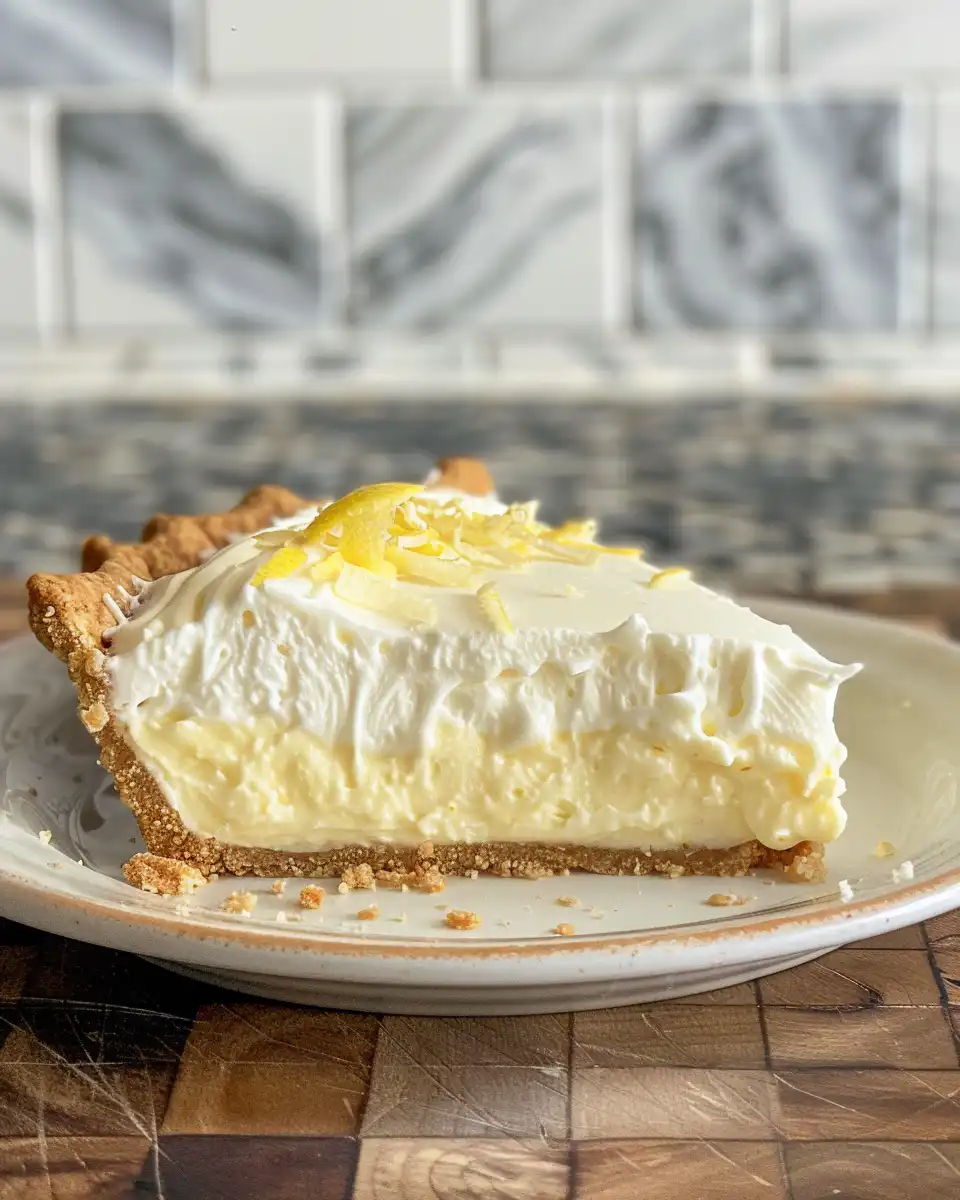
- When you're just about ready to eat, whip the heavy cream until you see stiff peaks. Spread this thick layer of whipped cream on top like a cloud.
- If you want, sprinkle some extra lemon zest on top for that fresh pop. Then dig in whenever you can't wait no more.
Easy Tweaks That Make Life Simple
- If you don't wanna pre-bake a crust, use a graham cracker crumble crust you press into a pan.
- For a speedier version, use lemon curd instead of making the filling completely from scratch.
- Swap sour cream with Greek yogurt if you want a tangier twist with less fat.
- If you're in a hurry, chilling in the fridge works okay if you cover it tightly, skip the full fridge set time but flavor might be a lil less firm.
- Use a handheld mixer for whipping cream to get stiff peaks fast without the arm workout.
When You Finally Get to Eat
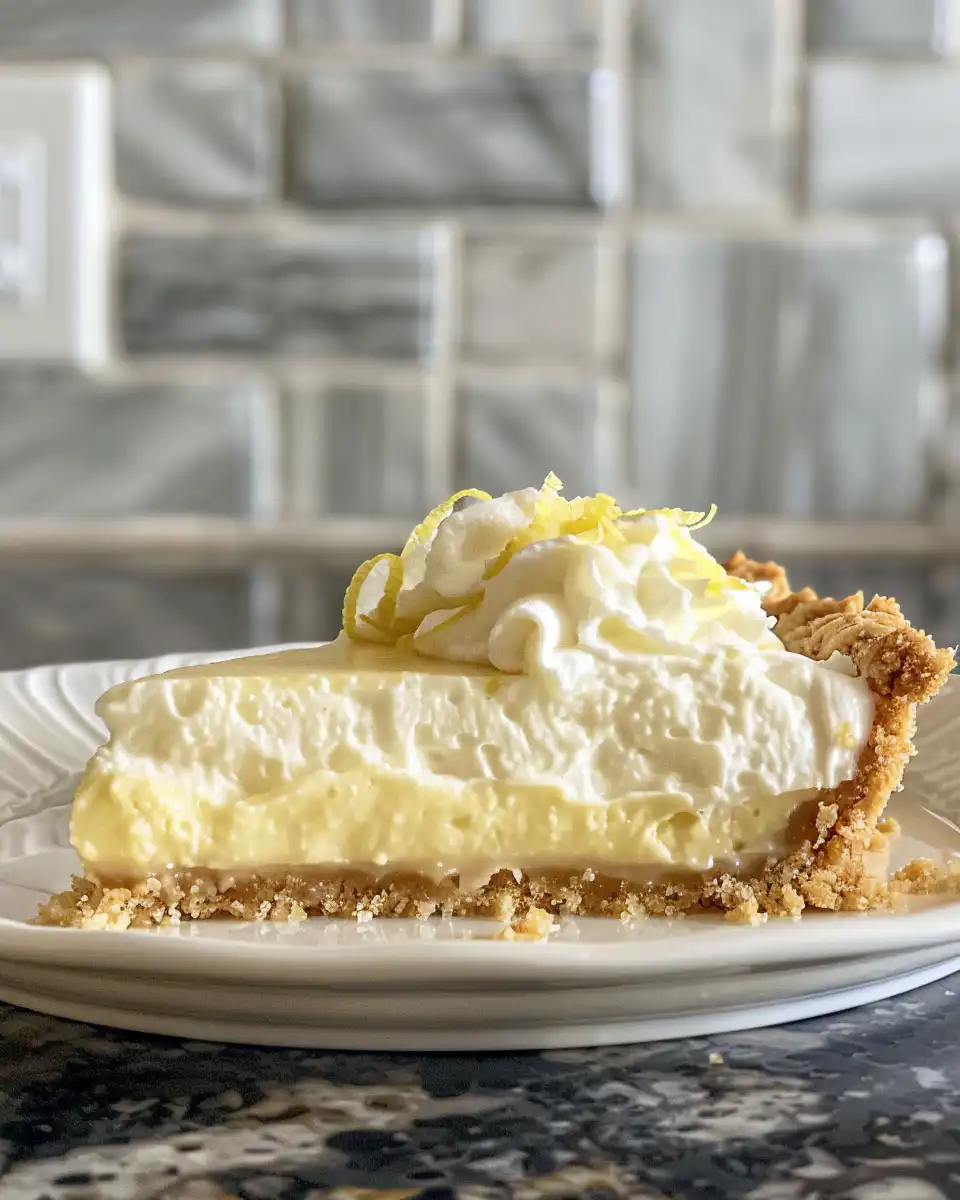
The first bite grabs you with a fresh zing of lemon that wakes up your taste buds. Then that smooth creaminess rolls over your tongue like a soft hug. The crust snaps softly under your teeth, giving a tender pull away that's just right.
The whipped cream on top adds a sweet cloudiness that balances the tartness. You feel the coolness melt with the creamy filling which makes every mouthful addictive. It's dang impossible to stop at just one slice.
You sense that homemade love and effort in every bite. Perfect summer day dessert or anytime you wanna impress without overdoing it. Simple, fresh, and seriously delicious lemon cream pie that your pressure cooker pulls off like a pro.
Smart Storage That Actually Works
- Wrap leftover pie tightly with plastic wrap or a pie saver to keep air out and moisture locked in.
- Store pie in the fridge for up to 3 days without losing that creamy texture or fresh lemon flavor.
- If you want to freeze, slice first, then wrap each piece in foil or plastic wrap, and freeze in a sealed bag to keep freezer burn away.
- To thaw slices, move frozen pieces to the fridge overnight. Then let them rest a little before serving so frosting and filling soften up.
Everything Else You Wondered About
- Can I use frozen lemon juice? Fresh lemon juice really gives that fresh zing you want but frozen can work in a pinch. Just don't skimp on amount to keep tartness.
- Is the crust safe in the pressure cooker? Since pie crust is pre-baked dry and you're mixing filling separately, no worries. The cooker mostly helps with heating and thickening the filling or chilling does the setting.
- What if my filling isn't thick enough? Next time add more cornstarch a half teaspoon at a time and cook a bit longer stirring constantly until you get a thicker custard.
- Can I swap sour cream for something else? Sure thing, Greek yogurt or mascarpone are great substitutions giving different textures and tang.
- How do I avoid cracks on top of the pie? Slow release of pressure is your friend here. Let the cooker chill the filling gradually and you'll get a smooth surface.
- Can I make it dairy free? You could try substituting coconut cream for heavy cream and a dairy free butter alternative but results will be a little different in texture and taste.

Pressure Cooker Lemon Cream Pie Recipe
Equipment
- 1 Medium saucepan for mixing filling
Ingredients
Main ingredients
- 1 9-inch pre-baked pie crust ready or store-bought
- 1 cup granulated sugar perfect balance
- 3 tablespoon cornstarch thickener
- 1 cup milk whole milk
- ½ cup fresh lemon juice from about 2-3 lemons
- 3 large egg yolks lightly beaten
- ¼ cup butter softened
- ½ tablespoon lemon zest punches up lemon flavor
Instructions
Instructions
- First, mix sugar, cornstarch, and milk in a medium saucepan. Whisk it smooth so no lumps are lurking.
- Cook over medium heat stirring all the time. You'll see it thicken and little bubbles start to form, that’s your cue to move fast.
- Take it off heat and whisk in lemon juice, egg yolks, butter, and lemon zest right away. This keeps everything smooth and creamy.
- Pour that gorgeous filling into your pre-baked pie crust. Spread it out evenly so every bite’s got love.
- Pop the pie into the fridge for at least 4 hours until it sets up solid. This is the hard part, waiting, but it’s worth it.
- When you’re just about ready to eat, whip the heavy cream until you see stiff peaks. Spread this thick layer of whipped cream on top like a cloud.
- If you want, sprinkle some extra lemon zest on top for that fresh pop. Then dig in whenever you can’t wait no more.