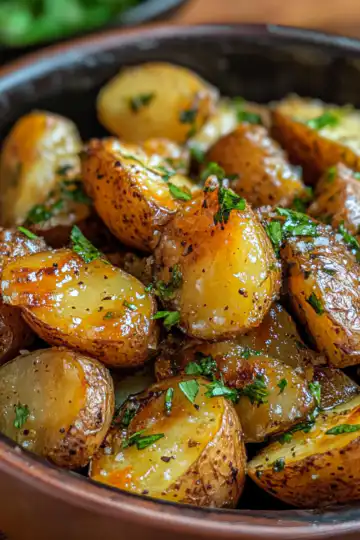
The pot lid rattles and you know dinner is almost ready. You catch a faint valve hiss and your heart kinda jumps because you smell that good browned butter scent mixing with potatoes. It's that moment when you sense something warm and homey is about to hit the pan, and it feels like a big comforting hug is coming your way.
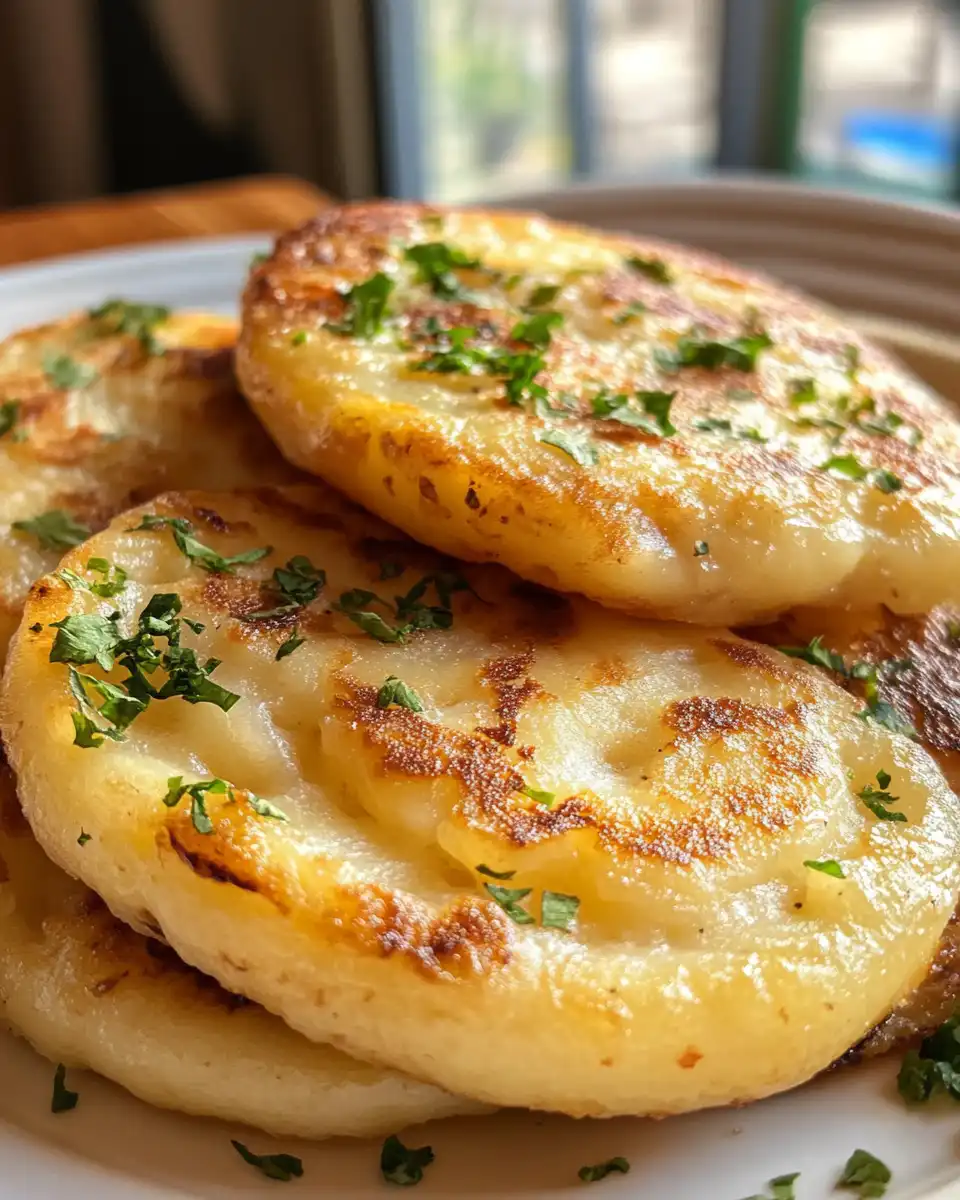
You've got this bowl of soft dough sitting on your counter, mixed with mashed potatoes and flour, but it ain't just any dough. It's the base for Irish potato bread that's gonna turn out golden, tender, and ready real quick thanks to your pressure cooker's power. It's funny how something so simple can feel so satisfying.
When you hear the slow release letting out a soft hiss, it's like a promise. A promise that what you've made will be soft on the inside with just the right crust outside. You remember you still gotta fry 'em up with some butter and olive oil to get that perfect crispy finish. It's kinda like layering flavors and textures one by one till it's just perfect.
The Truth About Fast Tender Results
- Pressure cooking the potatoes gets them soft really fast without soaking up water from boiling.
- Quick release keeps your potatoes from getting mushy by stopping the cooking right when it's done.
- Slow release is your friend when you want the broth depth in steam to add flavor subtly.
- Natural release helps keep the moisture in your bread dough - you want it tender not dry.
- Frying with olive oil and butter after pressure cooking seals in the flavors and gives a golden crust that's just right.
Your Simple Ingredient Checklist
- 750 grams (1.65 lbs) potatoes peeled and ready to go fresh off the pressure cooker.
- 30 grams (about 6 teaspoons) melted butter to stir into mashed potatoes for richness.
- 225 grams (1 6 cups) plain flour gives you the dough body and structure.
- A good pinch o salt 6 you can skip it if your butter9s already salty, gotta balance flavors.
- Extra butter on hand for frying later, gotta get that crispy texture going.
- A splash of olive oil, mixes with butter in the pan to keep things from burning.
- Optional herbs or black pepper if you feel like playing with flavors but keep it traditional, I say.
- A simple non-stick frying pan works best for cooking your farls evenly and easy cleanup.
- Some kitchen towels for draining or blotting the farls after frying so they stay just right.
The Exact Process From Start to Finish
- Peel your potatoes and pop them into the pressure cooker with enough water to cover about halfway.
- Set to cook on high pressure for about 10 minutes, then do a quick release so your potatoes don9t get waterlogged.
- Drain the potatoes super well once the valve hiss stops and they9re cool enough to handle.
- Mash those soft potatoes while they9re still hot, then stir in melted butter and a pinch of salt to boost flavor.
- Mix in your plain flour little by little until you get a soft dough that9s not sticky but easy to handle.
- Turn that dough onto a floured surface and knead for just a minute or two until it9s smooth and soft.
- Divide the dough into four parts, then pat each one into a circle about 1 cm thick and cut into quarters to get your farl shapes.
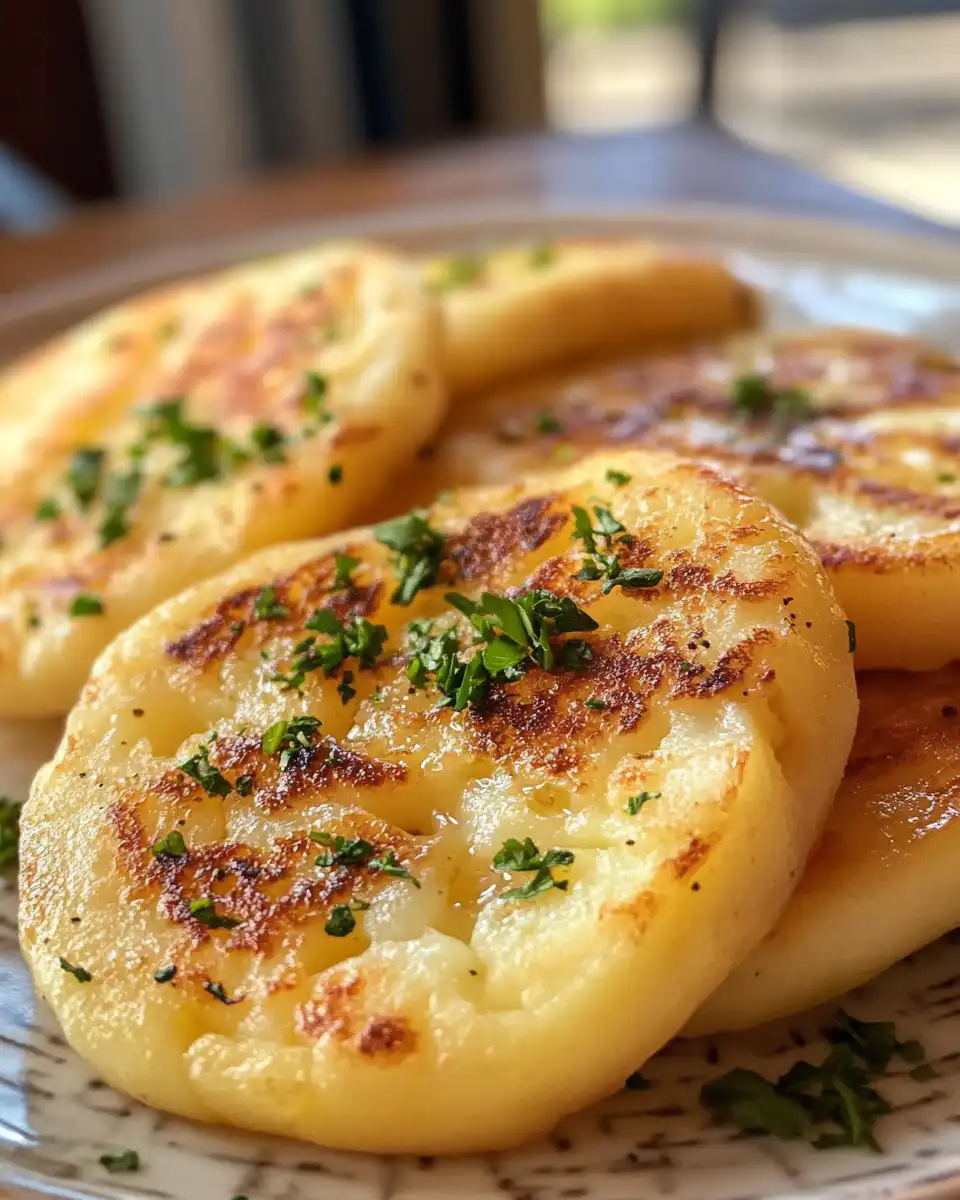
- Heat butter and oil in your pan over medium heat, then fry the farls 3 64 minutes each side till golden and crispy. Serve warm with extra butter to melt on top. Yum.
Easy Tweaks That Make Life Simple
- Skip peeling by scrubbing potatoes real good and boil them whole for a rustic vibe.
- Mix in some shredded cheddar to the dough for a cheesy twist that melts deliciously.
- Use your microwave for boiling if you9re in a rush, just soften potatoes before mashing.
- Make more dough and freeze the raw farls wrapped tight, then fry straight from frozen when hungry.
The Flavor Experience Waiting for You
The first bite hits with a warm buttery note that melts right onto your tongue, kinda rich but light at the same time. That crispy outside from frying gives a lovely contrast to the soft fluffy inside that almost disappears as you chew.
There9s a subtle saltiness balanced with the gentle earthiness of the potatoes that feels just right, no need for anything fancy. You notice the crumb of the bread is tender but sturdy, perfect for soaking up your favorite stew or tea dips.
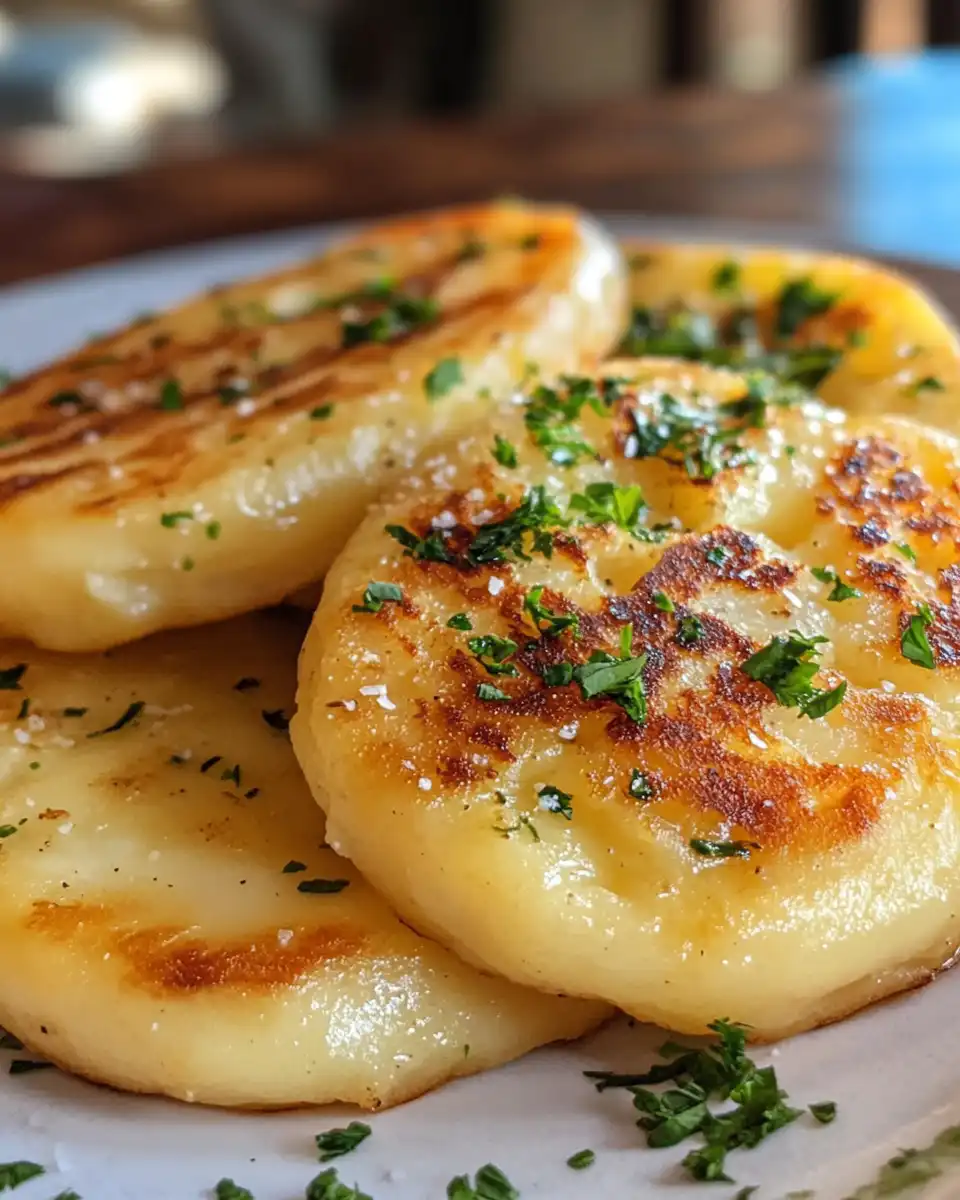
When you add a pat of extra butter melting on top, it9s like the whole experience lifts a little higher, making every bite feel fresh and home-cooked. You might just find yourself making this again and again because it9s that satisfying.
Keeping Leftovers Fresh and Ready
- Wrap your leftover farls in parchment paper or foil, then keep them in a sealed container in the fridge for up to 3 days.
- Reheat farls in a dry pan or toaster skillet to bring back crispiness without getting soggy like the microwave.
- Freeze extras by layering with parchment paper and storing in an airtight bag, lasts up to 1 month.
- Thaw frozen farls by leaving them out for 30 minutes before frying or pan heating so they cook evenly and stay soft inside.
Common Questions and Real Answers
- Q What if my dough feels too sticky?
A Just sprinkle a little more flour on your work surface and knead gently until it9s soft but manageable. - Q Can I use sweet potatoes instead?
A You totally can! It changes the flavor a bit but still comes out great and super soft inside. - Q Why do some farls end up tough?
A That9s usually from over-kneading or frying too hot. Keep it gentle and medium heat works best. - Q How do I store my farls long term?
A Freeze them wrapped in parchment and in airtight bags. They last months and taste great reheated. - Q Can I skip the butter in the dough?
A You can but butter adds richness and helps keep farls tender. Olive oil works too if you wanna experiment. - Q What9s the best way to reheat leftovers?
A Skillet frying or toaster oven heats 9em up crisp just like fresh, microwaves tend to make 9em rubbery.
Super Simple Authentic Irish Potato Bread
Equipment
- 1 Non-stick frying pan for even cooking and easy cleanup
- 1 Kitchen towel for blotting excess oil
Ingredients
Main ingredients
- 750 g Potatoes peeled and pressure-cooked
- 30 g Butter melted, for mixing into mashed potatoes
- 225 g Plain flour
- 1 pinch Salt omit if using salted butter
- as needed Butter and olive oil for frying
Instructions
Instructions
- Peel your potatoes and pop them into the pressure cooker with enough water to cover about halfway.
- Set to cook on high pressure for about 10 minutes, then do a quick release.
- Drain the potatoes well once the hissing stops and let them cool slightly.
- Mash the potatoes while hot, stir in melted butter and a pinch of salt.
- Mix in plain flour gradually until a soft, manageable dough forms.
- Turn dough onto floured surface and knead briefly until smooth.
- Divide into four parts, shape into circles 1cm thick, and cut into quarters.
- Heat butter and olive oil in a frying pan over medium heat.
- Fry each farl for 3–4 minutes per side until golden and crispy. Serve warm with extra butter.