The pressure builds and you start counting down minutes until you eat. You spot the sealing ring snug in place and you know the heat's about to do its thing. That valve hiss when you flip it gets your mouth watering even before the timer hits zero.
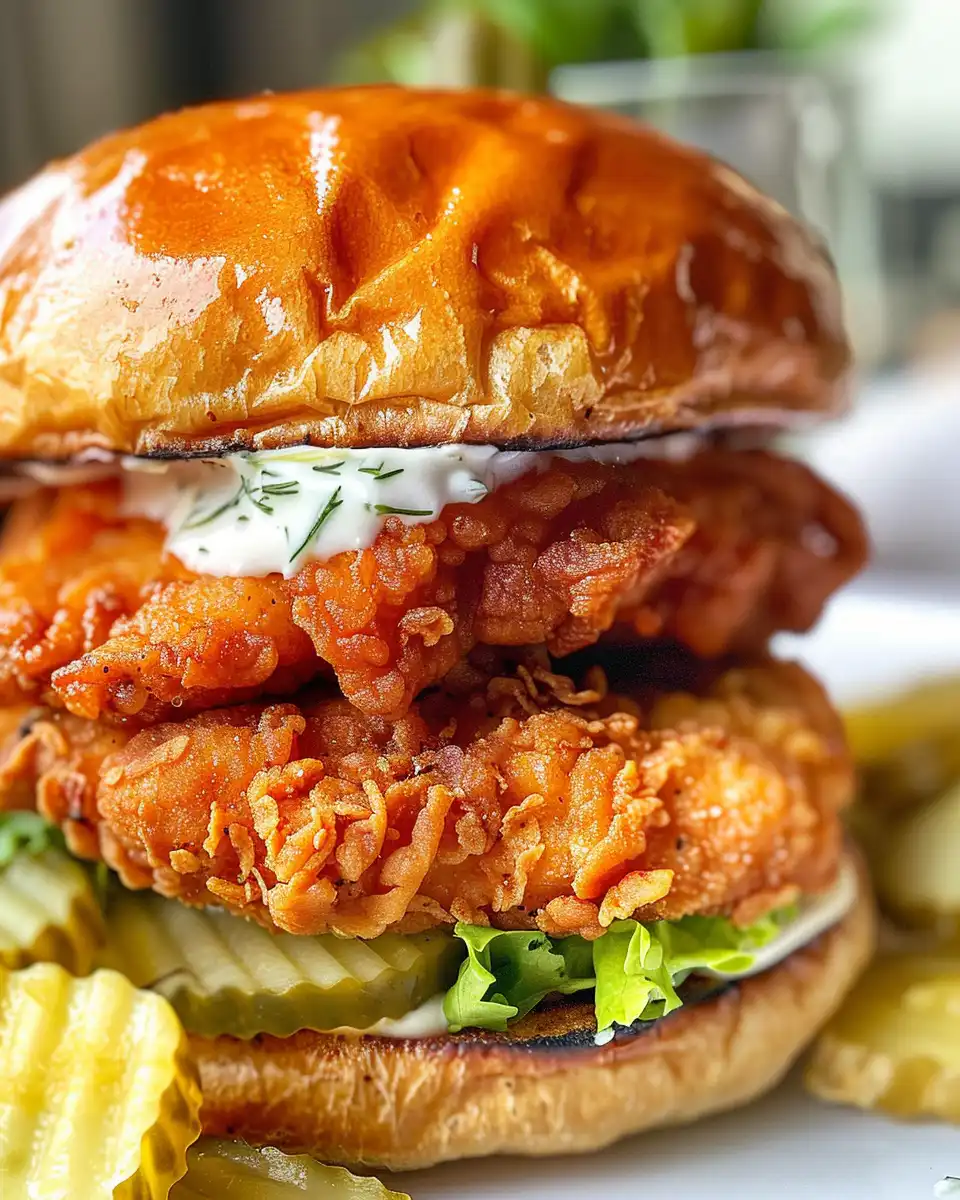
Steam cues start slipping out and you feel your patience tested but also kinda rewarded. You imagine the tender pull of chicken that's soaked in dill goodness, perfectly cooked and juicy. You just can't wait to dig in.
It's wild how just a bit of waiting turns into a crispy chicken that's not only tender inside but has that awesome crunch you thought was only for frying. The pressure cooker takes the win by saving your day with flavor and speed.
What Makes Pressure Cooking Win Every Round
- You get juicy chicken fast, no drying out or guessing when it's done.
- The sealing ring traps moisture that tenderizes chicken better than oven baking.
- Steam cues tell you exactly when things are heating up, no need to hover over the stove.
- Quick release saves time when you're ready, no more waiting around forever.
- The pressure cooker cuts down cooking time drastically but leaves texture just right.
The Complete Shopping Rundown
Y'all gotta grab some good stuff for this. You'll want 4 chicken thighs and a chicken breast sliced in half so everything cooks nice and even. Make sure to have 1½ cups of buttermilk and ¼ cup dill pickle brine ready for that really tangy punch. You also need ⅓ cup flour, 1 teaspoon kosher salt, 1 teaspoon white pepper, ½ teaspoon garlic powder, and 1½ teaspoons smoked paprika for seasonings that pop.
Then there's the eggs - 3 of 'em plus 2 tablespoons milk to make your coating stick real good. Don't forget the 2½ cups panko for that crunch you want so bad. For flavors and toppings, flaky salt to taste, lemon slices, ¼ cup créme fraîche, 2 tablespoons Japanese mayo, 1 teaspoon grainy Dijon, ½ teaspoon Worcestershire sauce, and ½ teaspoon agave syrup will do wonders together.
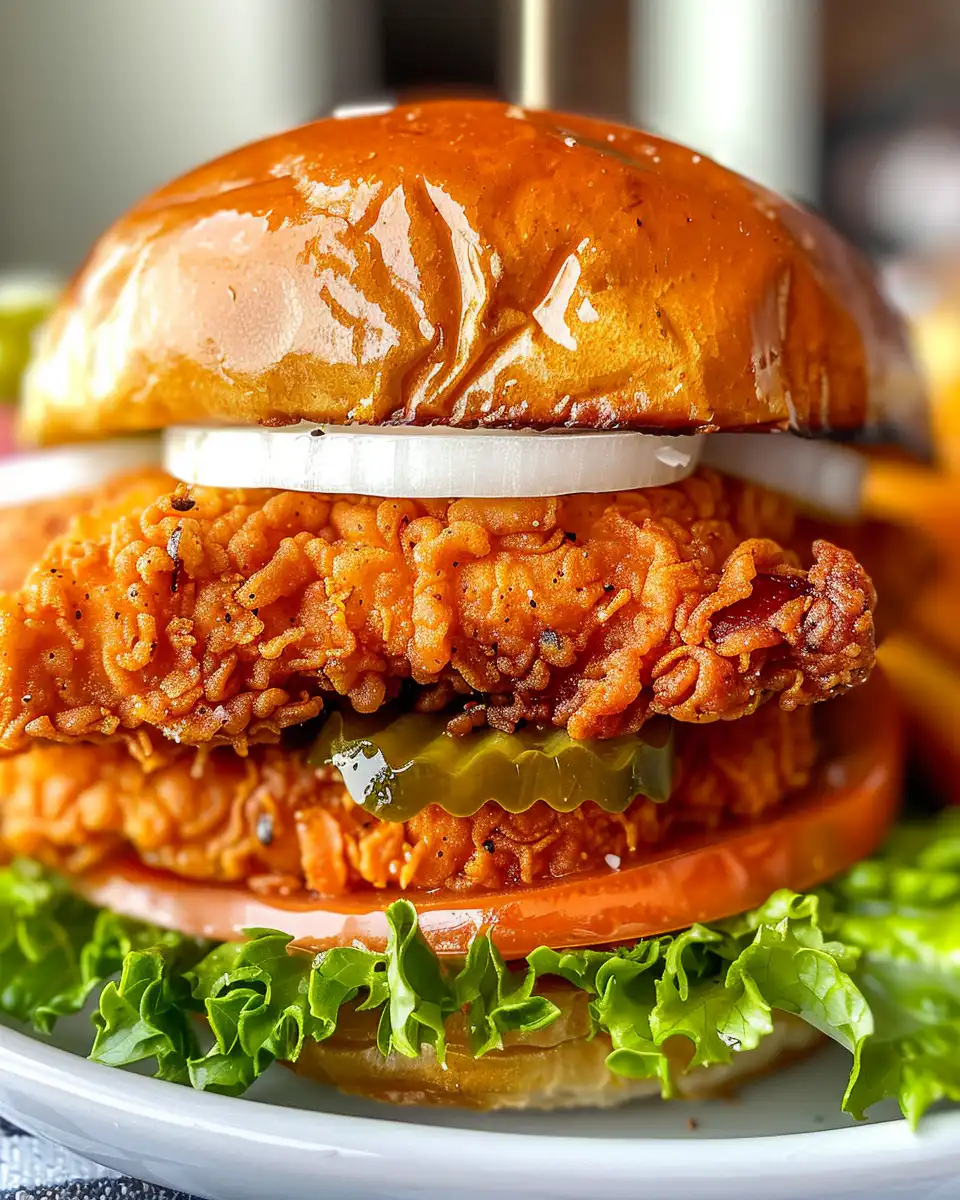
Finally, you gotta grab some dill pickle slices (about 4 sandwich slices should do, finely chopped), 2 cornichons finely chopped too, 2 Persian cucumbers grated and moisture squeezed out, plus 3 tablespoons chopped fresh dill and some parsley and chives to sprinkle in and on top. Salt and pepper to taste is gonna round it out well.
The Exact Process From Start to Finish
First, combine that buttermilk and dill pickle brine in a big bowl. Toss your chicken thighs and chicken breast slices in so they're covered good. Cover and pop it in the fridge for at least 2 hours, or overnight if you got the patience.
Next, preheat your oven to 400°F since the finishing crisp happens there. In another bowl, mix flour with kosher salt, white pepper, garlic powder, and smoked paprika. This is your dry coat magic.
In a third bowl, beat the eggs with 2 tablespoons milk. When marinating's done, take chicken out and let excess drip off. Dip each piece first in egg, then flour mix, making sure you get a solid coat all around.
Put those coated pieces on a parchment-lined baking sheet so they're ready to bake crisp. Bake in that preheated oven for 25-30 minutes till golden brown and the internal temp hits 165°F. You gotta trust the thermometer on this, not just looks.
While baking, get your dill pickle spread ready by mixing créme fraîche, Japanese mayo, grainy Dijon, Worcestershire, agave syrup, chopped pickle slices, cornichons, grated cucumber, dill, parsley, chives, then salt and pepper. Trust me, it's a flavor bomb.
When chicken's out and resting just a bit, grab lemon slices and sprinkle more fresh dill and chives on top for that punch of freshness and color. Then dollop or spread the pickle sauce on the side or right on top.
This multi-step approach means you got tender meat, crispy skin, and that dill pickle zing working all together. It's a heck of a combo.
Quick Tricks That Save Your Time
One quick trick is marinating your chicken in the fridge while you prep other stuff. Saves your clock and boosts the flavor big time. No rush, just let it soak in.
Next, use pre-grated Persian cucumbers or even a box grater to make quick work of that moisture-squeezing step. Less fiddling, more chilling.
Finally, when you load the pressure cooker, place chicken on a rack if you can. It keeps chicken elevated so steam heat surrounds it evenly giving you that great tender pull without sogginess.
When You Finally Get to Eat
First bite, you gonna notice that crispy crunch that's like a little celebration in your mouth. Then that juicy chicken comes through, tender and flavorful thanks to the pressure cooking hug.
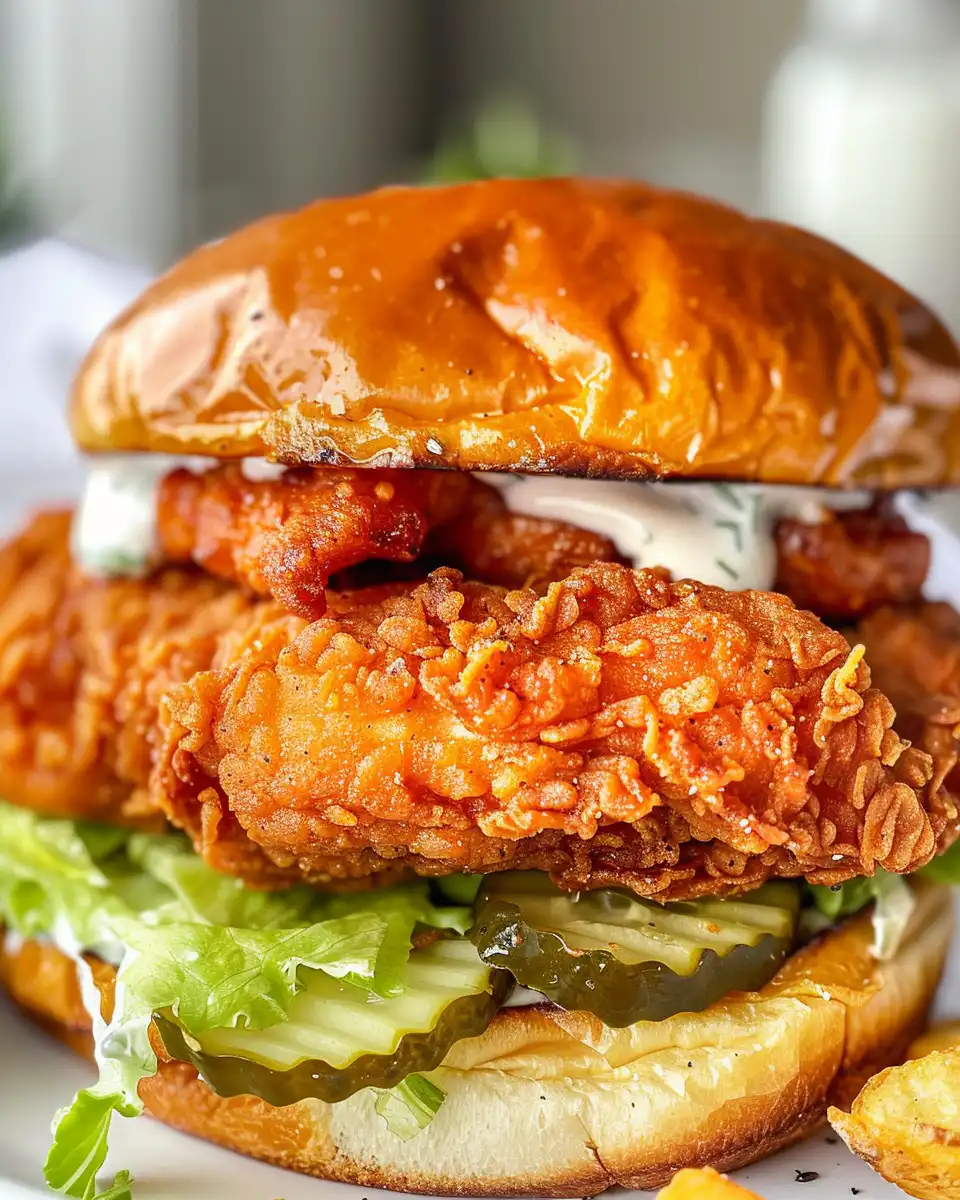
The dill pickle spread adds a creamy tang that cuts through the richness just right, balancing everything on your tongue. Lemon slices give you the option to squeeze on some fresh zestiness making every bite bright.
Overall, it's that kinda comfort meal you wanna dig into all week. You'll catch yourself sneaking another piece even when you said you were full. It just hits different when you make it yourself like this.
Making It Last All Week Long
If you got leftovers, refrigerate your cooked chicken tightly wrapped or in an airtight container. It'll keep good 3-4 days so you can snack or add to salads as you go.
Freezing is also an option if you want to stash some for later. Slice the chicken then portion in freezer bags with some of that pickle spread on the side separately. When ready, thaw overnight in fridge and reheat in oven for best crisp.
You can also turn leftover chicken into quick sandwiches using fresh bread and extra pickles or greens. That way, you won't get bored and keep the flavors fresh through the week.
The FAQ Section You Actually Need
- Can I use other cuts of chicken? Totally, thighs and breasts work best here for tenderness but you can experiment with drumsticks too. Just adjust cooking time for thicker pieces.
- Should I always marinate overnight? Nope, but letting it rest at least 2 hours helps get that deep dill pickle flavor infused. Overnight just makes it better.
- How do I know when it's done? Use a thermometer to check for 165°F internal temp. The tender pull you notice is a good sign it's cooked through.
- Can I skip the oven step? You can but that crispy crunch mostly comes from oven baking. Pressure cooker alone makes juicy but less crunchy chicken.
- What if my sealing ring is old? It's best to use a fresh or well-maintained sealing ring so pressure builds properly. Old rings can cause steam leaks and longer cooking times.
- How do I do a quick release safely? Use oven mitts and stand clear when flipping the valve to release steam. The hiss is hot but quick. It's the key to stopping cooking at the right time.
For related recipes, try our Crispy Garlic Parmesan Chicken or grab a dessert fix with our Strawberry Cupcakes. Both make great companions for your pressure cooker creations.
Also, check out handy pressure cooker tips to master your kitchen game and nail that perfect tender pull every time.