You catch the smell through the steam vent and suddenly you are starving. It sorta hits you right in the face, that sweet but garlicky aroma that makes you wonder how dinner could get any better.
You sense the pressure cooker humming in the kitchen, releasing those steam cues that read like a dinner announcement. You remember last time you tried to rush dinner it didn't go so well, but tonight feels different.
As that lovely scent wraps around you, you feel your stomach rumble and your mind races just a bit, thinking about that honey garlic glaze clinging to juicy chunks of chicken. You know this quick cooking trick is gonna be a go-to after tonight.
The Truth About Fast Tender Results
- Using the pressure cooker's sealing ring tightens the steam chamber perfectly.
- The float valve popping up means you got your cooker locked and ready.
- Steam cues tell you when to expect that flavorful ready-to-serve moment.
- Broth depth in your pot matters for keeping chicken tender and juicy.
- Small chicken cubes cook super fast and stay tender under pressure.
- Natural release lets flavors settle in and keeps meat moist.
- Keep an eye on pressure timings so you don't overcook or dry out the chicken.
All the Pieces for This Meal
This dish needs a fresh lineup of ingredients to hit that perfect flavor note. First up is 1 ½ pounds boneless skinless chicken breasts, cut in small cubes roughly half an inch. That size cooks quickly under pressure and stays juicy.
You gotta have 3 tablespoons honey for that sweet glaze blending with 3 tablespoons low sodium soy sauce. Those two are the heart of this honey garlic vibe. Add 3 cloves minced garlic and a pinch of red pepper flakes if you feel like a little heat, just a quarter teaspoon.
Don't forget 2 teaspoons of extra virgin olive oil to sauté your chicken in that small pressure cooker pot. For a fresh finish, sliced green onions, chopped fresh parsley or cilantro, and chopped peanuts go on top.
Serving sidekick? Lime wedges to squeeze over the chicken right before you dig in.
The Full Pressure Cooker Journey
First step is to heat your olive oil in the pressure cooker pot on the sauté setting over medium high heat. You want it hot but not smoking.
Then toss in the cubed chicken, lightly season with salt and black pepper. Remember soy sauce has sodium so keep it easy. Brown the chicken on one side for about 3-4 minutes until golden.
While that browning happens, whisk your glaze together: honey, soy sauce, garlic, and those red pepper flakes if you're using 'em. This blend is where the flavor punch comes from.
Flip the chicken pieces to the other side to start cooking that through. Pour the glaze right in the pot and toss it all together so every bit of chicken gets coated nicely.
Lock the lid on, seal the pressure cooker's sealing ring right, and make sure the float valve pops up. Pressure cook on high for 4 minutes to get that tender bite without drying your meat.
After cook time, let the pressure release naturally. This step is clutch so meat stays juicy and tender, plus the flavors have time to deepen inside the broth depth you created.
Open the lid carefully once float valve drops. Give it a good stir and garnish with sliced green onions, chopped parsley or cilantro, chopped peanuts, and an extra drizzle of sriracha or sprinkle of red pepper flakes if you like it spicy. Serve with lime wedges to squeeze overhead.
Time Savers That Actually Work
- Cut your chicken into small cubes ahead of time and store in the fridge for a quick scoop during the week.
- Pre-mix your honey garlic glaze in a small jar so it's ready to pour as soon as you start cooking.
- Use pre-minced garlic from a jar if you're in a serious hurry but fresh always tastes best.
- Steam rice in a separate rice cooker while the pressure cooker does its thing to save time and have everything ready at once.
When You Finally Get to Eat
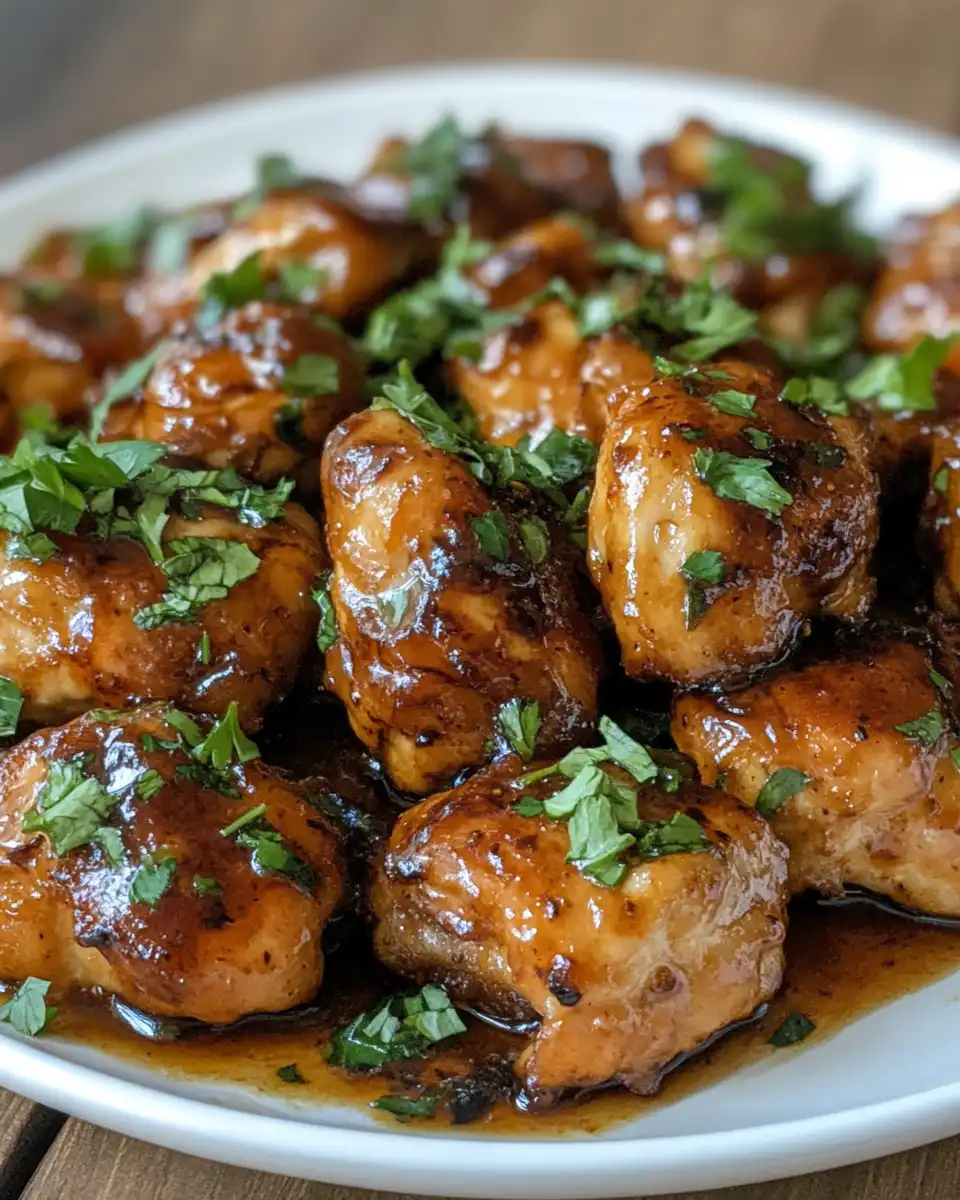
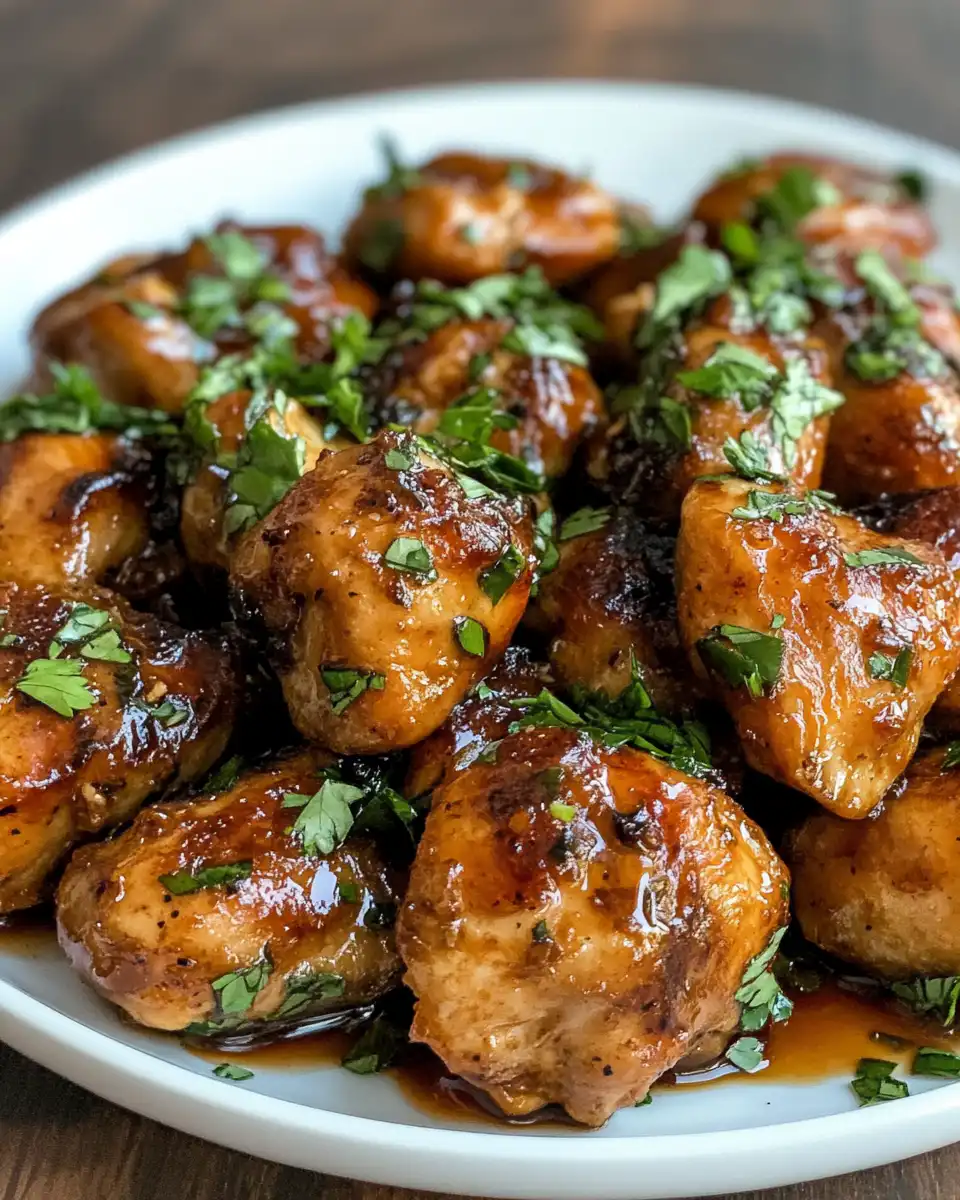
You sit down with that plate steaming fresh, the chicken shining with a glossy honey garlic glaze. It tastes sticky sweet with a subtle salty kick from the soy sauce.
Each bite bursts with tender chicken coated in a sticky sauce that clings to your taste buds. The garlic hits the back of your throat just right - not too sharp, just enough to balance sweetness.
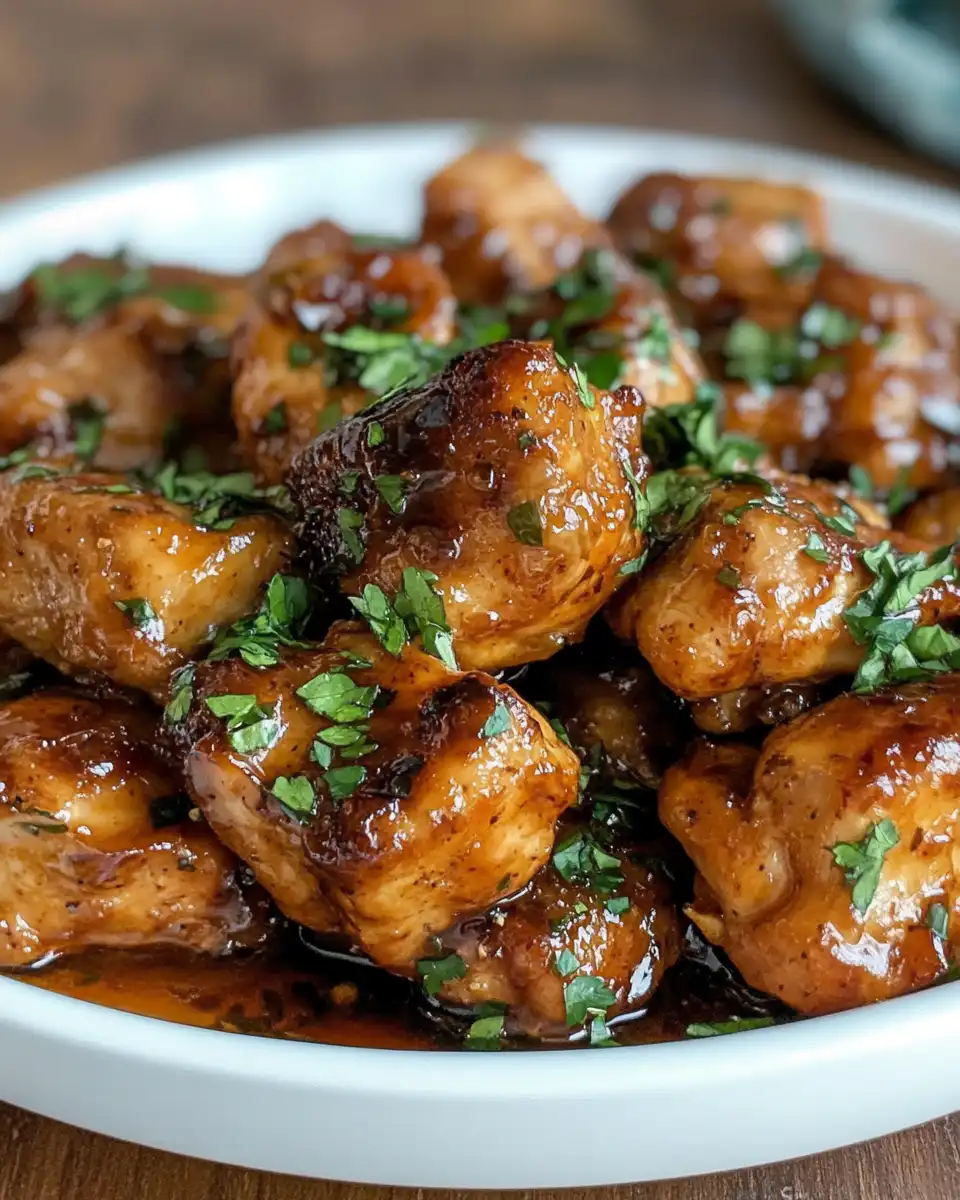
Your garnishes add that crunch and fresh brightness with peanuts and lime squeezing right before you eat. It's the kind of dinner that feels satisfying and comforting, like a little treat after a busy day.
Your Leftover Strategy Guide
Got some leftovers? Store 'em in an airtight container in the fridge and try to eat within 3 days. The chicken stays juicy but the glaze might thicken a bit.
If you wanna freeze leftovers, spread the chicken flat in a freezer-safe container or bag so it reheats evenly. Thaw overnight in the fridge before reheating gently on stove or microwave.
Reheating? Use a splash of water or broth in the pan so it doesn't dry out. Cover with a lid to keep that steam trapped. You'll get tender bites even the second time around.
Common Questions and Real Answers
- Can I use chicken thighs instead of breasts? Sure thing, thighs are moister and work great. Just adjust pressure time maybe a minute or two less.
- What's the role of the sealing ring? It keeps pressure inside by sealing the lid tightly. If it's worn out, your cooker won't pressurize right.
- Is natural release really necessary? Yep, letting pressure drop on its own helps juicy veggies or meat, plus flavors hang around longer.
- How do I know when pressure is reached? Float valve rising and steady steam out the vent means cooker's pressurized and locked up good.
- Can I add veggies to this? Totally, quick-cooking things like bell peppers or snap peas go in last few minutes or after cooking to keep crunch.
- What if my sauce is too thin? You can hit saute after pressure cooking to reduce and thicken the sauce a little. Stir it often so it doesn't burn.
Related Recipes You Might Enjoy
Try our Vegan Sticky Sesame Chickpeas for a plant-based alternative that's packed with flavor using a similar pressure cooker technique. If you love hearty soups alongside your meal, our Stuffed Pepper Soup recipe adds a cozy and comforting side. For a sweet finish, don't miss the creamy delight of our Banana Bliss Cheesecake, a crowd-pleasing dessert.

15-Minute Honey Garlic Chicken
Equipment
- 1 Mixing bowl for making the glaze
- 1 Pressure cooker or skillet for cooking chicken and sauce
Ingredients
Main Ingredients
- 2 teaspoons extra-virgin olive oil or canola oil
- 1 ½ pounds boneless skinless chicken breasts cut into small ½ inch cubes
- salt to taste
- black pepper to taste
- 3 tablespoons honey
- 3 tablespoons low sodium soy sauce
- 3 cloves garlic minced
- ¼ teaspoon red pepper flakes optional, adjust for heat
- sliced green onions for topping, optional
- chopped peanuts for topping, optional
- chopped parsley or cilantro optional garnish
- lime wedges for squeezing over before serving
Instructions
Instructions
- Heat olive oil in the pressure cooker pot (or skillet) on sauté setting over medium-high heat until hot but not smoking.
- Add the cubed chicken to the pot. Lightly season with salt and black pepper. Brown on one side for 3-4 minutes until golden.
- While browning, whisk together the honey, soy sauce, garlic, and red pepper flakes in a small bowl.
- Flip chicken to cook the other side. Pour in the glaze and toss to coat all pieces of chicken evenly.
- Lock the lid on the pressure cooker, ensuring proper sealing. Cook on high pressure for 4 minutes and allow the pressure to release naturally.
- Open lid carefully, stir the chicken, and garnish with green onions, chopped parsley or cilantro, chopped peanuts, and optional extra red pepper flakes. Serve with lime wedges and rice.